OLIGHT PL PRO VALKYRIE: LONG TERM USE
The Olight PL Pro needs no special introduction since it has been out for a little while now. Plenty of reviewers have shown you the basics of how it works and functions, so I will glaze over those details so we can get to the meat and potatoes of the subject.
SIZE COMPARISON
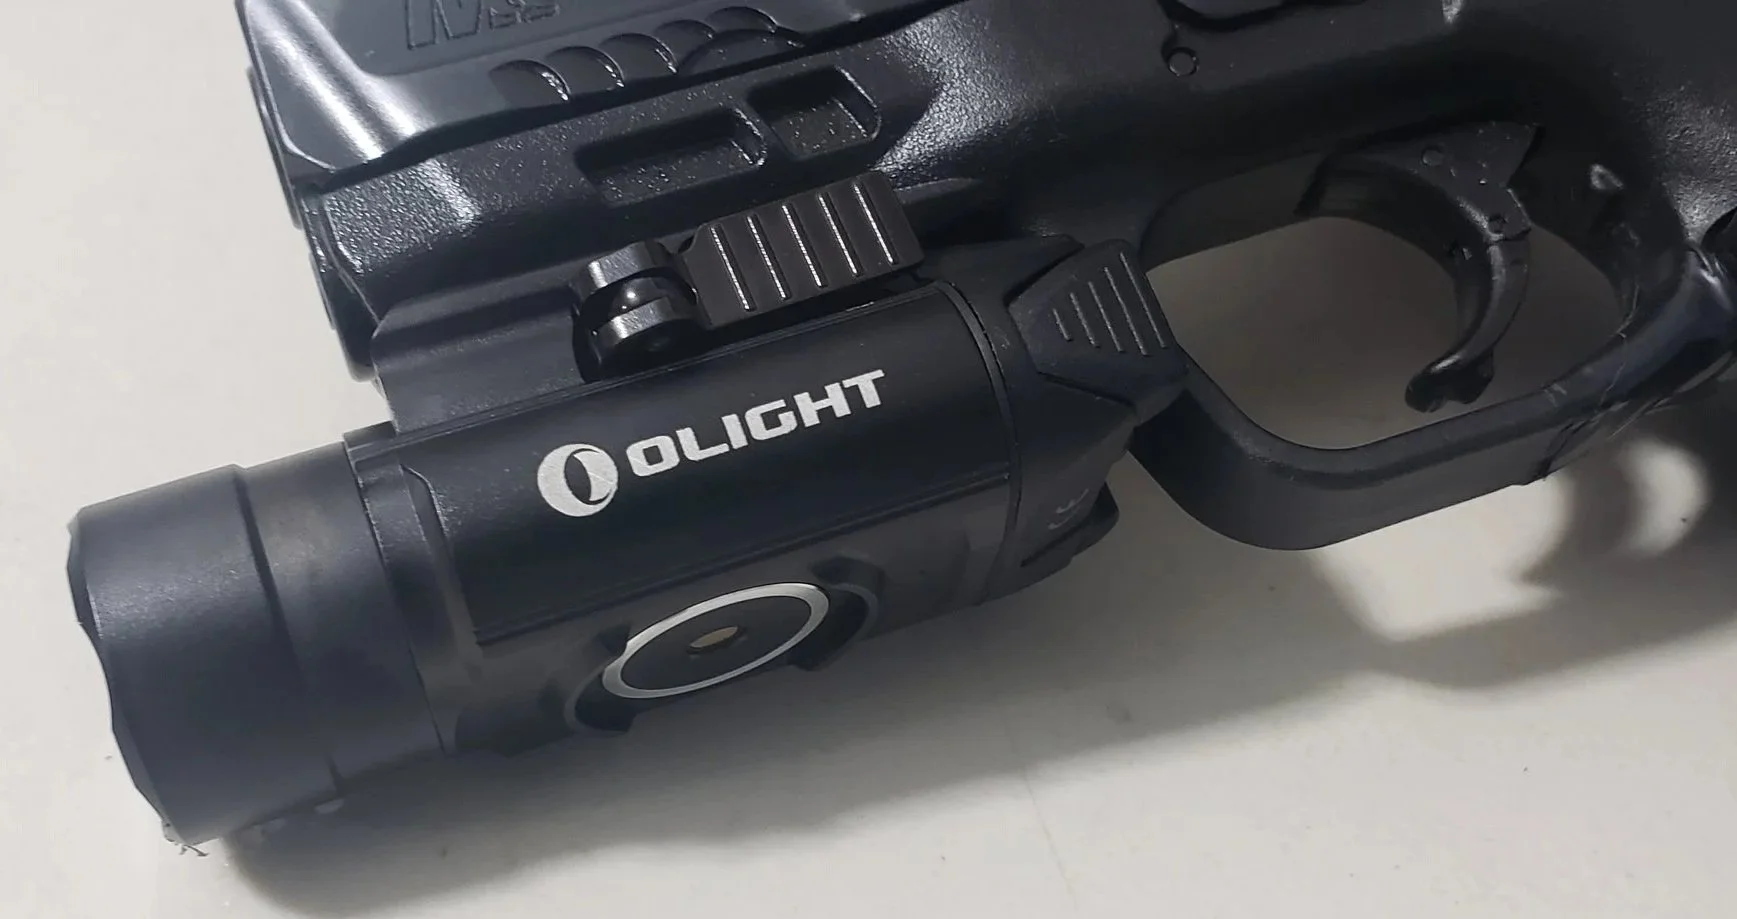
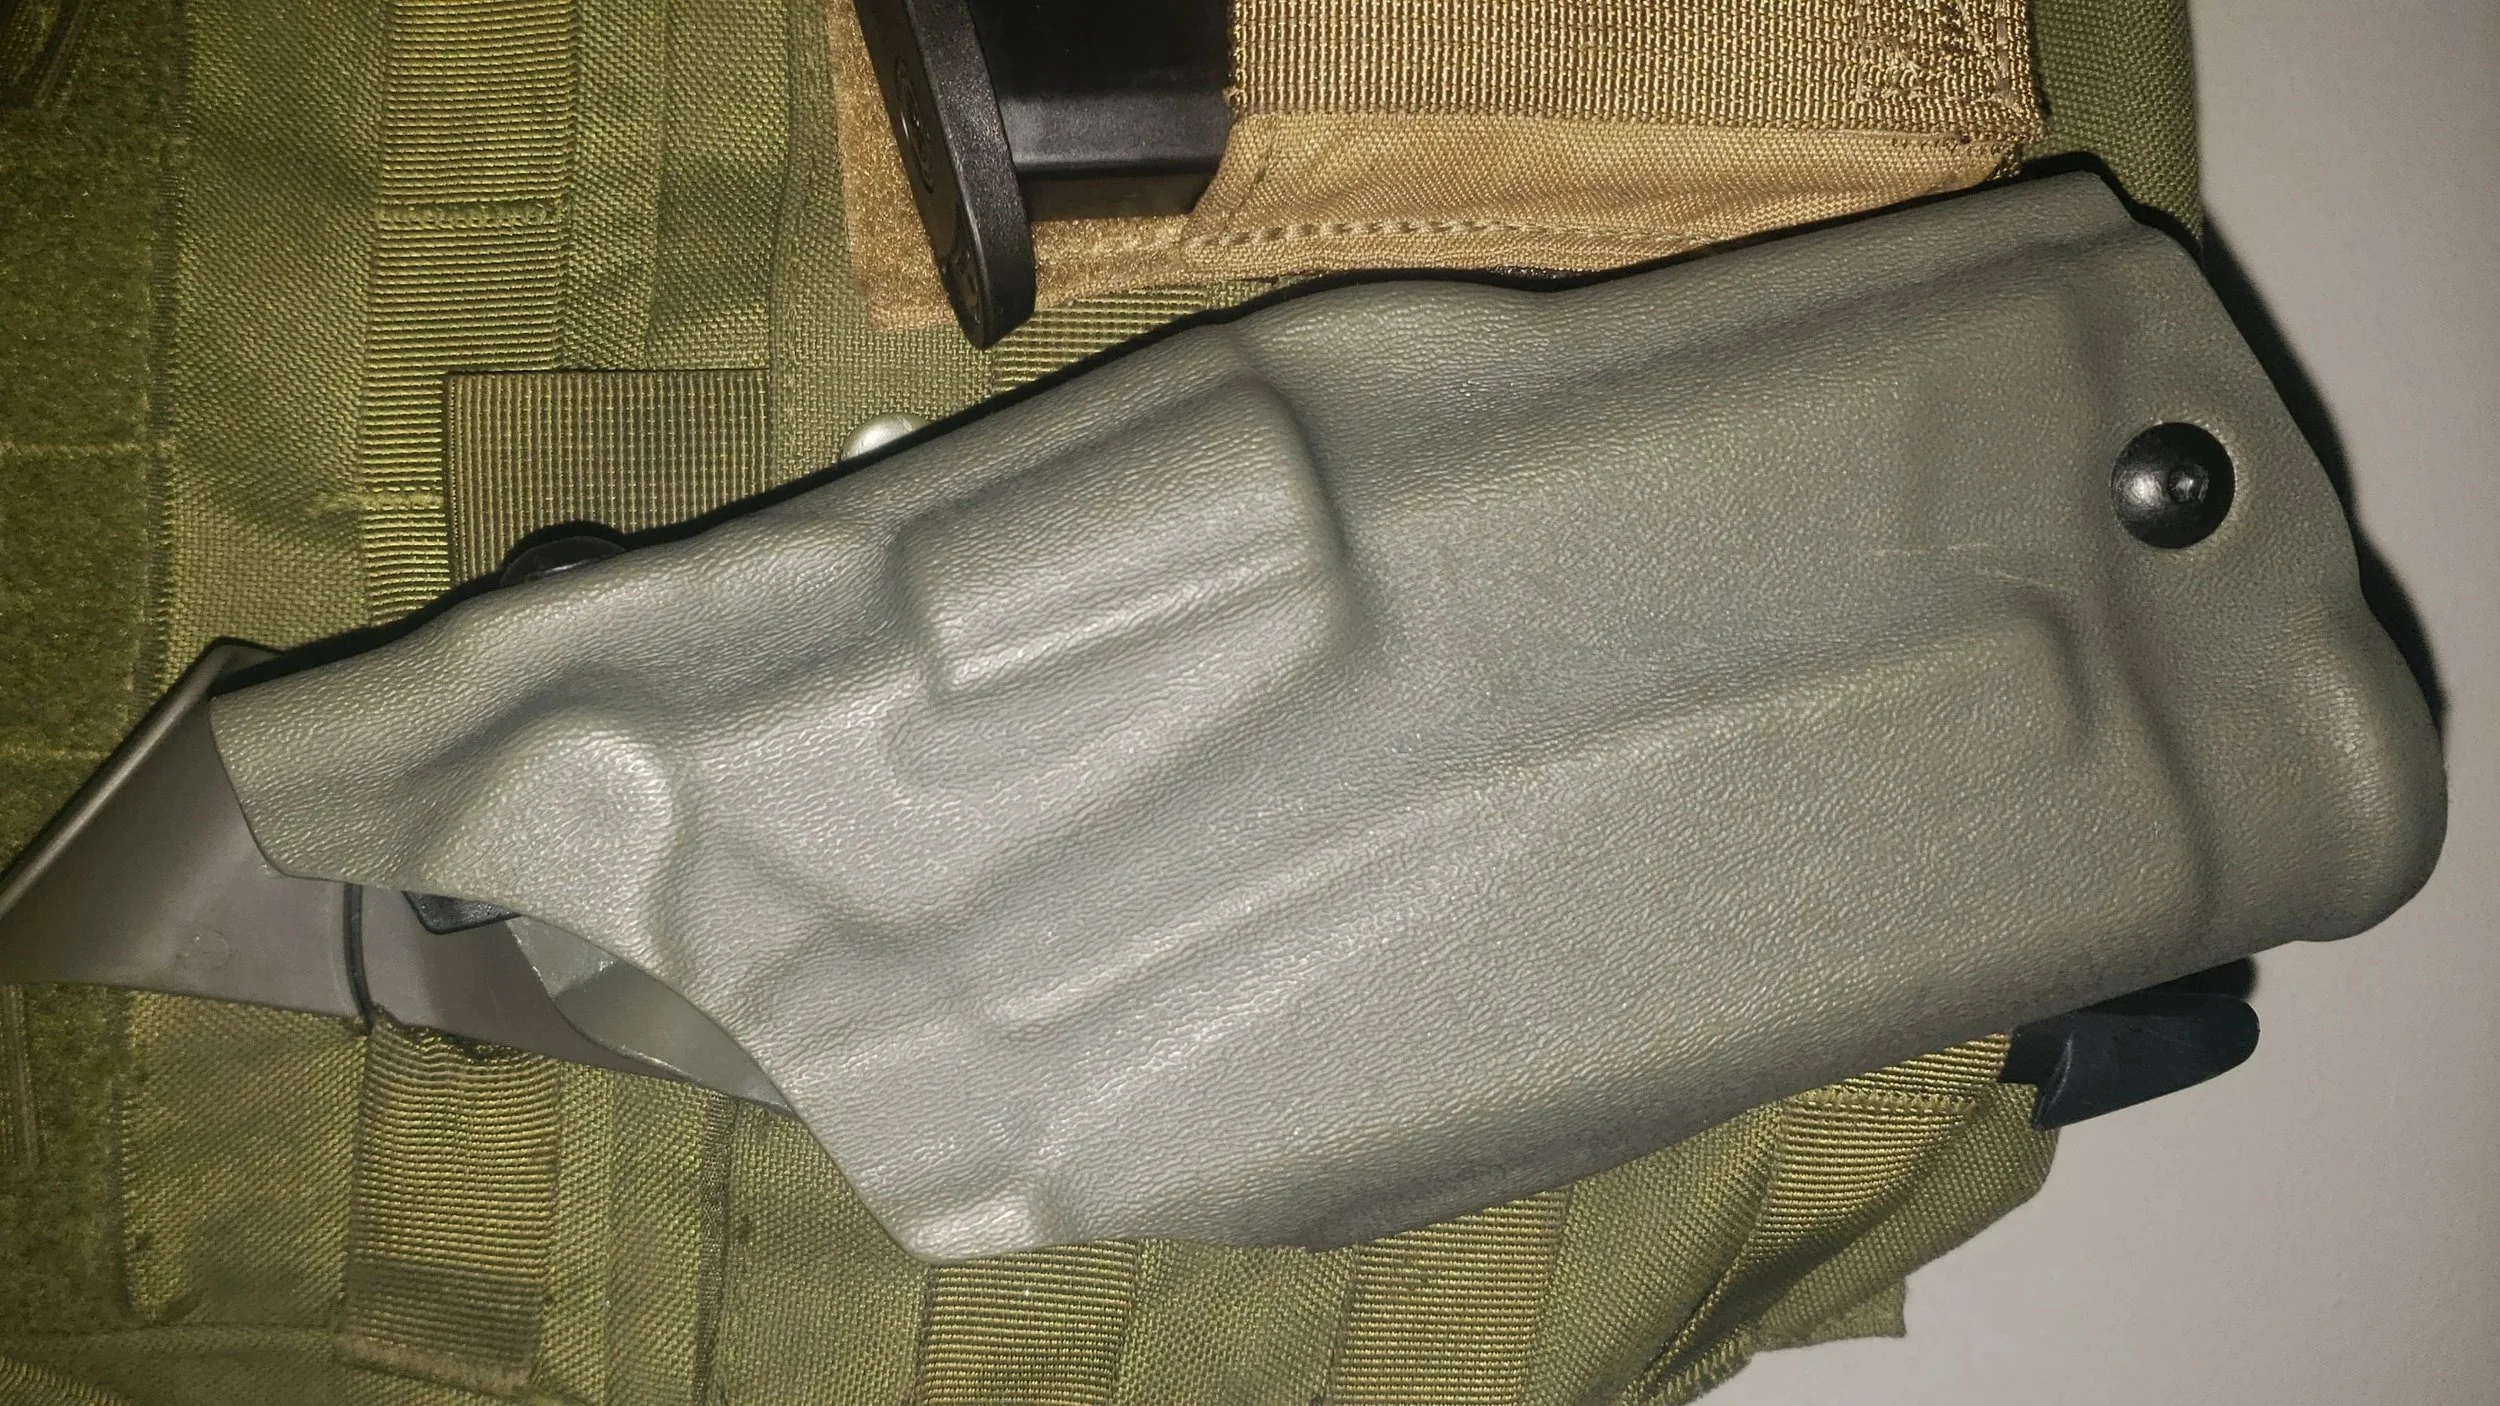
The PL Pro comes in at about the same size as its surefire counterpart, the Surefire X300. In fact, I use a Safariland holster made for the Surefire X300 and it works great.
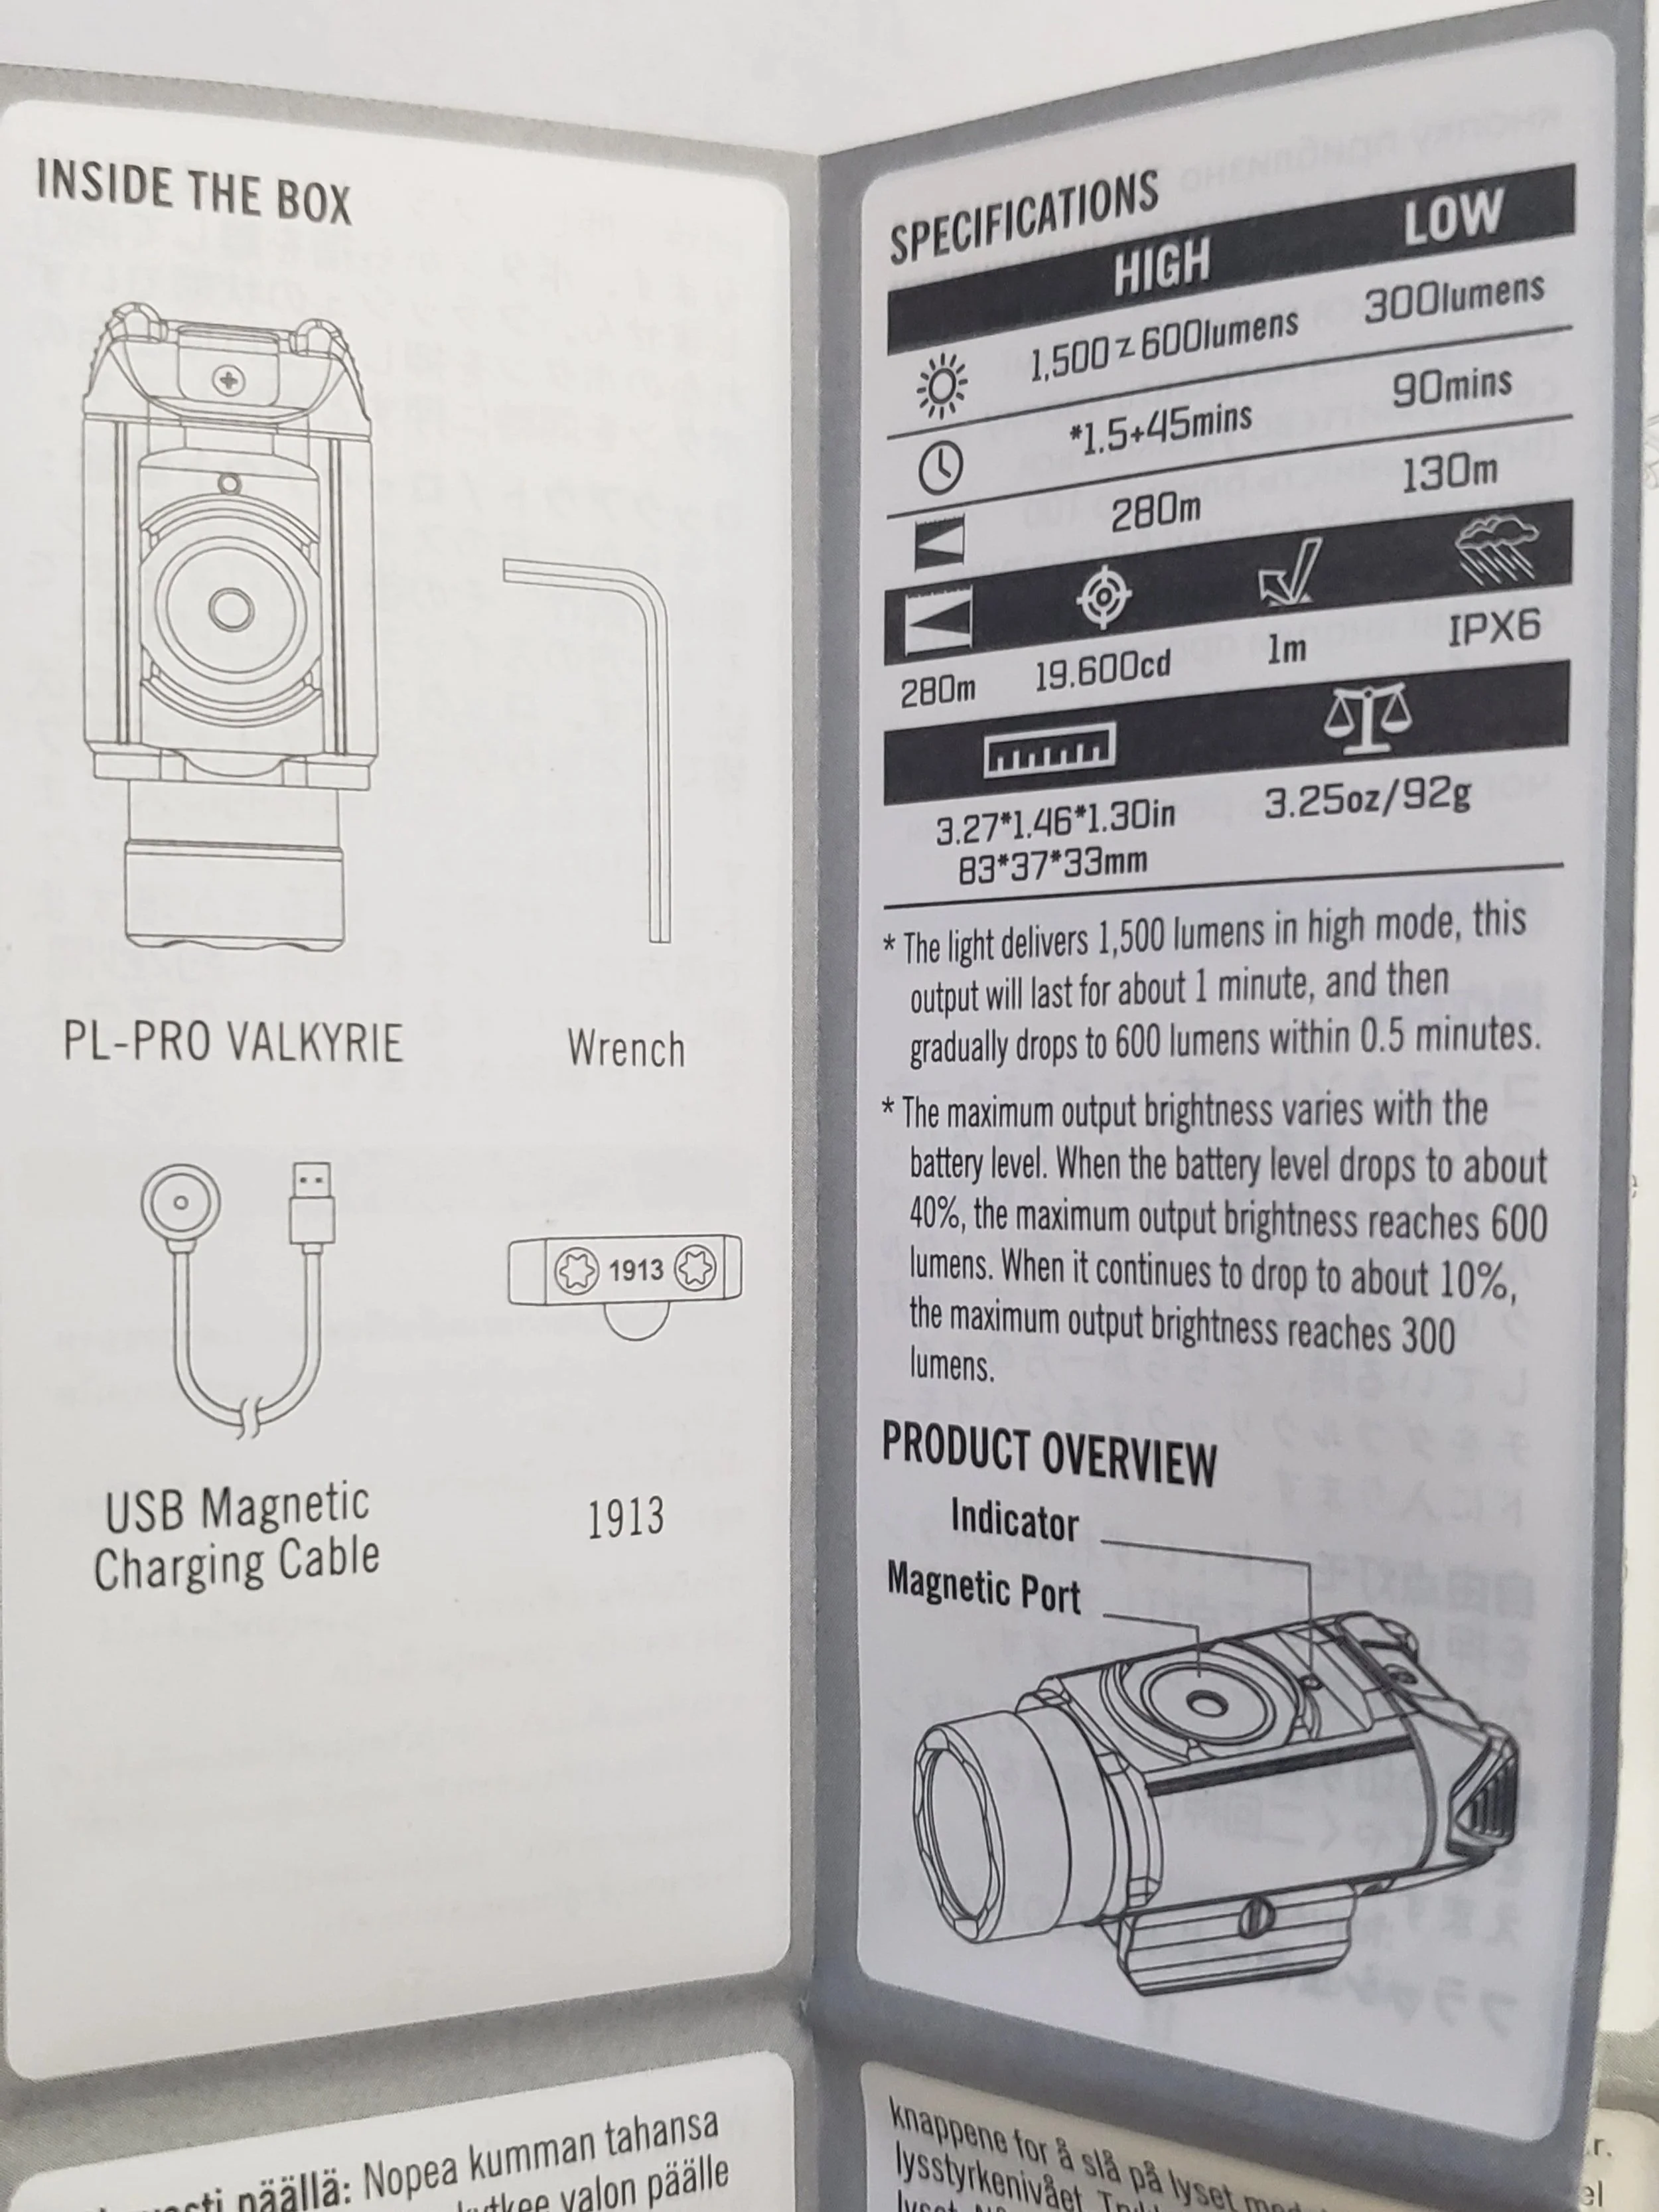
I will refer you to www.olightstore.com/pl-pro-valkyrie.html for the exact specs since that is what they are there for. I am merely here to tell you about what it is like to use the light. But here is a little picture of the spec sheet in the manual.
PLACEMENT AND FITTING
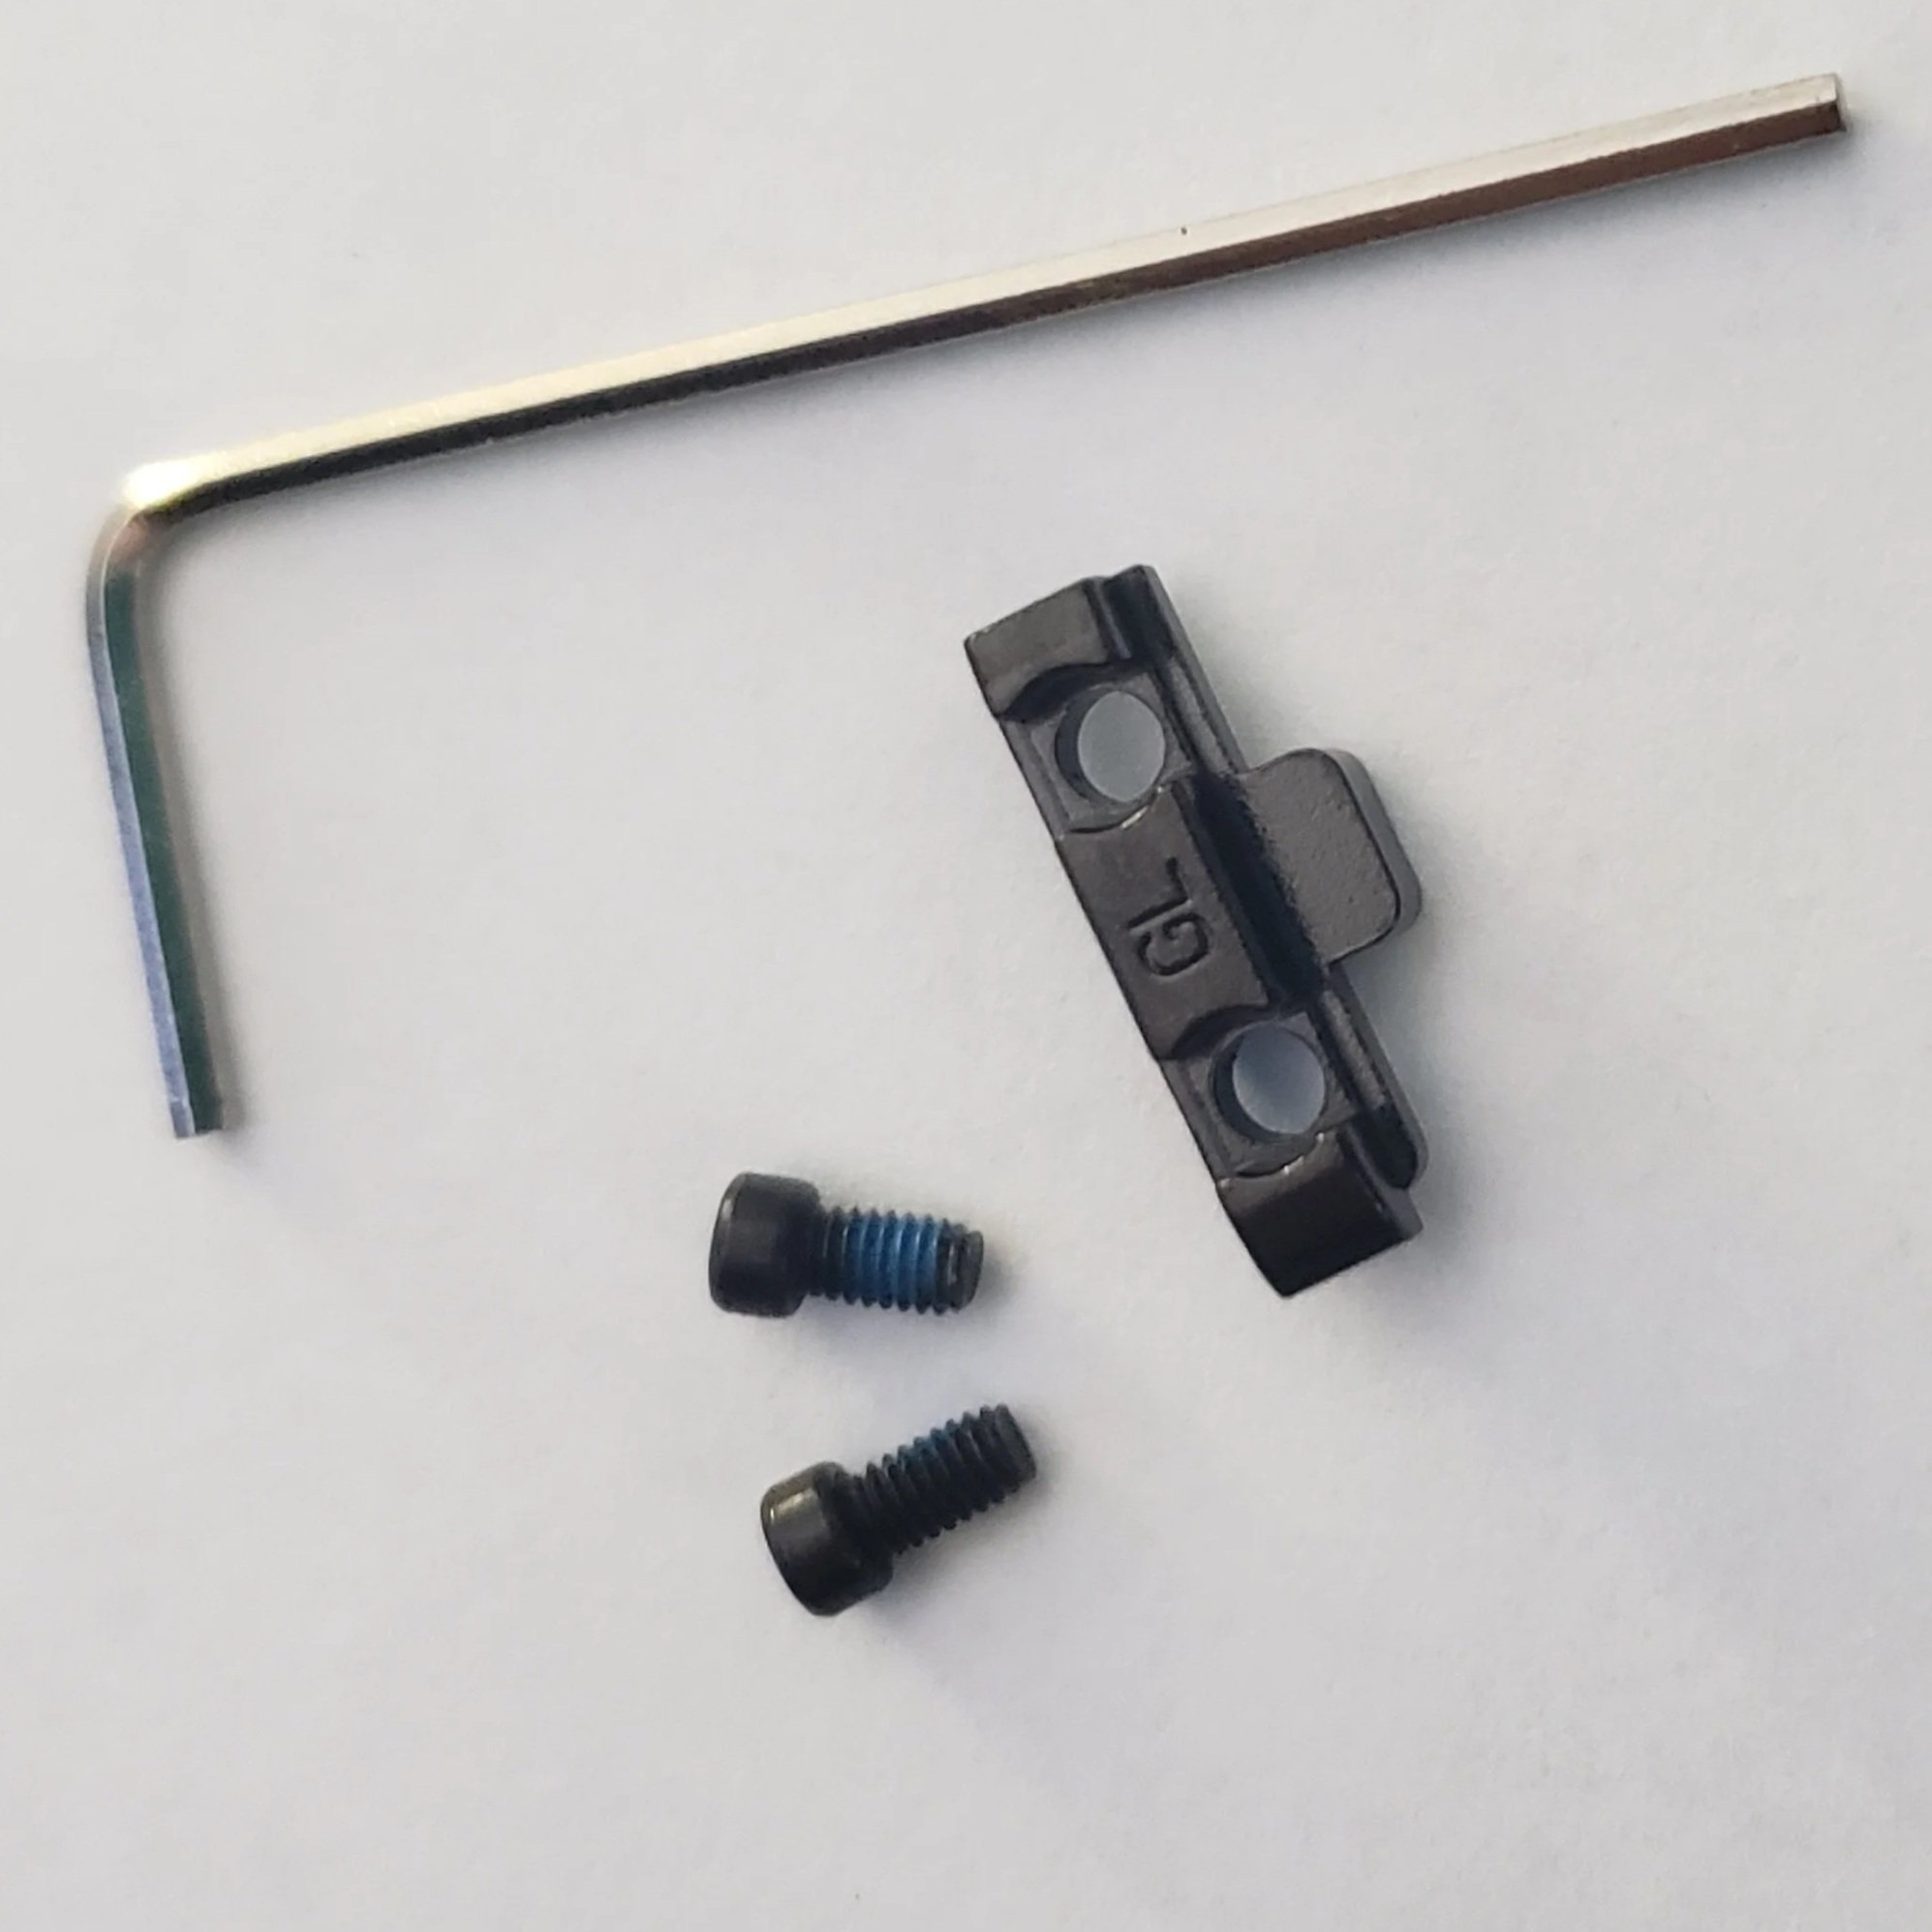
The light comes standard with the Glock rail bar, but it is simple to change out the bar with the provided 1913 rail bar using the Allen key and extra screws. I recommend using at least blue thread lock on these tiny screws since recoil is never their friend.
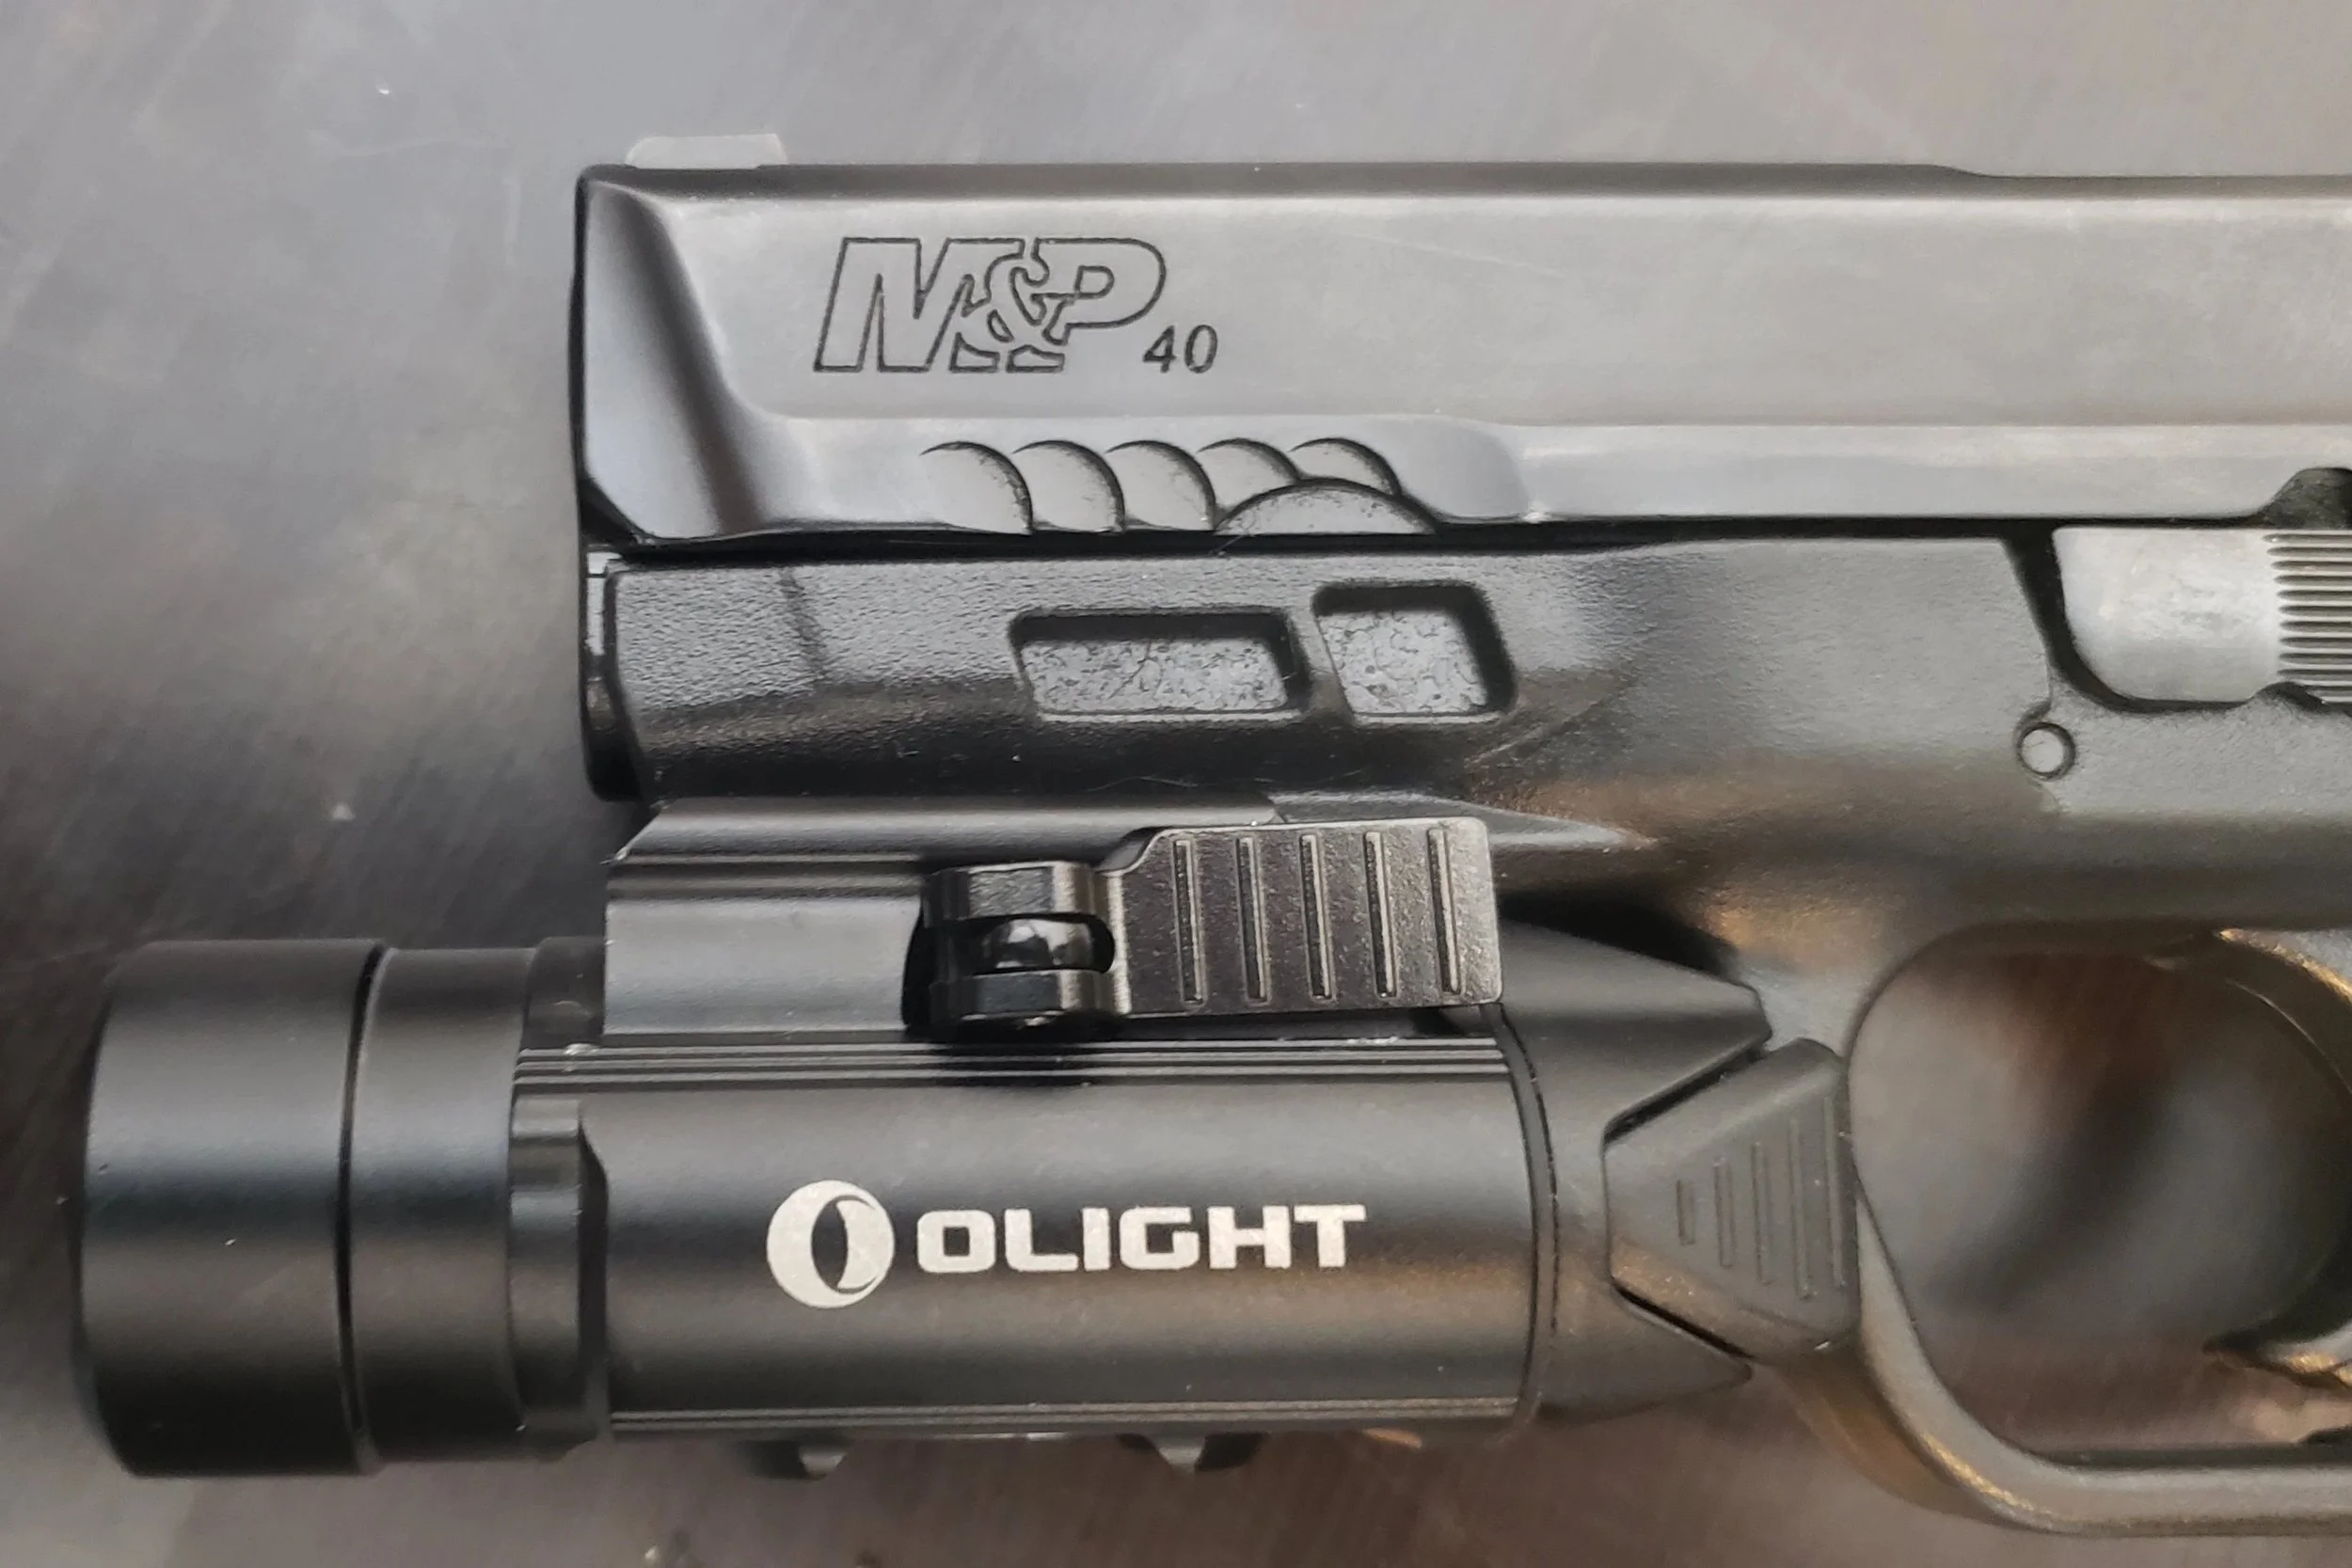
The light is a bit long and is obviously meant to fit flush with a 4.5” pistol like the Glock 17. My M&P40C 2.0 has a 4” barrel and the light exceeds the length of the barrel by about a half inch, leaving powder burns on the light after I go shooting with it on. The .40 S&W has been the bane of many firearms throughout the time I have owned this light.
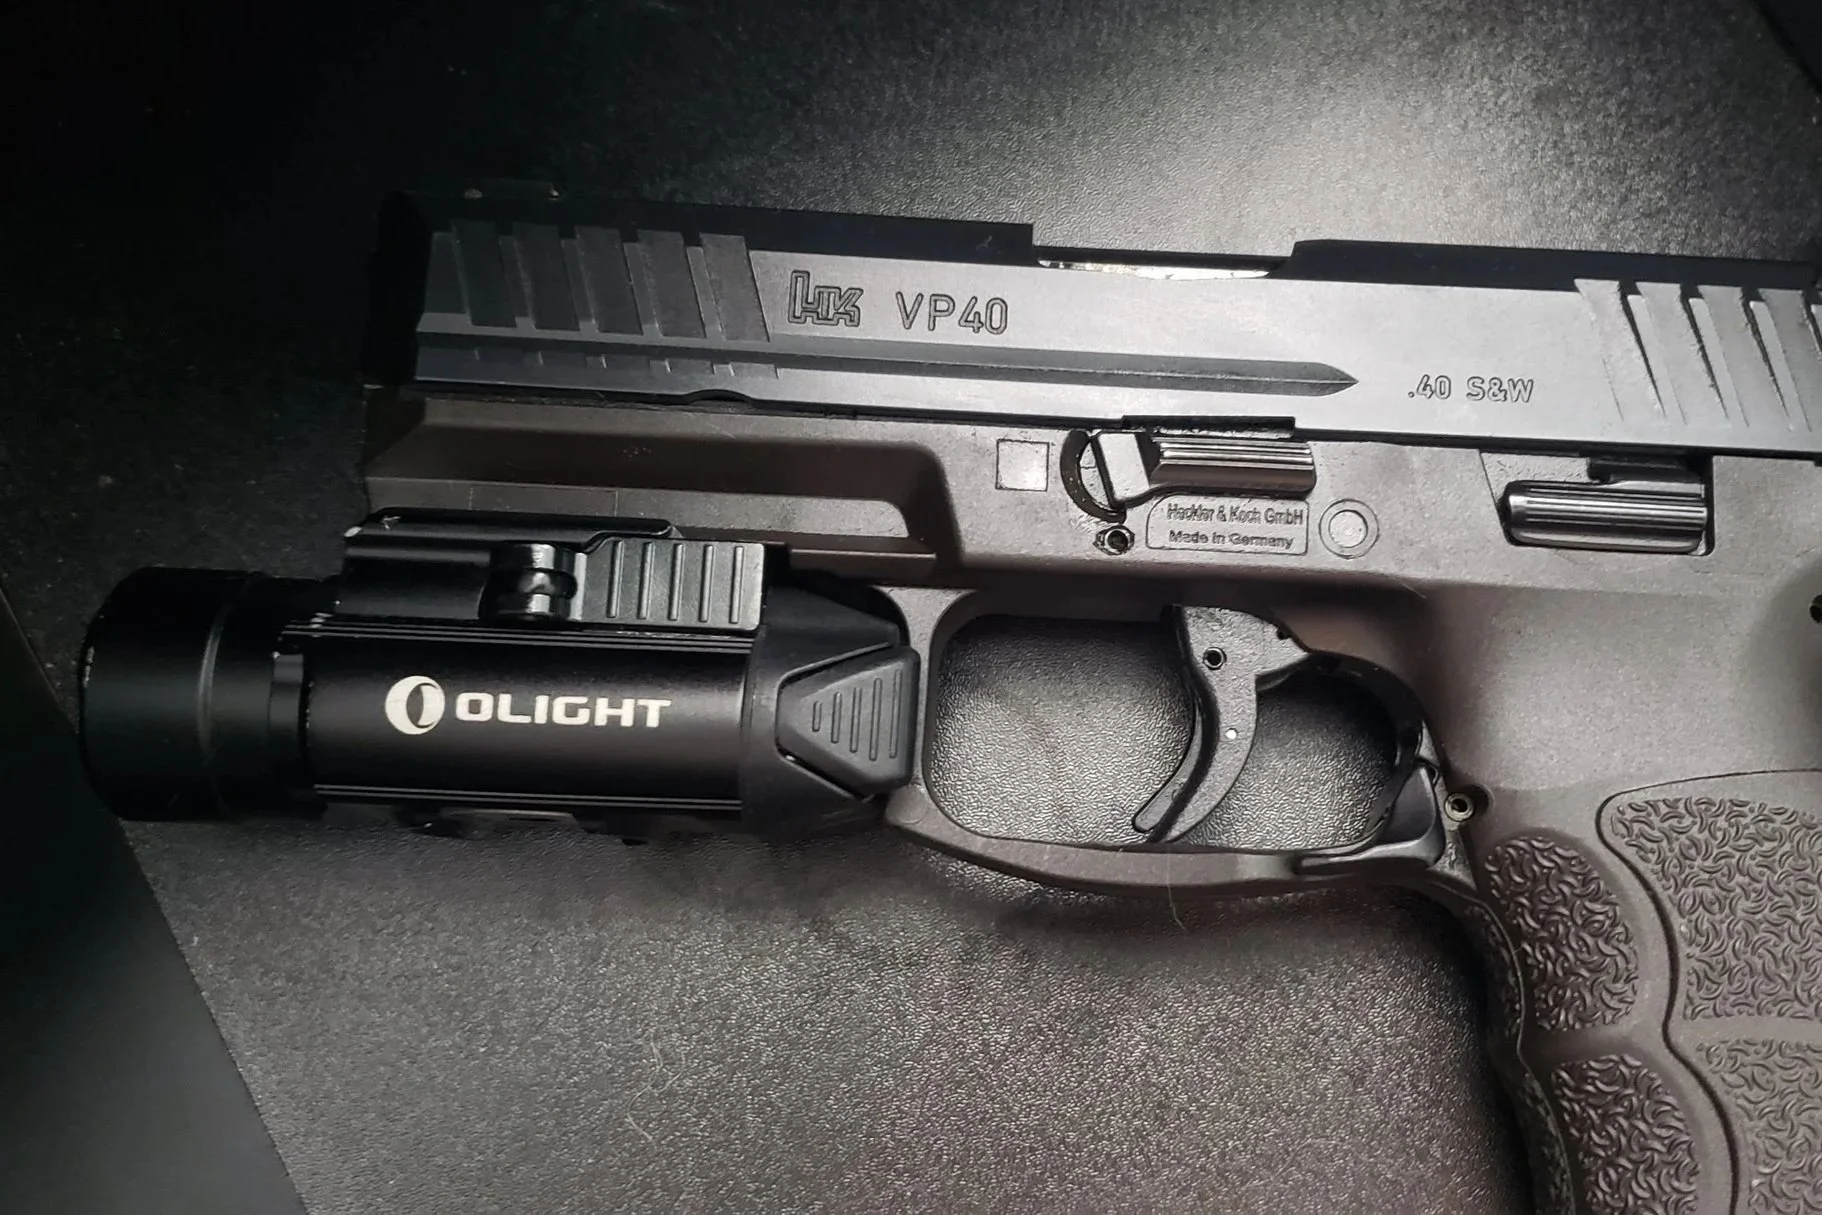
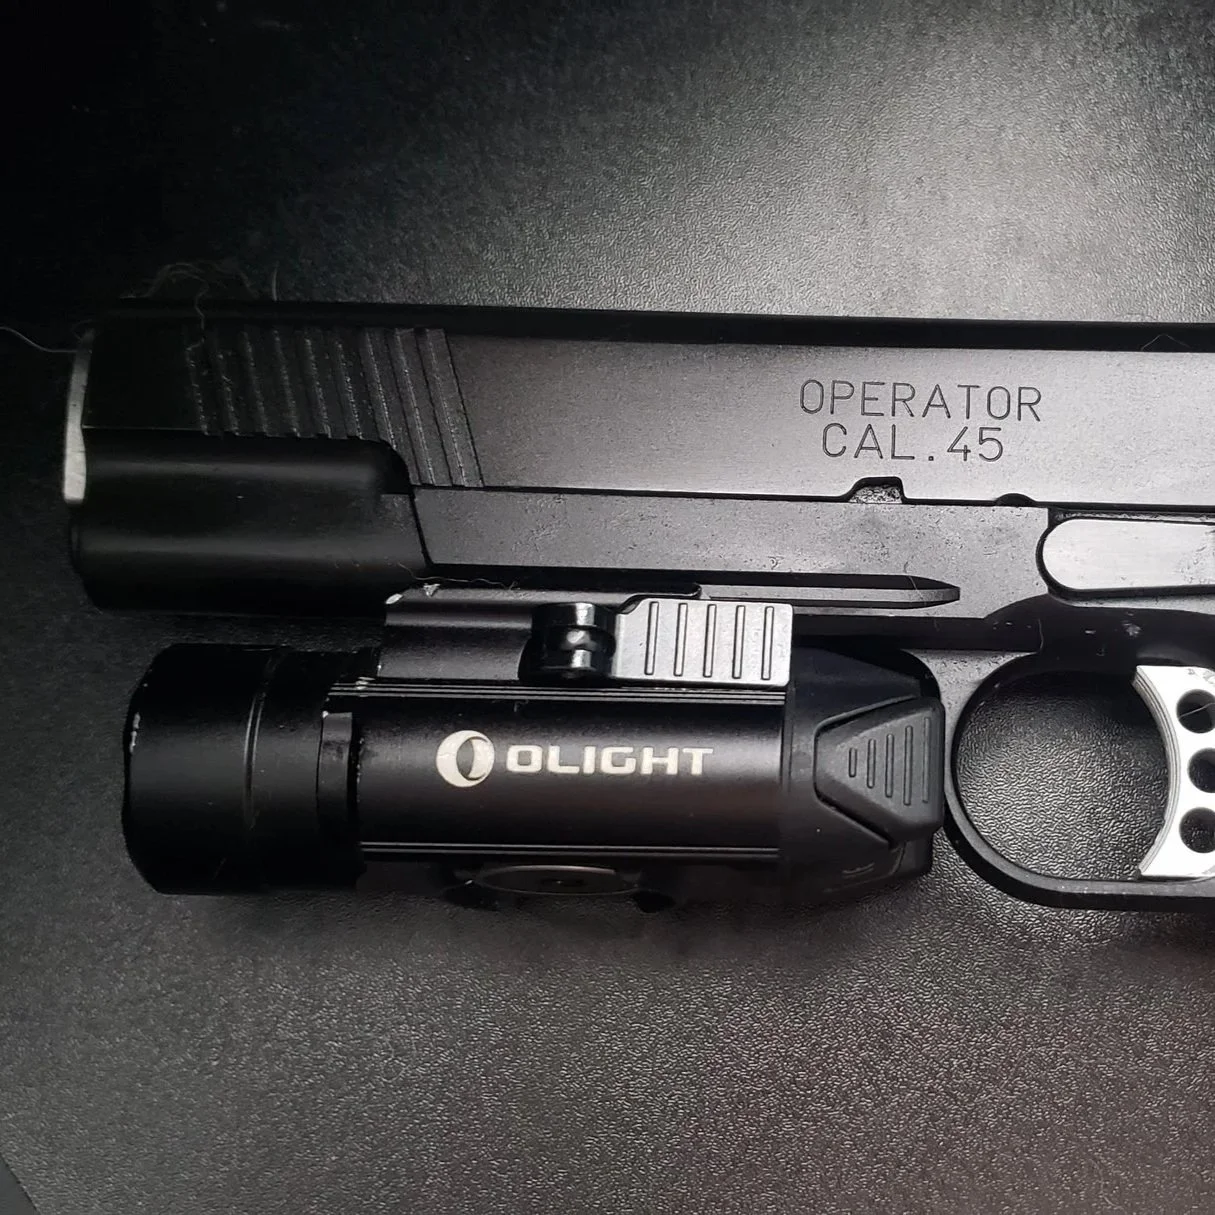
Currently, I have the PL Pro doing home defense service on my VP40 and another on standby for training with my Springfield Lightweight Operator in .45 ACP. Both have handled the beatings of the calibers with grace, to my surprise. They have stayed on tight, despite being subjected to thousands of rounds of rapid fire.
CONTROLS AND MODES
As with most of the Olight weapon lights, the controls are simply two textured polymer buttons on the back of the light. The buttons give off a nice little tactile and audible CLICK when you actuate them. For constant on, press and release quickly. For temporary, simply hold down the button until done using it. For strobe, press both buttons simultaneously. Whether you hold the buttons down or quickly press and release, the strobe will remain on until you push at least one of the buttons. The last thing is the Lockout setting used when transporting or storing so you don’t kill too much battery if the switch gets bumped. Simply hold one button down and then press the other after a second or so and hold for three seconds. Do the same thing to turn off the Lockout setting.
You have a high output of 1500 lumens as your standard setting, but if you turn the light on constant and then double tap either switch, you will rotate to the low setting of 300 lumens. Until you double tap the switch again, your light will be set to this 300 lumens. I found myself trapped in the low setting for quite some time during training because I did not understand that this was even a thing. I was actually thinking I got a bad light or that I shocked the internals from shooting off the short rail of the 4" M&P. I could not understand why my new all-powerful light was all of a sudden putting out a bronze-colored beam that had less intensity than my PL Mini2. Then when I was fed up and seeing if the strobe would give the same brightness, I found it to be much brighter, causing me to mess with the switches to figure out what pattern of clicking I could use to correct the issue. From here I found the issue and was pleased that it was only my rational thinking that was broken and not my light. If I would have simply taken 30 seconds to read the provided manual, it would have told me what might be the issue.
I imagine that this dual-mode setting is for versatility and allowing you to use the flashlight for SINCC (Search, Illuminate, Navigate, Communicate, Control). You don’t always need to eat up battery in navigating, communicating, and searching when you can easily get by with 300 lumens. Controlling and illuminating are good uses for the powerful 1500 lumens, though. Also consider, many surfaces that normally don't dramatically reflect light at distance seem to act like mirrors when you put 1500 lumens to it at close range.
When I lived in Alaska, I would use the low setting if I were simply searching around my yard for possible varmint that could be a threat to my animals and livestock. Once I spotted the threat, I would change the setting quickly with a double tap to get a better view of the entire area I was going to be focused on during my engagement.
SWITCH TECHNIQUE
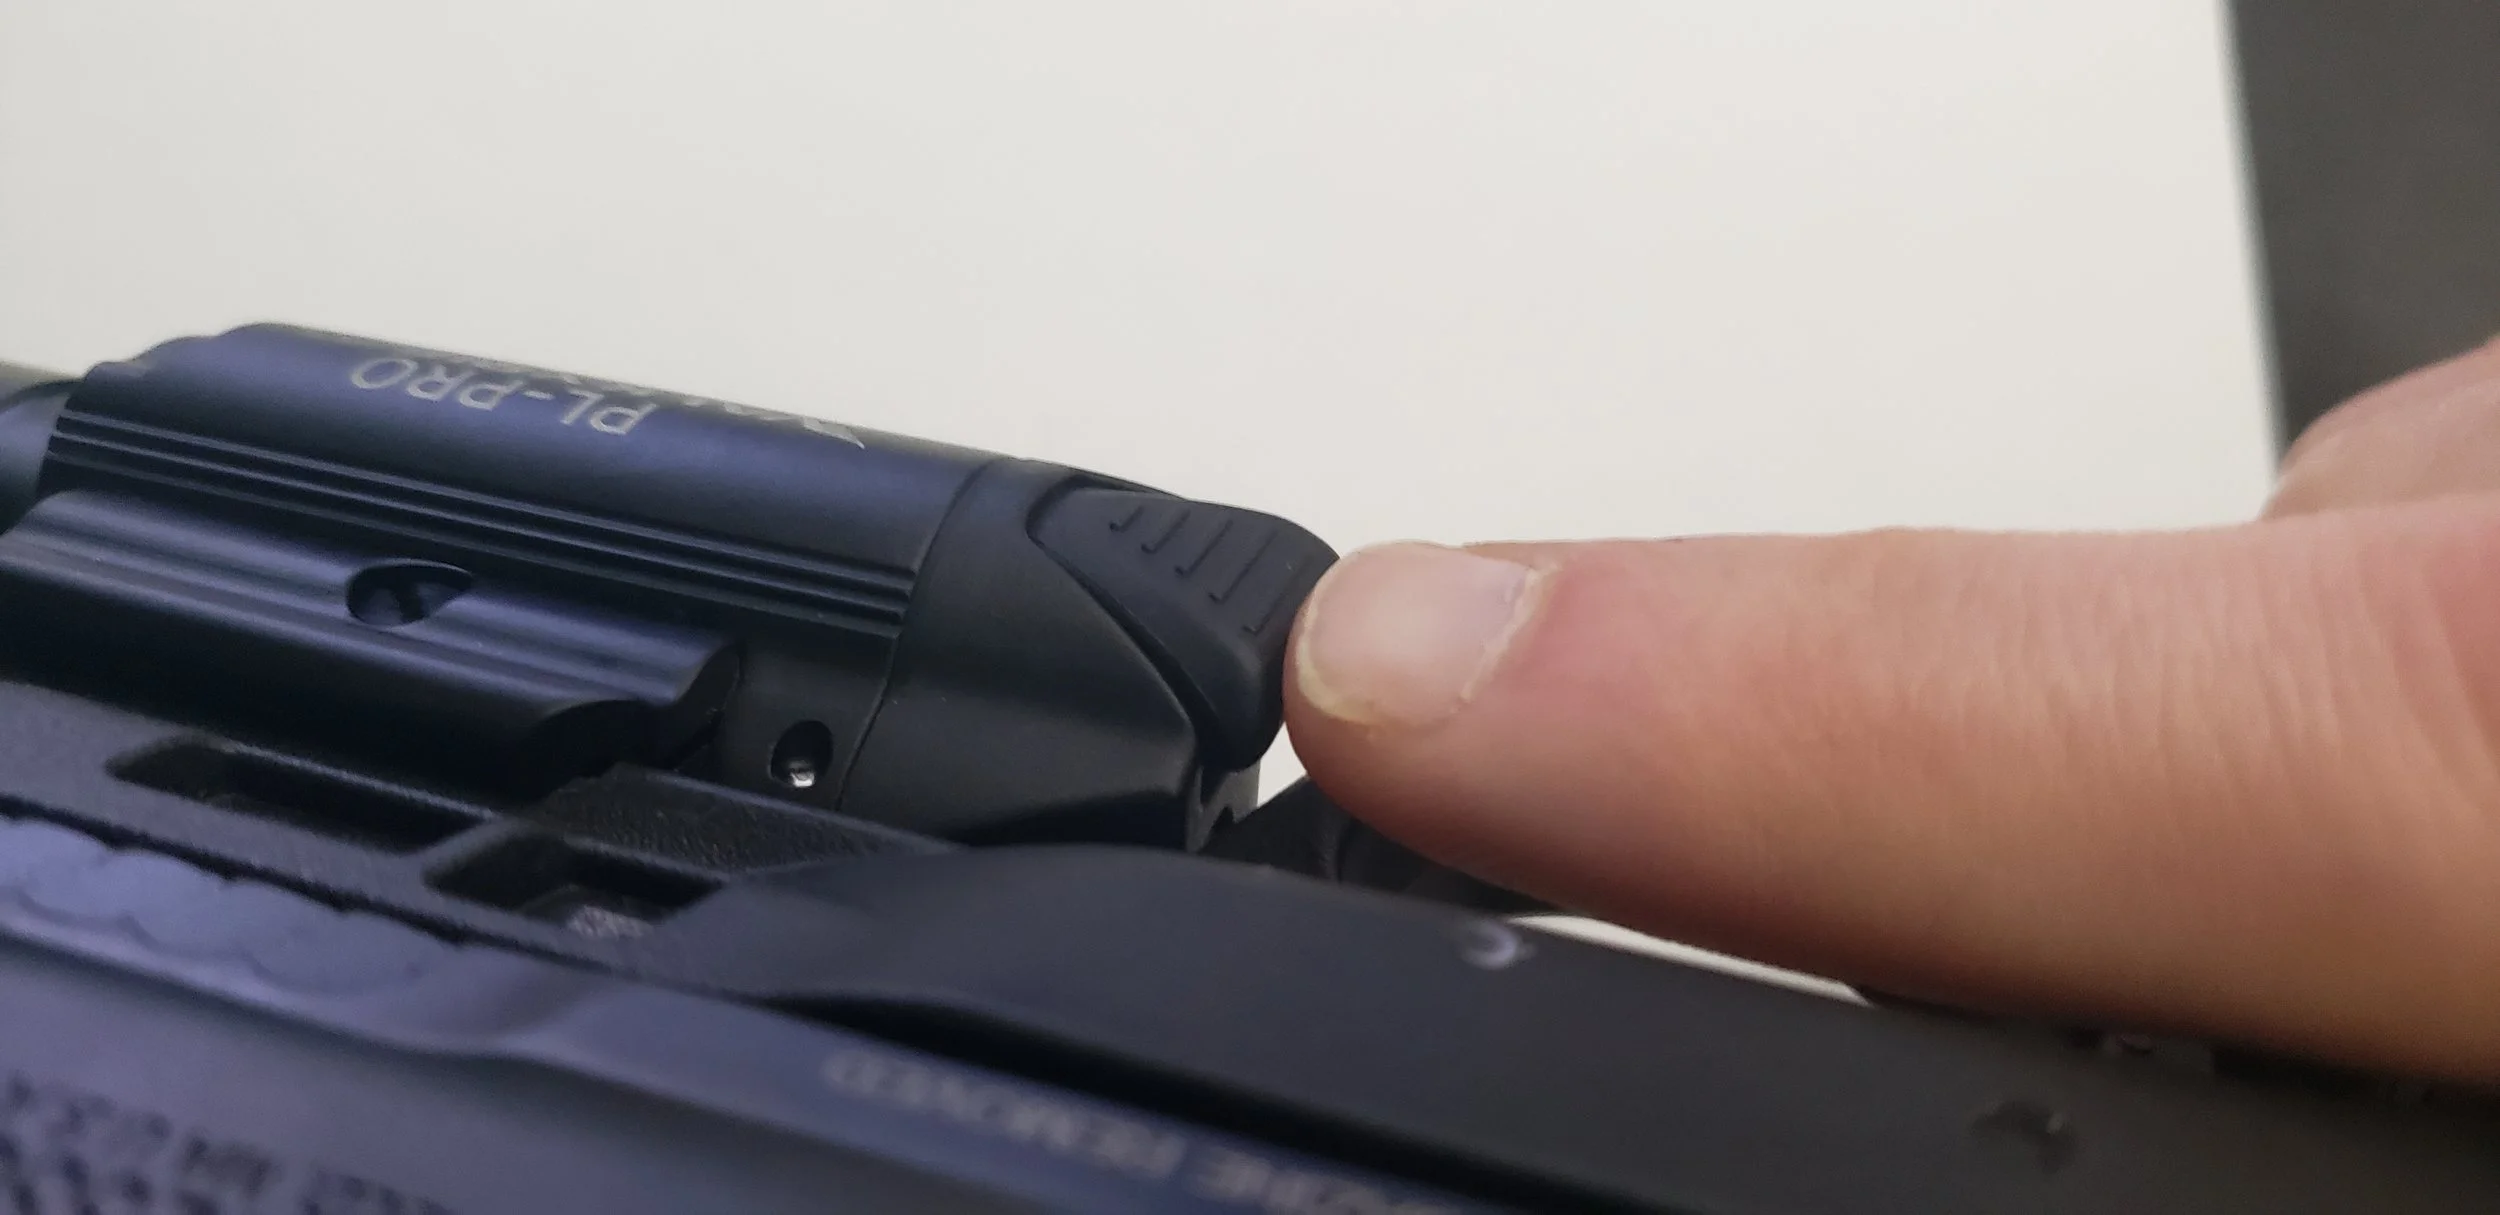
I am personally partial to constant on and using my trigger finger to engage or disengage the light. The good news is that this switch is a simple inward push instead of an out-of-reach toggle/bump switch. If you have small fingers, you will likely struggle to just touch the rear of the switch, let alone actuate it. If you do not have an issue with actuating the light with your trigger finger, I would caution you to make sure your support thumb is high and away from the light when you bring the gun back in to retention. I have witnessed a friend take a beating on his thumb while shooting my Springfield operator because his thumb was not wedged well against the slide and ended up getting whacked by the takedown lever on the light during the recoil.
An issue I have always had with firearms is limitations associated with my small hand size. For me, it is not very simple to find the switch of the PL Pro without ever so slightly forcing my trigger finger forward on some pistol designs. The only thing I wish this light had was longer switches for us short-fingered folk. But I have done pretty well at making it work, thanks to the nice little traction lines on the switch. I also have to be thankful for the fact that the switch is slightly on the sensitive side.
Depending on the type of gloves you use, the light can be easy to use or it can be quite the pain in the butt. If you are using a glove that uses goat skin, leather, or some kind of material on the inside of the fingers that has a tendency to grab on surfaces, actuating the light will be no big deal. However, I am not a fan of the old school Mechanix gloves since the palm area is just one big soft material that does not inspire a good dexterous grip. Traditional Nomex flight gloves are one of the gloves that I tested and found to be inconsistent. This is because not all flight gloves are made the same. Some had a grippy leather palm while others were as slick as snot. You can still work the light a bit easier with gloves on thanks to the length it adds to your finger, but a nice grippy glove like the ones that First Tactical sells are my number one choice. A close second that I have come to appreciate recently are the PIG gloves. These have the durability of Mechanix gloves with the dexterity that First Tactical has.
BEAM CHARACTERISTICS
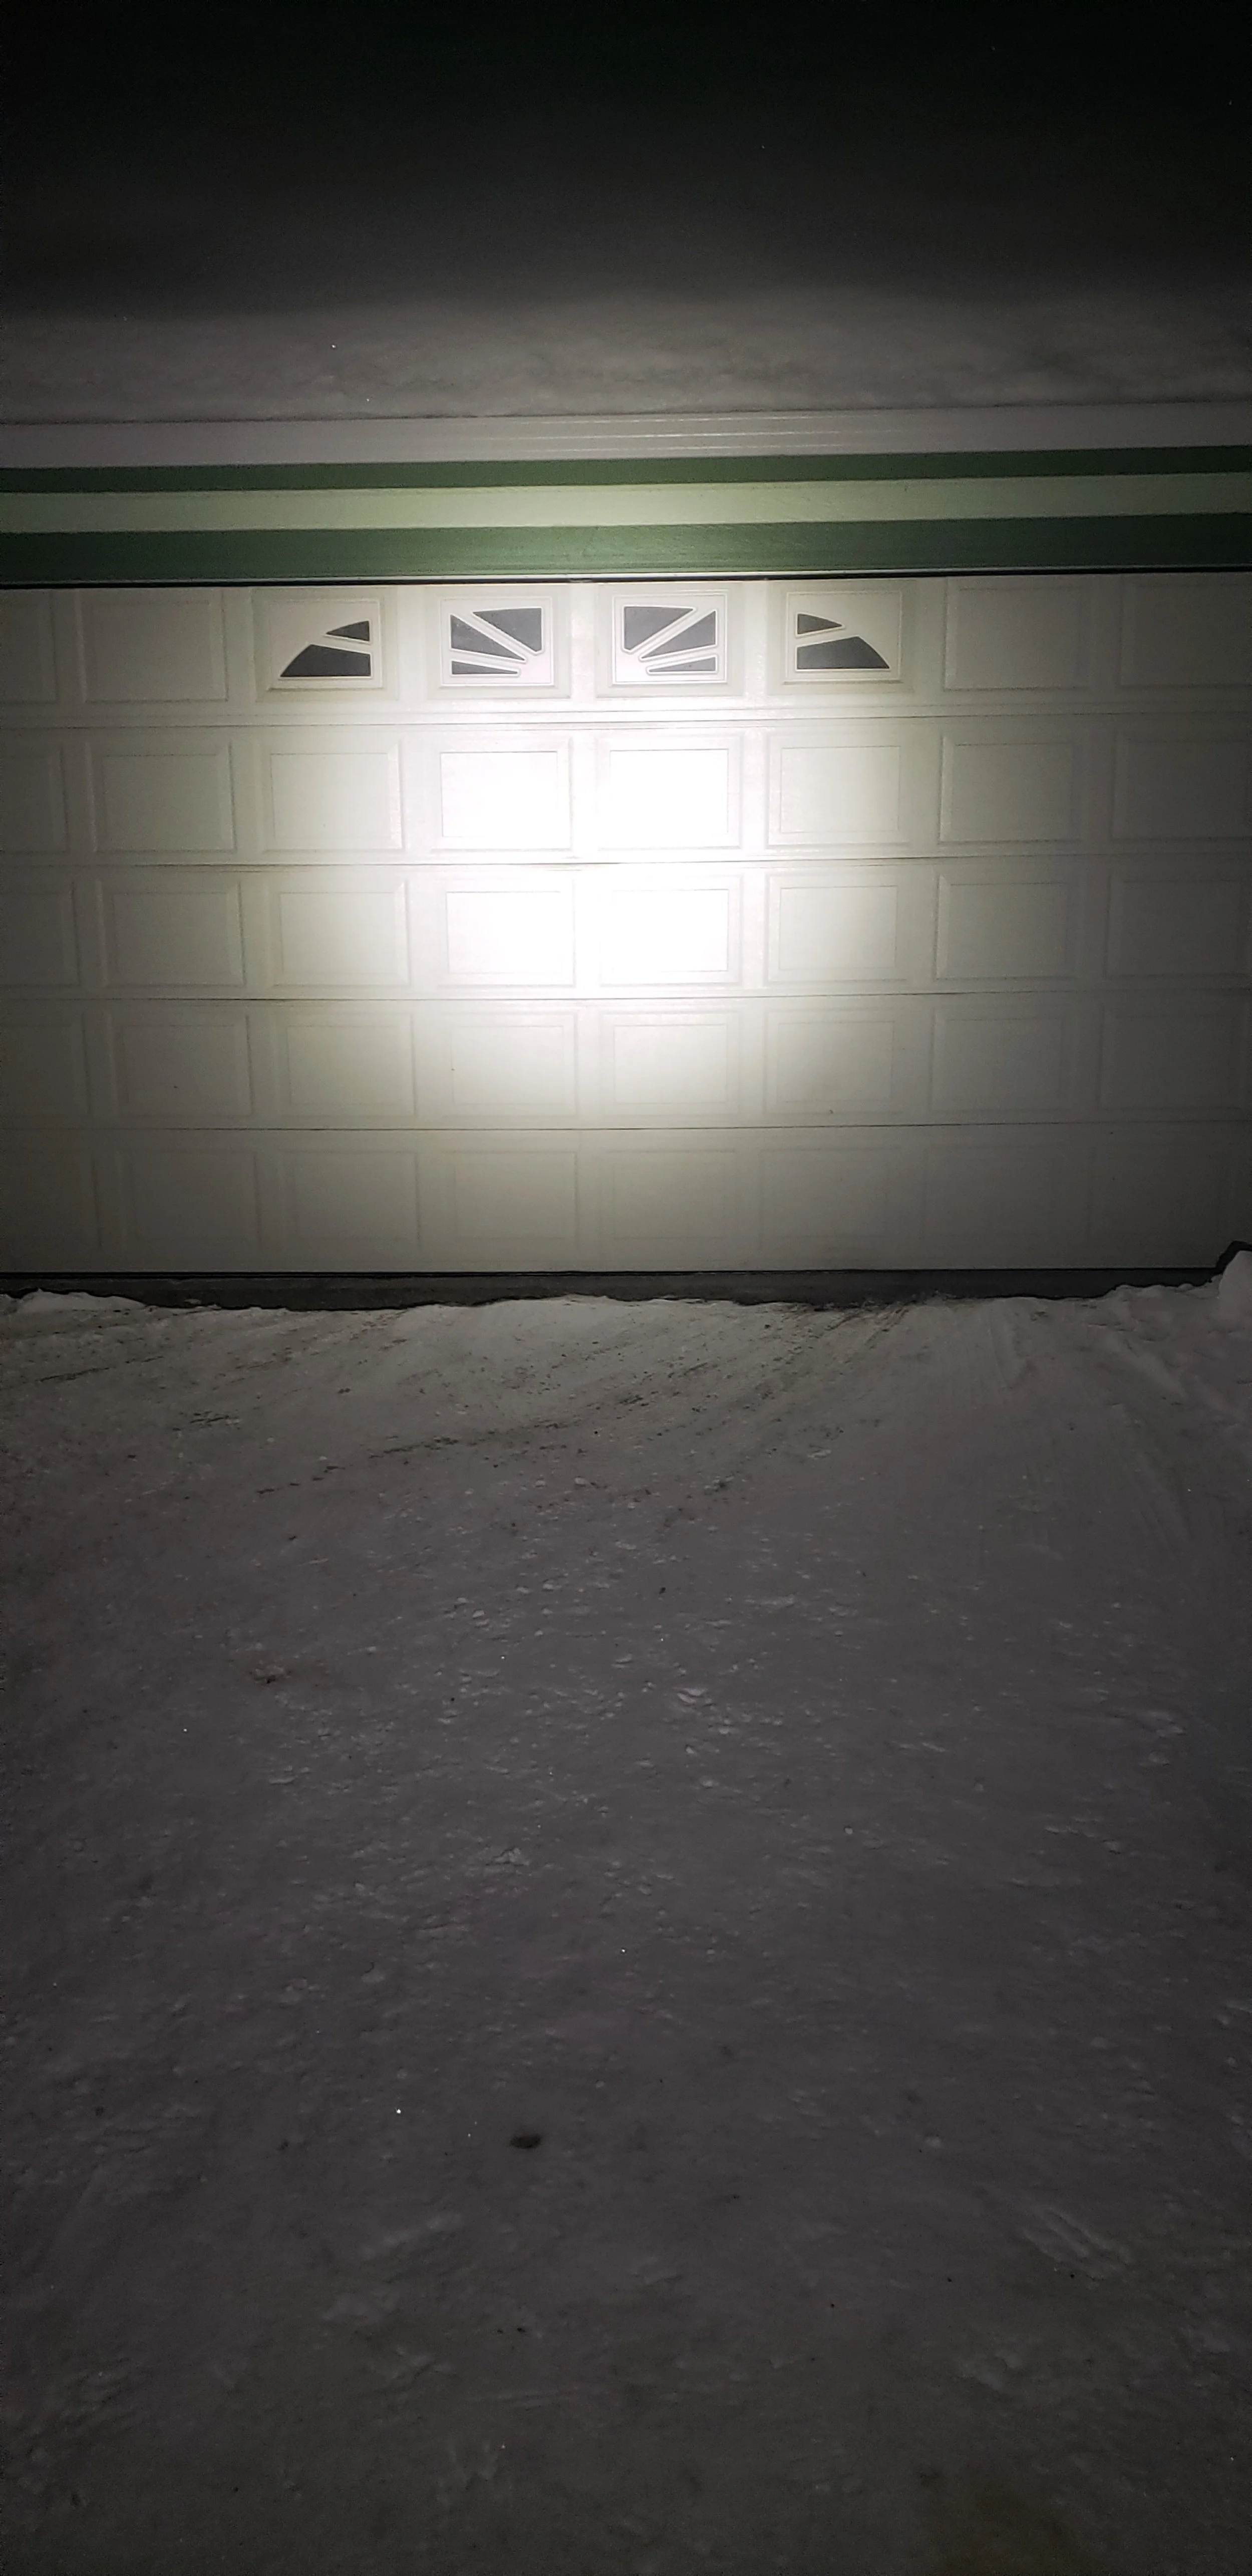
The PL Pro has a beam that has a well-pronounced hot spot, very much like a lot of handheld lights I own. The difference is that the hot spot on the PL Pro is very big…and very bright.

THIS BEAM HAS AN UMBRELLA EFFECT INSIDE ROOMS, ILLUMINATING A LARGE AREA WITH EASE.
I personally like lights that have broad and diffused beams because eyes typically become fixated on the brightest portion and are thus less sensitive to surrounding areas. For a pistol light it has been helpful to have something that lights up what I am shooting, and a little bit of the surroundings. The beam on the PL Pro is pretty bright and solid with a sharp cutoff. The spill leaves a lot to be desired out at range, but still offers a decent amount of light to give you an idea of the surroundings of your target.
THE ICE TENDS TO HELP THE BEAM A BIT THROUGH REFLECTION.
Depending on how you utilize a light, as well as your level of training and personal preferences, you may either really appreciate or strongly dislike the beam characteristics of this particular light. For my part, I can't say that I firmly fall into either camp of loving or hating it. When used indoors, the bright beam reflects effectively off surfaces, illuminating entire rooms with clear brightness. Outdoors, the light tends to spread out somewhat, but it still performs well by providing detailed and useful visual feedback at a reasonable distance.
BATTERY LIFE
This is a difficult subject to confront because my testing shows that if run non-stop, it will only last as long as 1.5 hours in the low setting and half that in the high setting. I ran the battery on the high setting with a timer to test this and the timer got to 2 minutes before the 1500 lumens went down to 600 lumens. Once the timer got to 44 minutes, the little red light came on. The light was definitely down to the 300-lumen mark at that point, but it was still a useful amount of light.
During testing and further utilization, I used the light as I would in a tactical situation. I used it when I needed to see, but no longer. Using the light in this manner is not only practical, but it keeps that 1500 lumens on tap for a much longer period of time. At no time throughout an entire day of low light training did I feel that the light had reached a level of ineffectiveness that made it relatively useless for target identification. It would go from the 1500 lumen output to 600 lumens after about a half hour, but it never dropped from there after that.
I hooked the light up to the charger at the end of the day, but I didn’t feel that the lighting was too poor in quality to continue on. Other than a few days like this, I would charge the light whenever I would take a break. Usually, I will use the low setting for practice on drills and such, then switch to the high setting for practical application or range work. This lessens the need for me to charge my light all the time. Even if I need to charge the light, it does not take too long to charge the battery.
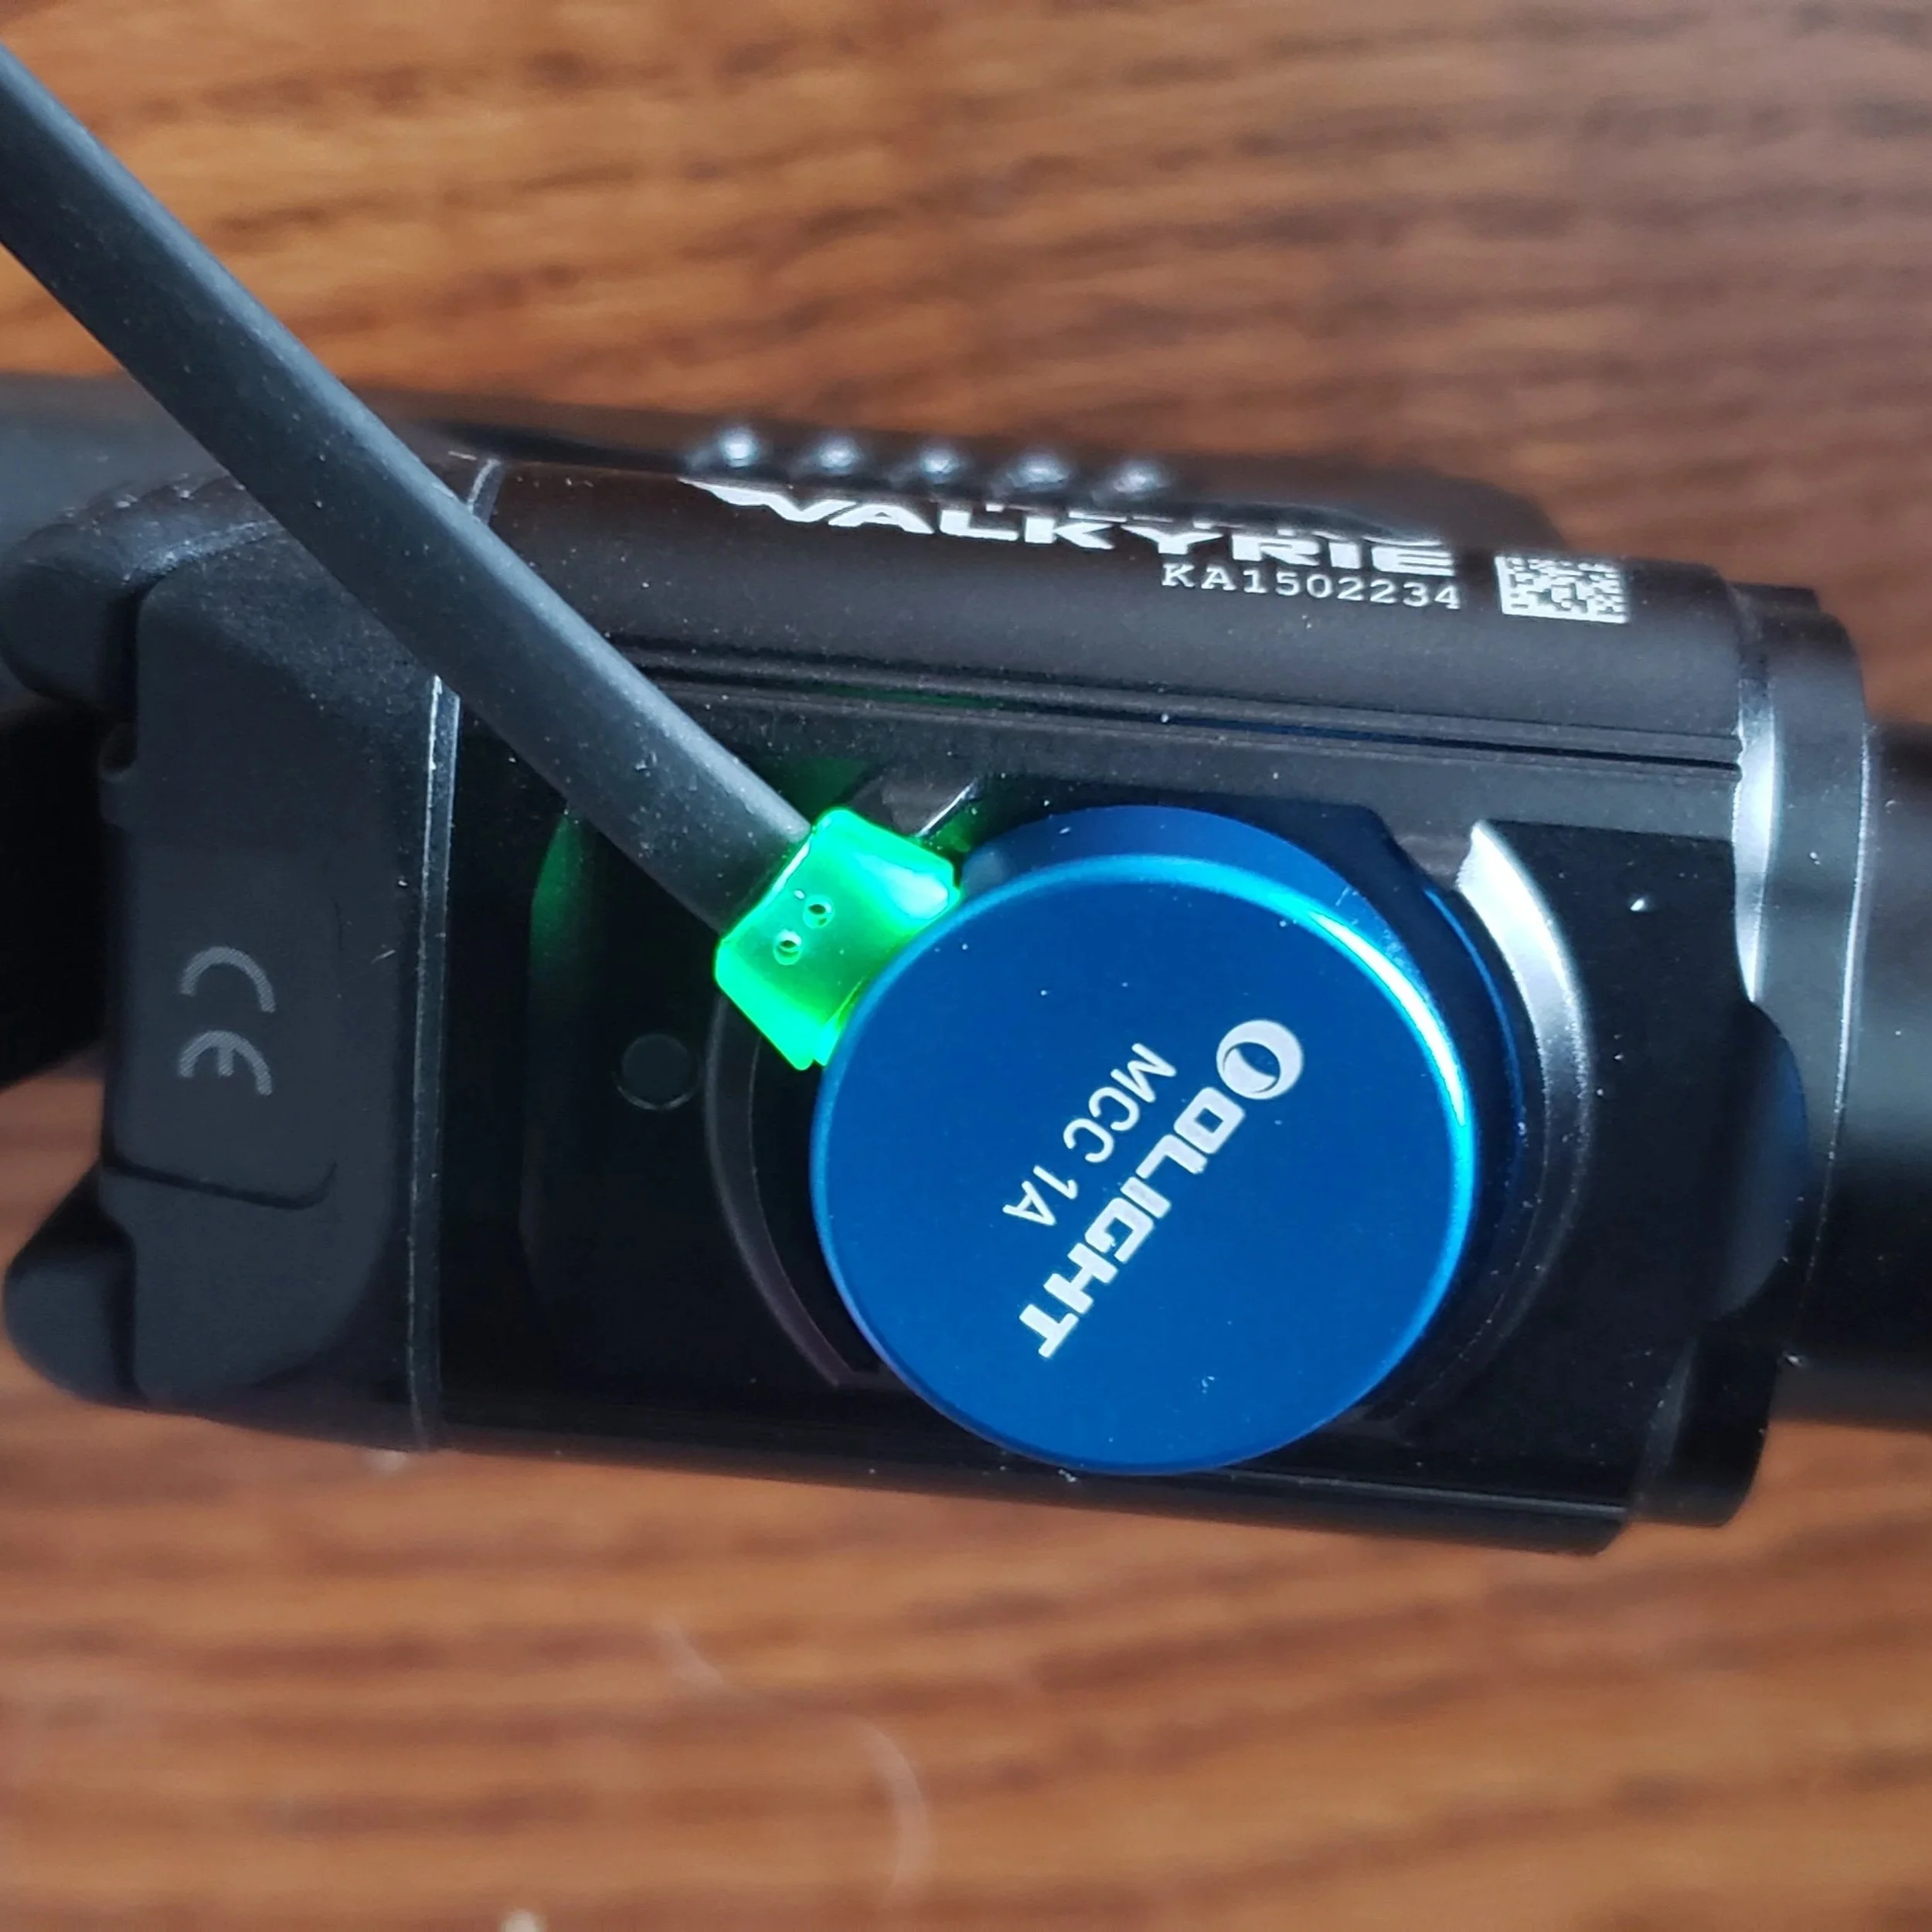
I love the magnetic charging system, and it is satisfying to let the magnet just smack onto the light for charging. Olight has made my low light training dirt cheap. I simply just hook up the magnetic charger on my home defense gun until the red light of the charger turns green.
WRAPUP
I feel like the PL Pro I have may be one of the best investments you can make for a home defense accessory. It is simple to use and get accustomed to using properly. I like how easy it is to charge these lights, and it seems that other manufacturers are trying to play catchup with Olight with similar designs. Too bad that it will be a while until a CR123 battery can push 1500 lumens consistently like this. Even when that happens, you will be spending more money on batteries than on the light. Though the 1500 lumens is not going to be around for the life of the battery, it will certainly be around for the life of the home defense conflict you may have to manage.