FIGHTING LOAD CARRIER “FLIC”: SETUP AND BEST PRACTICES

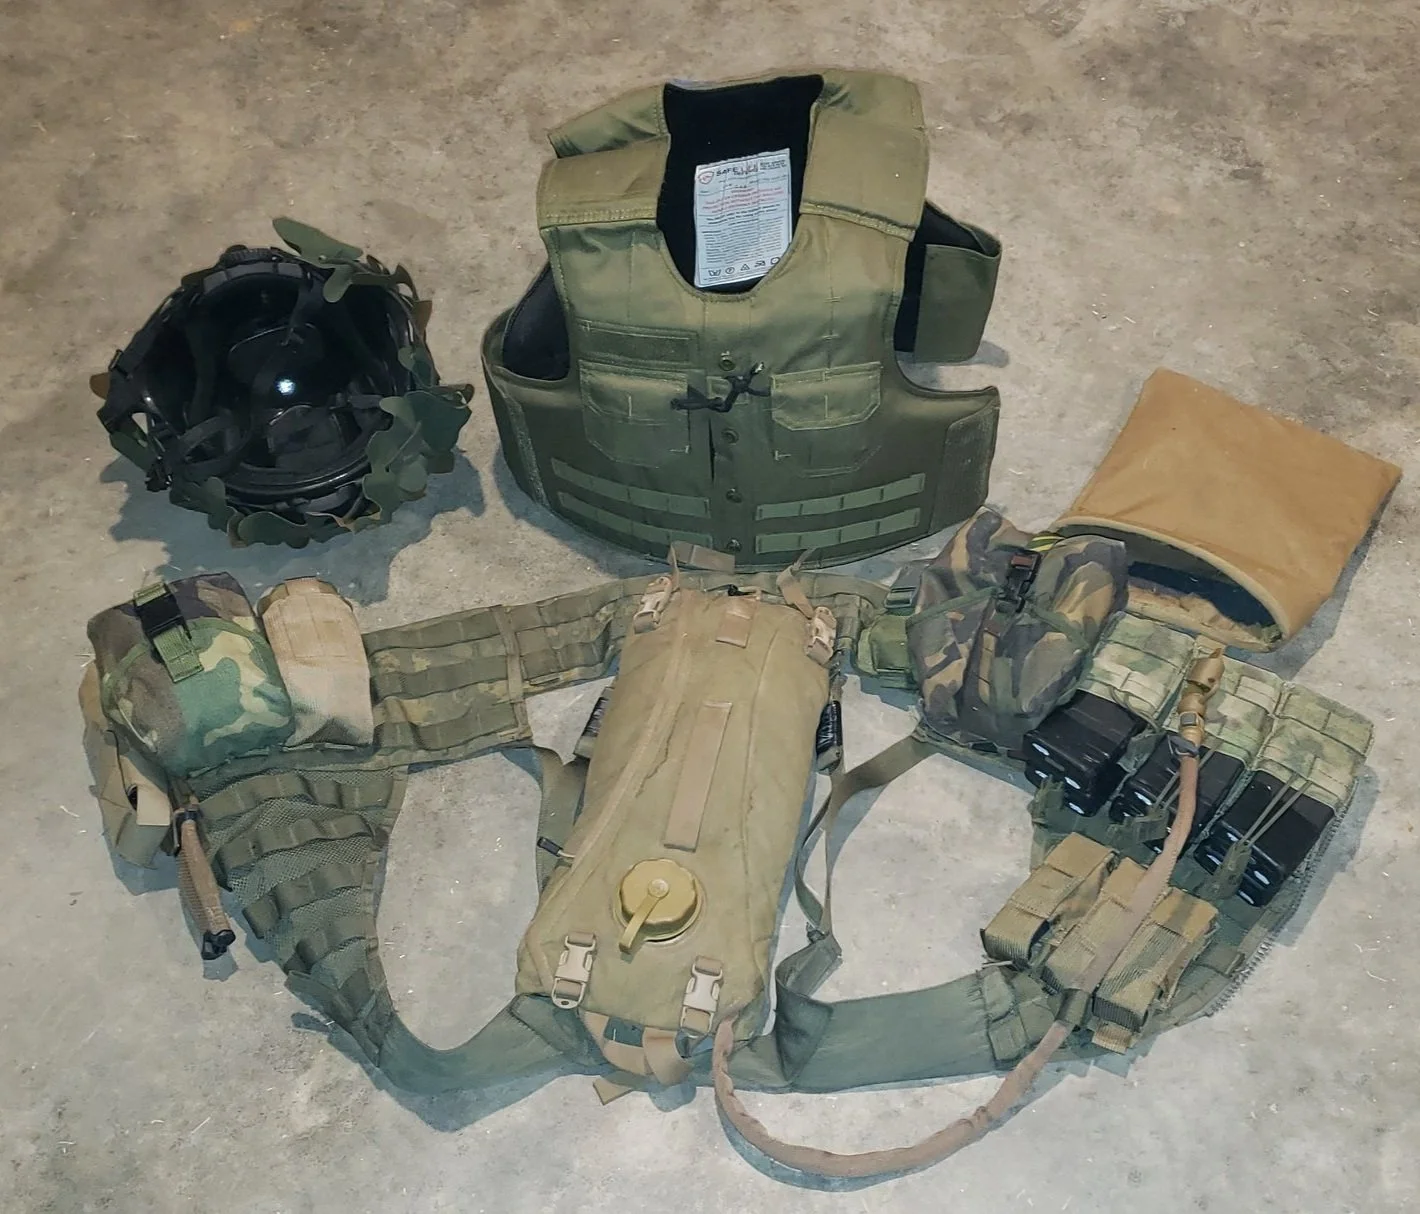
When I was in the Marines, I was issued a variety of load carrying options. I had plate carriers, the Interceptor vest, the MOTV , and the LBV (Load-Bearing Vest) "ELL-BEE-VEE", also known as the FLC (Fighting Load Carrier) "FLICK" in the Army. I found the LBV to be an ideal method of carrying all my crap while leaving my plate carrier slick. This allowed me to shed the added combat load without dropping my body armor with it. I found it clumsy and odd to attach all my pouches to my armor and then try to get into a vehicle and drive for hours, just to have to then go on a patrol or go on post for four hours. I was just standing there in a Hesco tower, so it was ridiculous to have all my ammo ON me when I could lay out my LBV and take a load off my back, knees, and feet.
Overall, I was able to turn my body armor into Line 1 and have my LBV as my Line 2 gear, making it more accurate to call it the Fighting Load Carrier (FLC). This worked out well and I have carried this concept forward with me. For the remainder of this article, I will use the acronym FLC, since I believe it describes the gear more accurately.
DESIGN & FEATURES
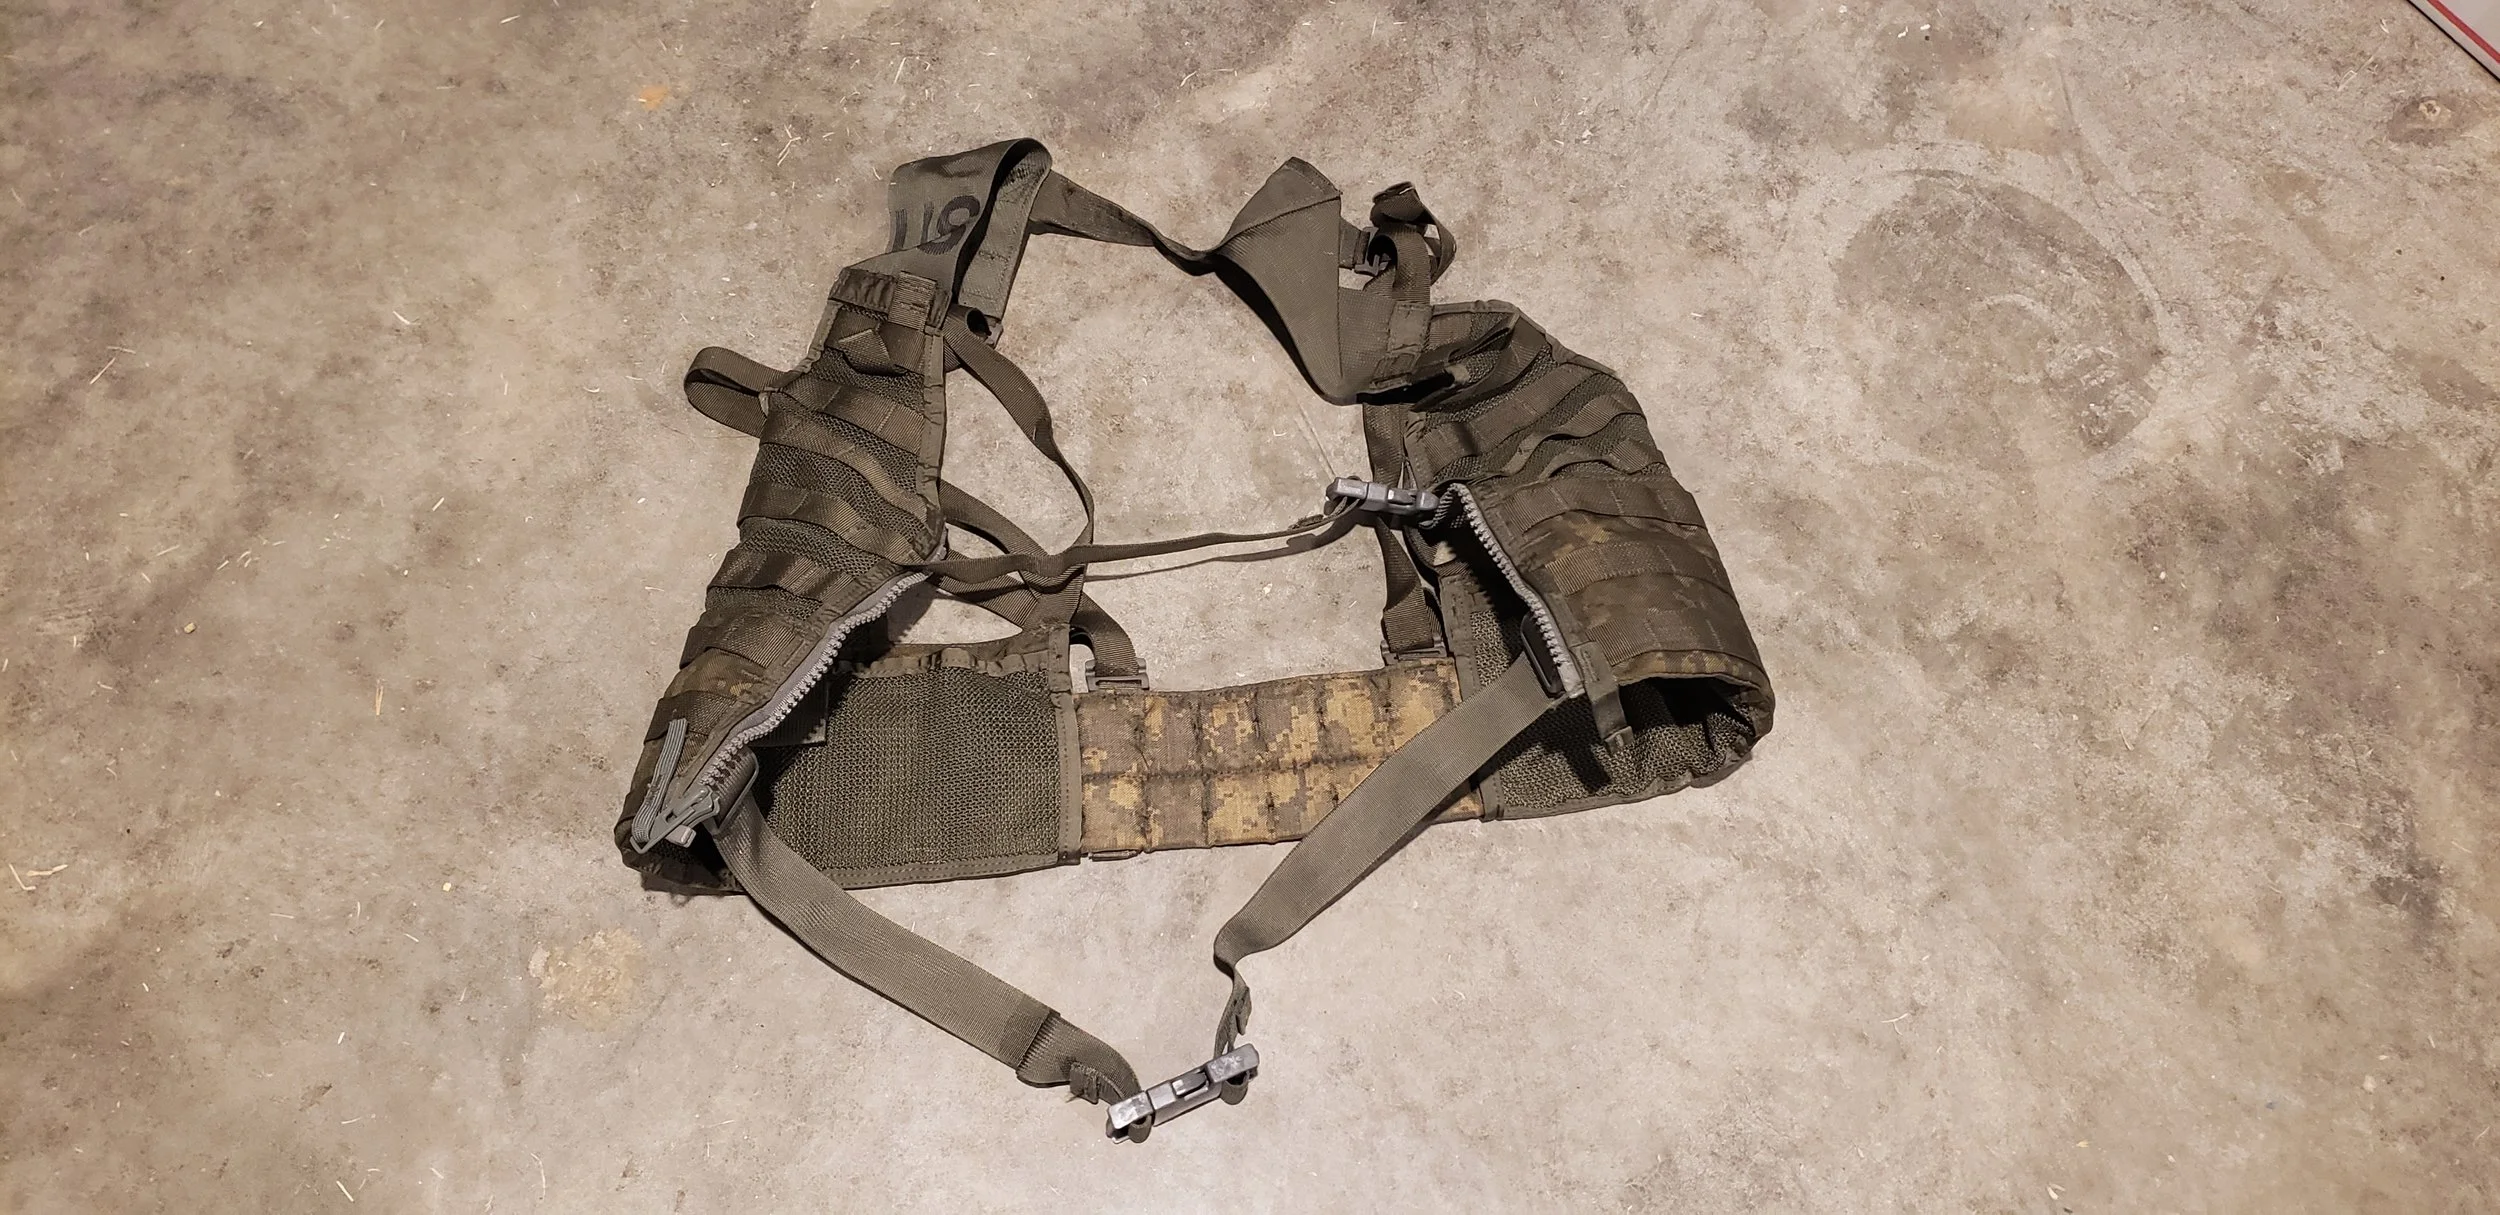
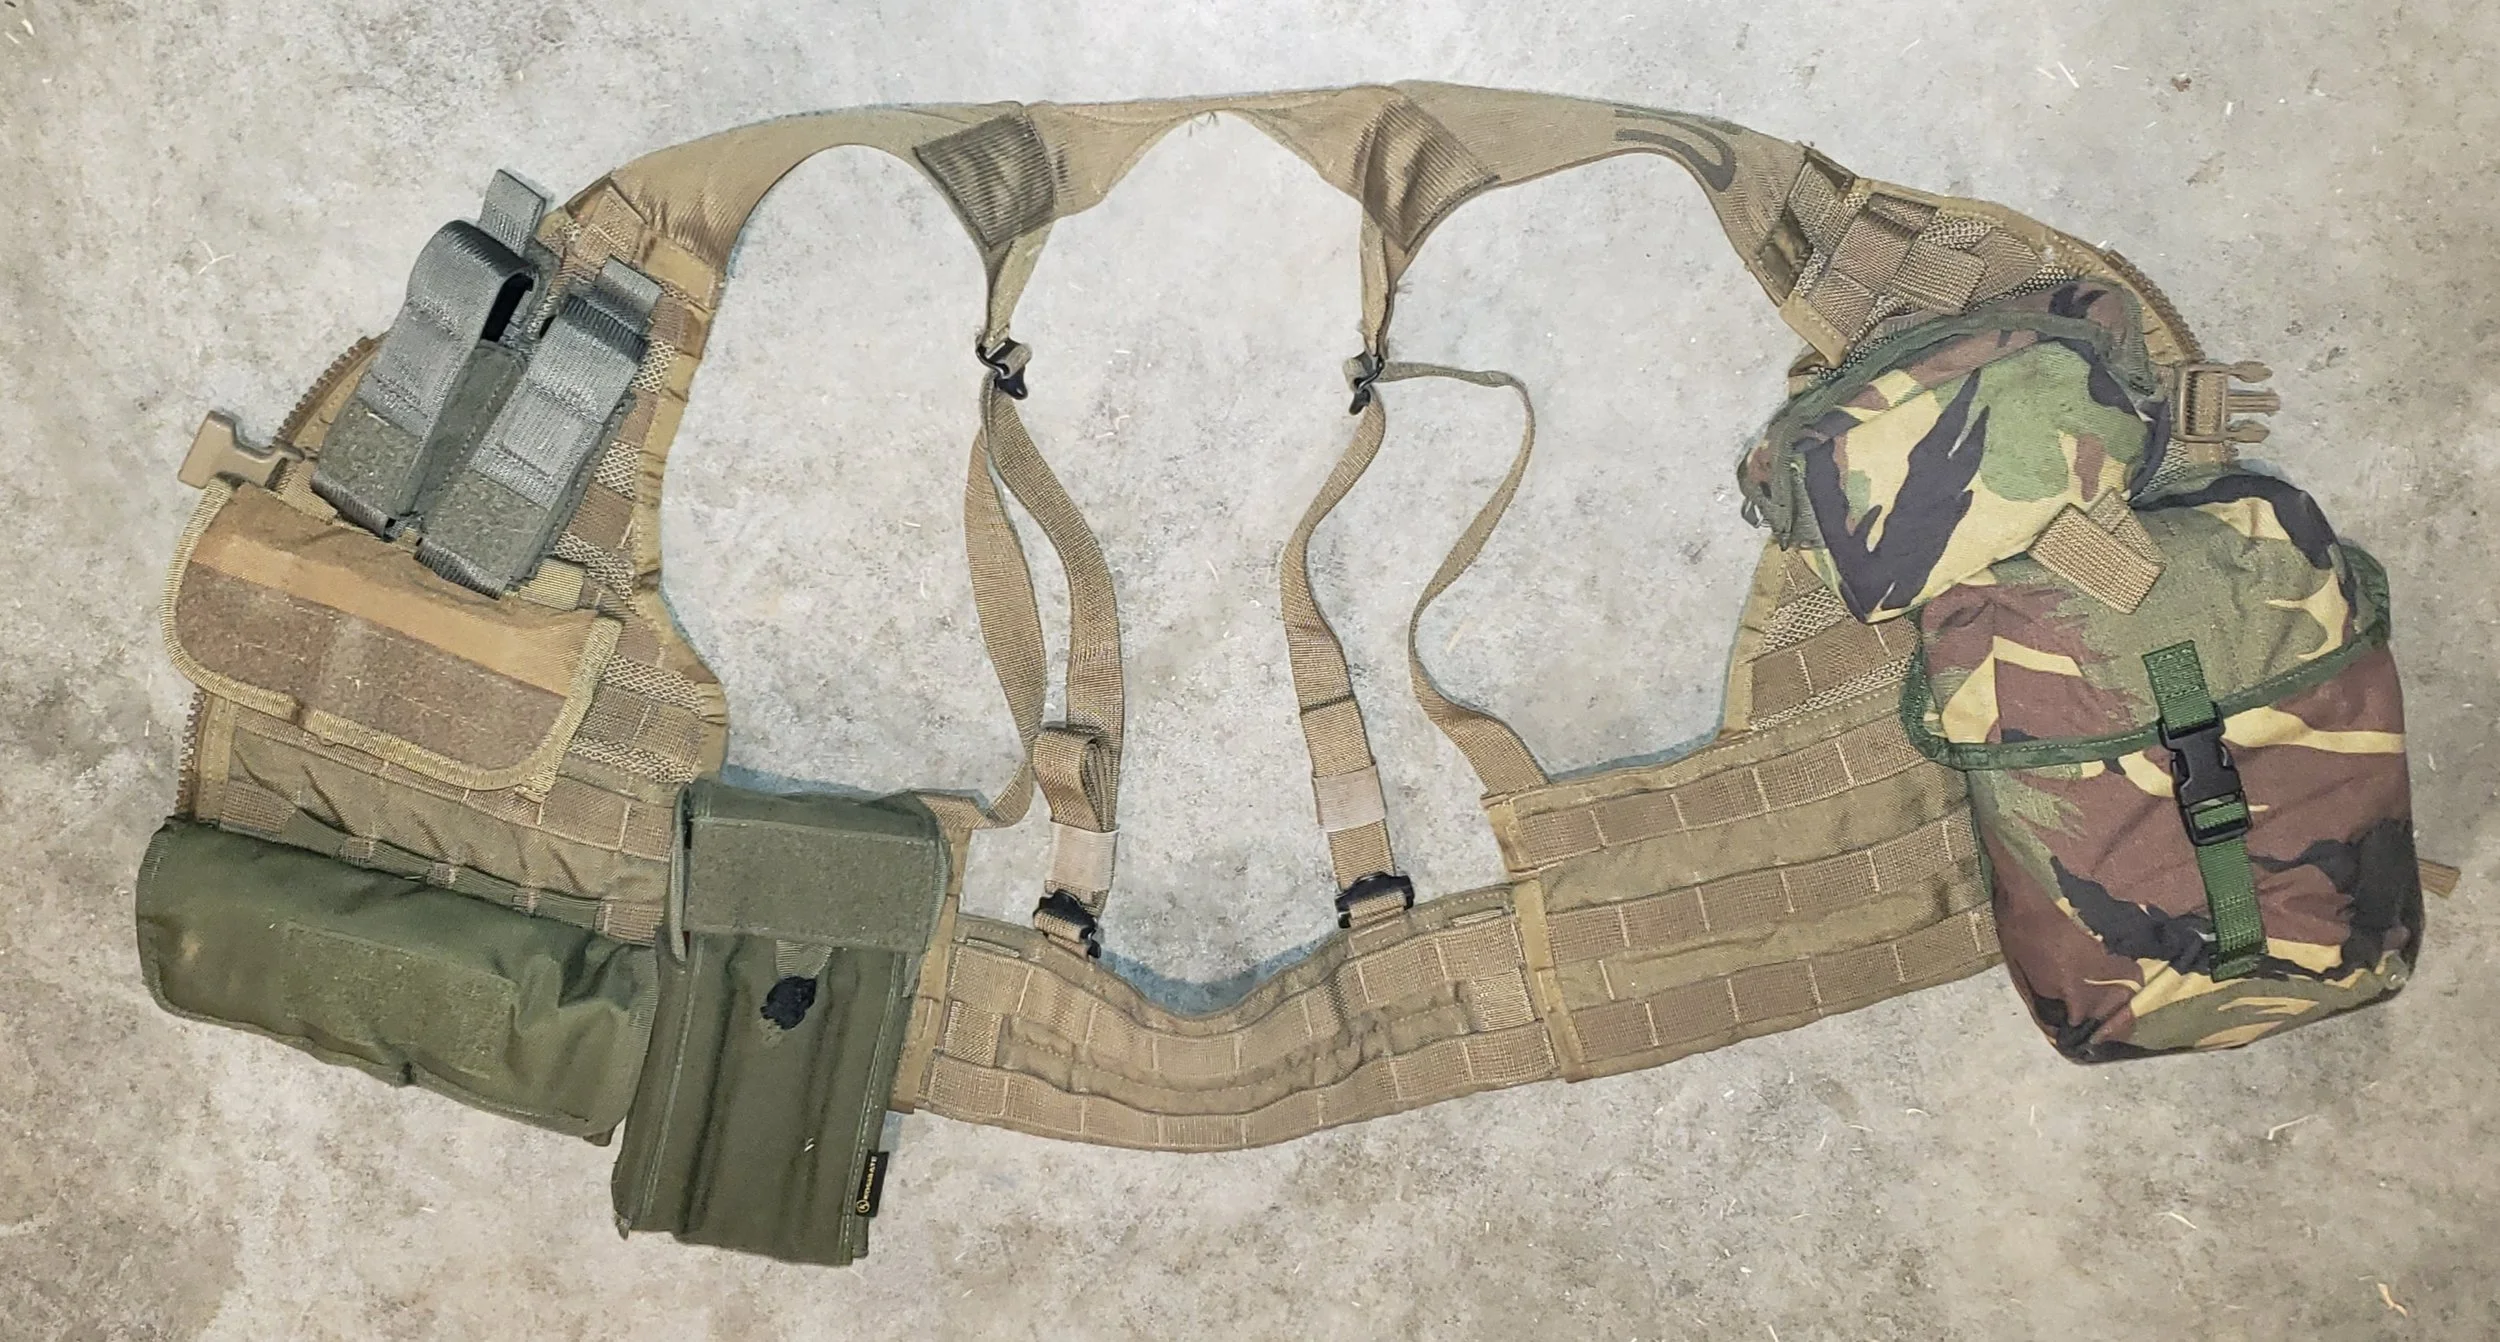
The FLC is a modular load-bearing system built to offer the soldier a way to carry their fighting load in a lightweight, 'one size fits all' vest format. The FLC is covered in MOLLE, offering the user a wide range of loadout options based on their role/needs.
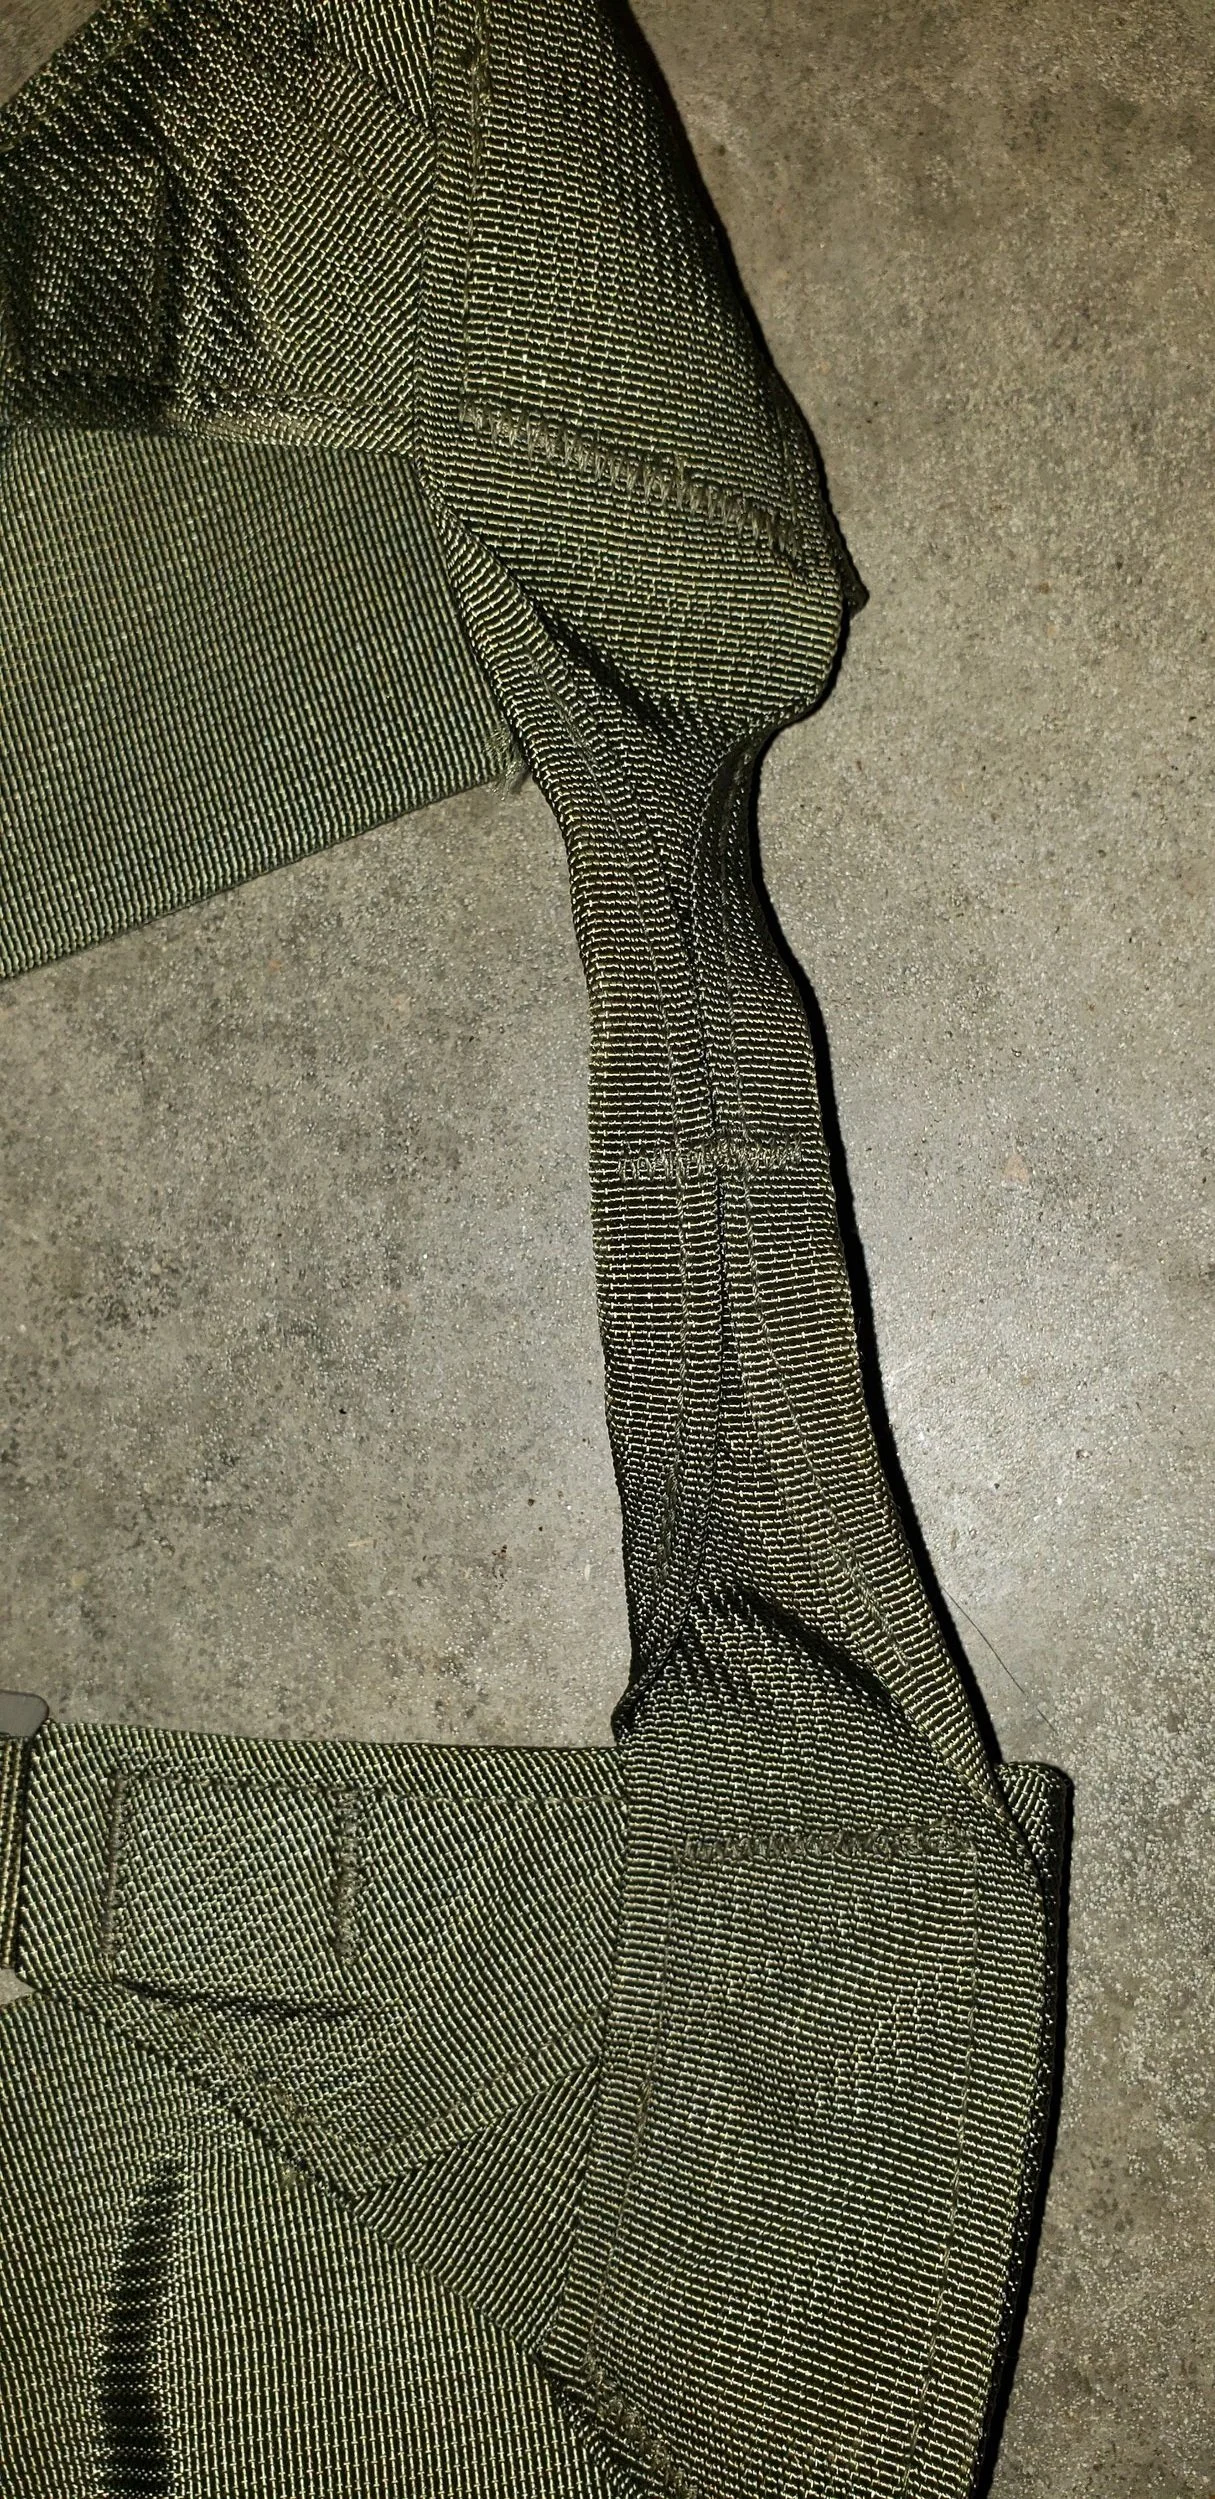
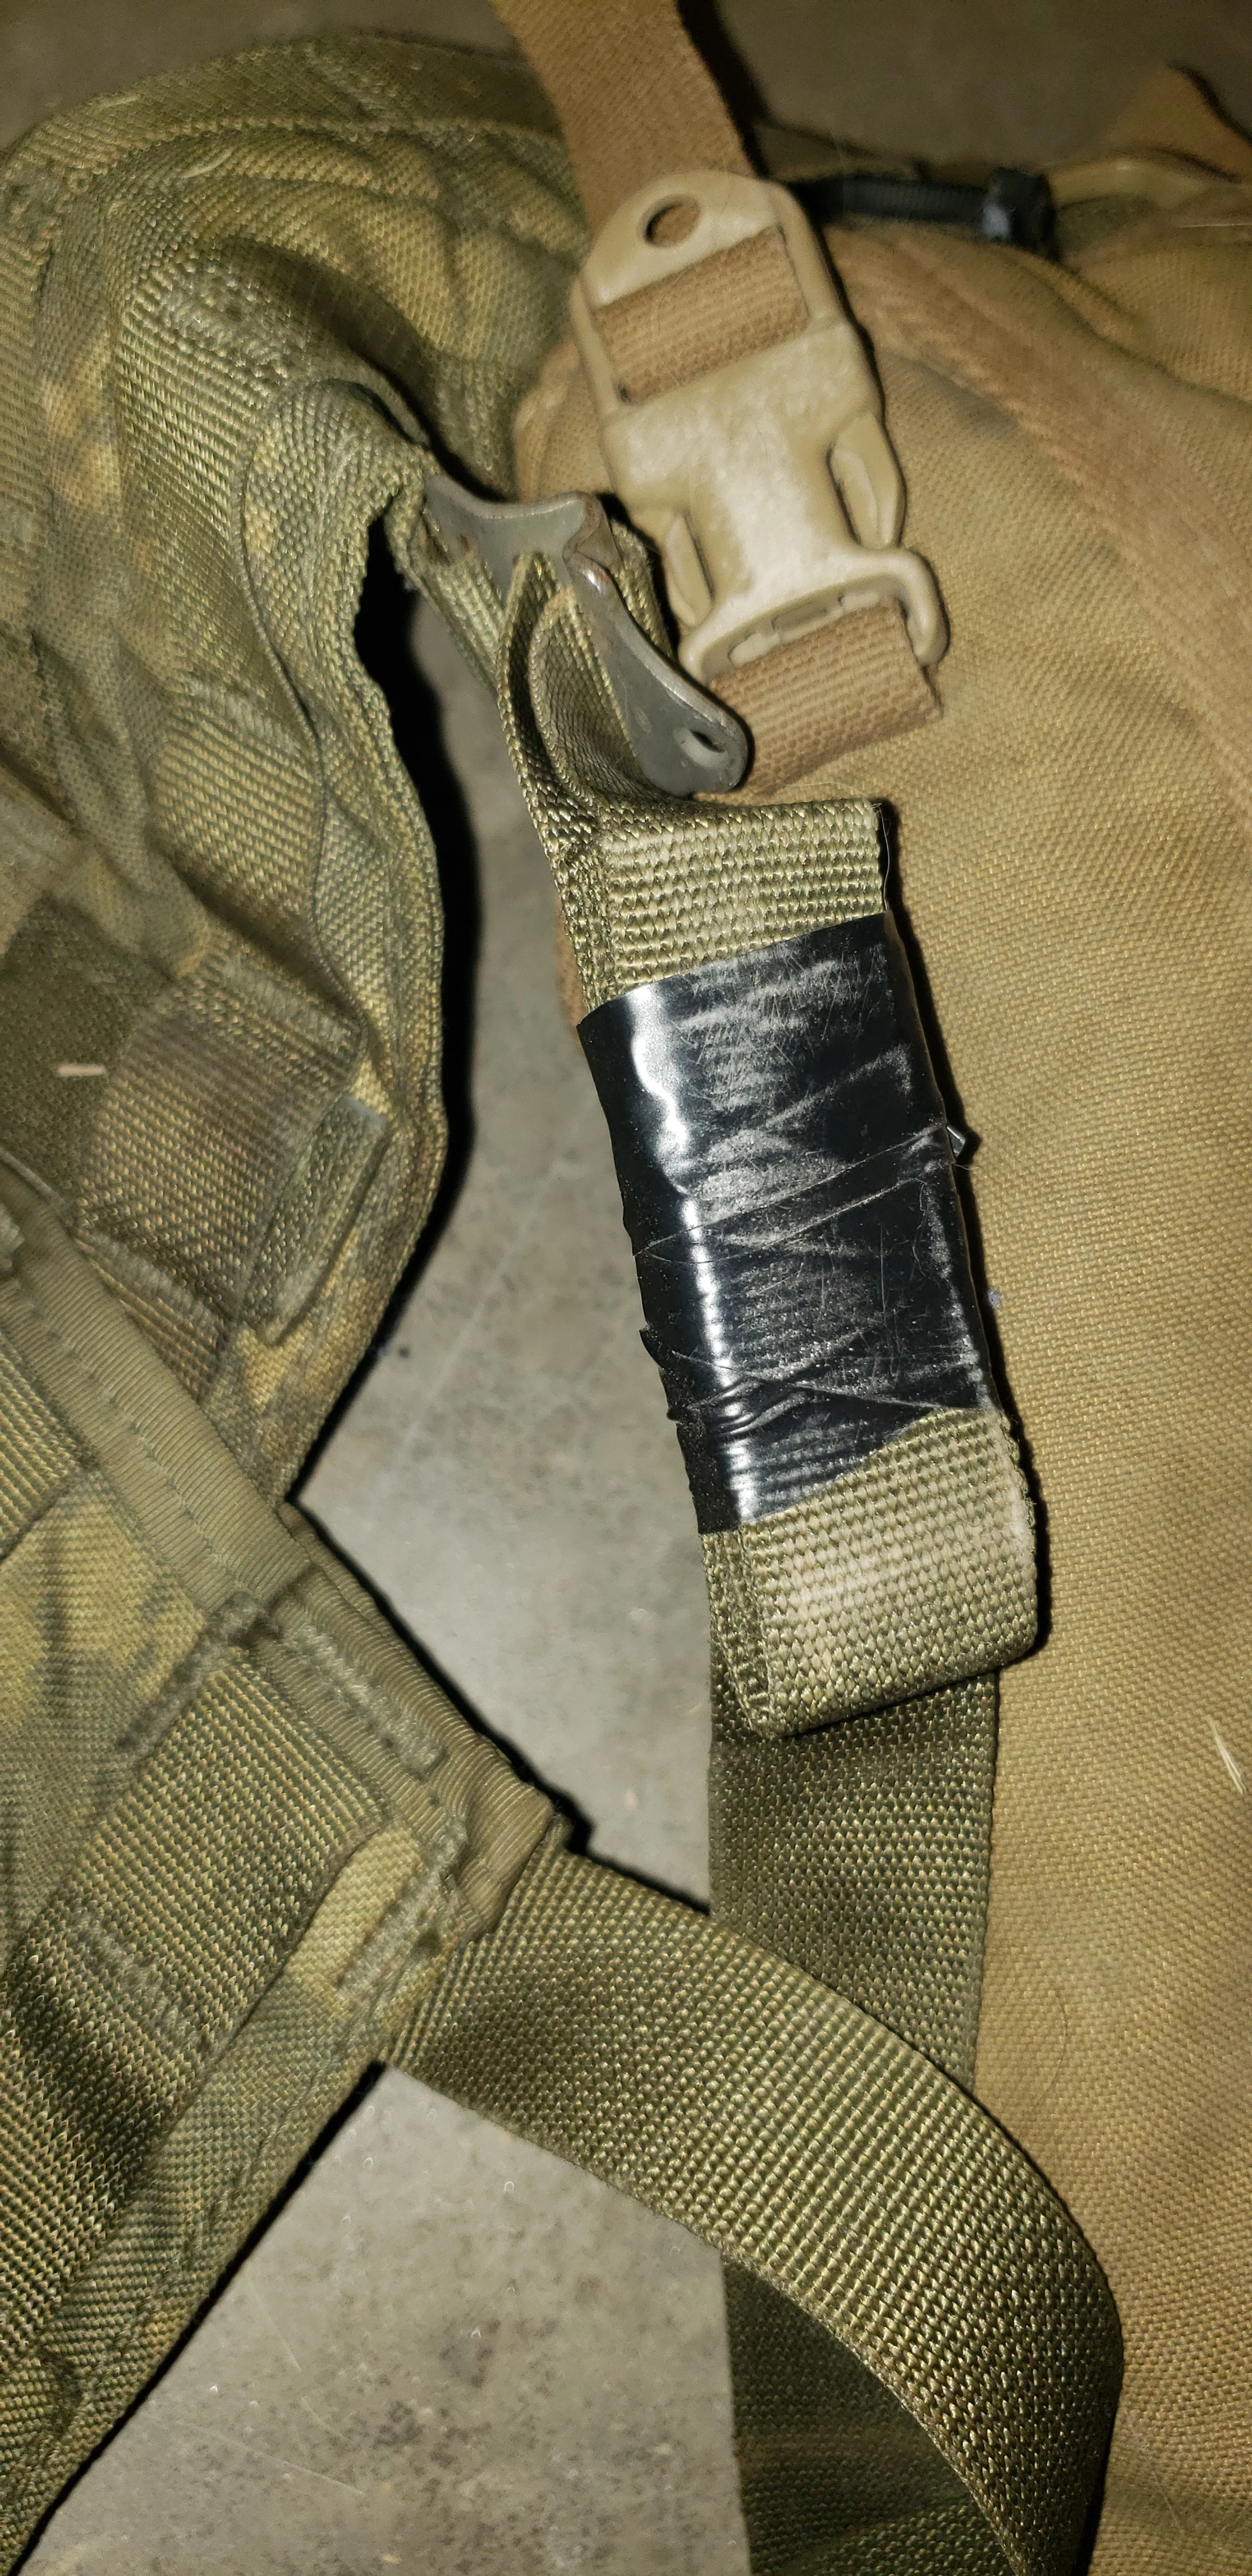
The vest features two MOLLE chest panels and a MOLLE belt. The Chest panels each feature a strap at the top of the MOLLE, right at the beginning of the shoulder straps. I use these staps to secure bladder tubes, dummy cord, and other things that need to be tethered. The shoulder straps are joined together by a folded and stitched strip of nylon that acts as a drag handle.
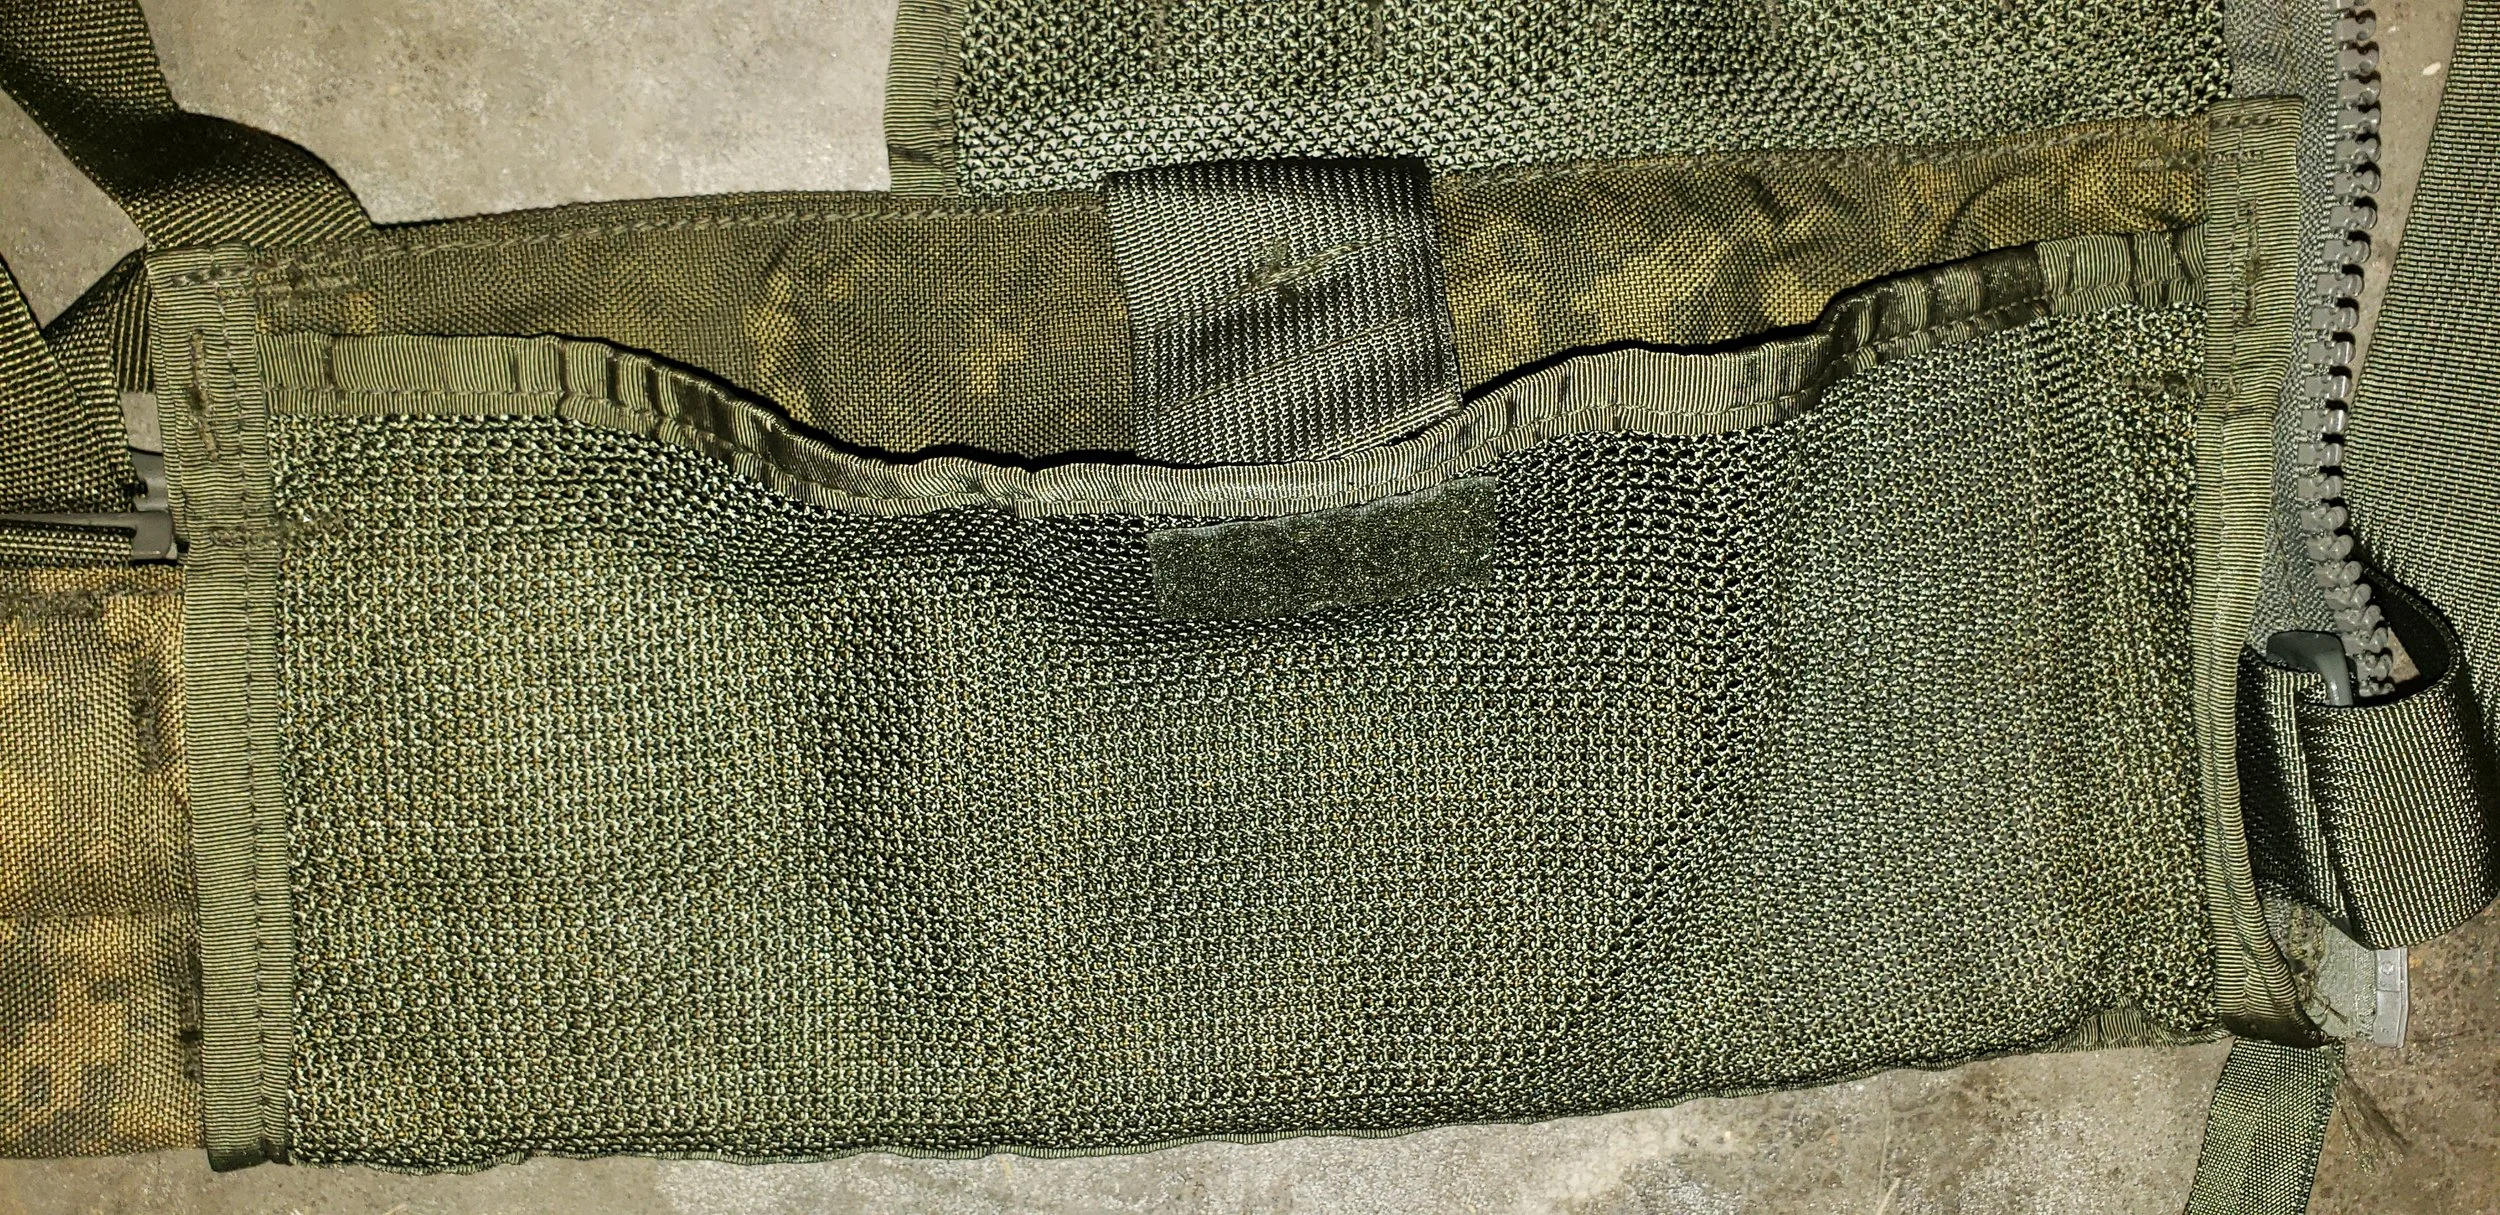
Each chest panel is full of mess on the inside to promote breathability. The entire FLC seems designed around minimizing heat retention and maximizing air circulation around the user torso. The taper of the chest panel away from the sternum and towards the shoulder straps is indicative of this purpose, along with the fact that nearly the entire back, aside from the belt, is bare. This also implies that the FLC was designed around the understanding that the soldier may have a butt pack, but would also have an assault pack on as well. The thin and slick shoulder straps seem to illustrate an understanding of the importance of having a rifle stock mounting area for shooting, and minimize the clutter on the shoulders when using an assault pack.
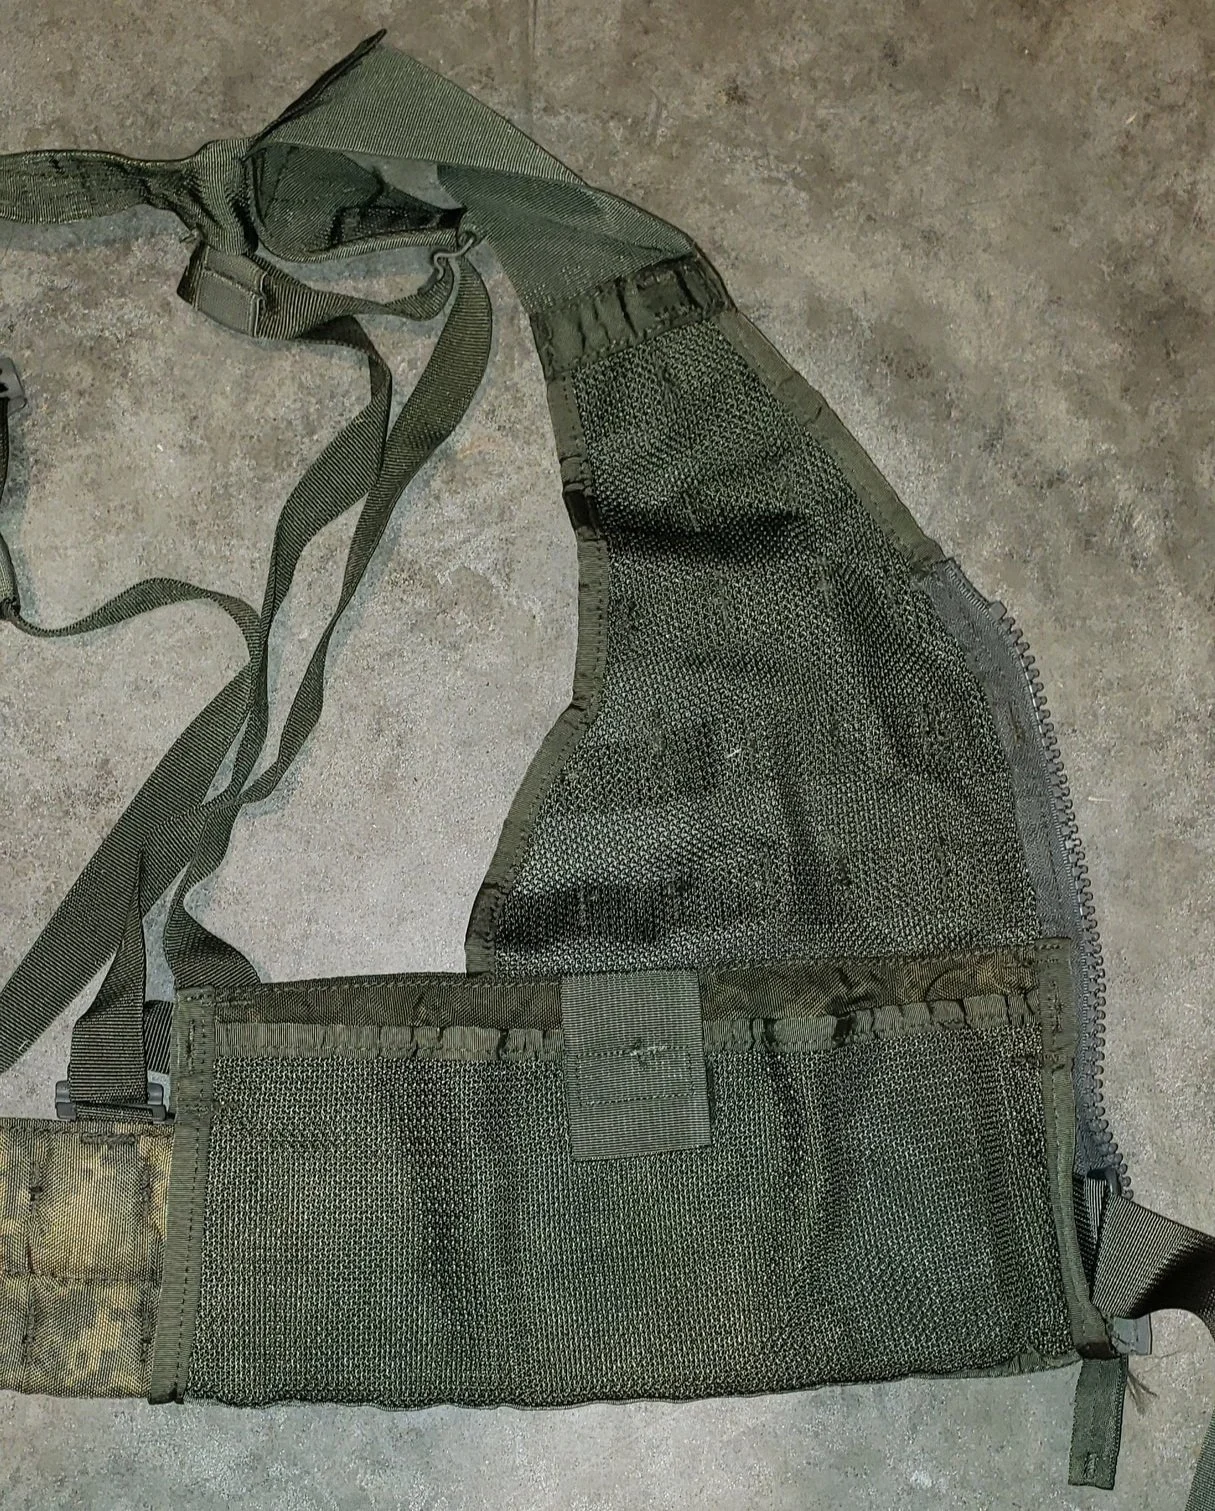
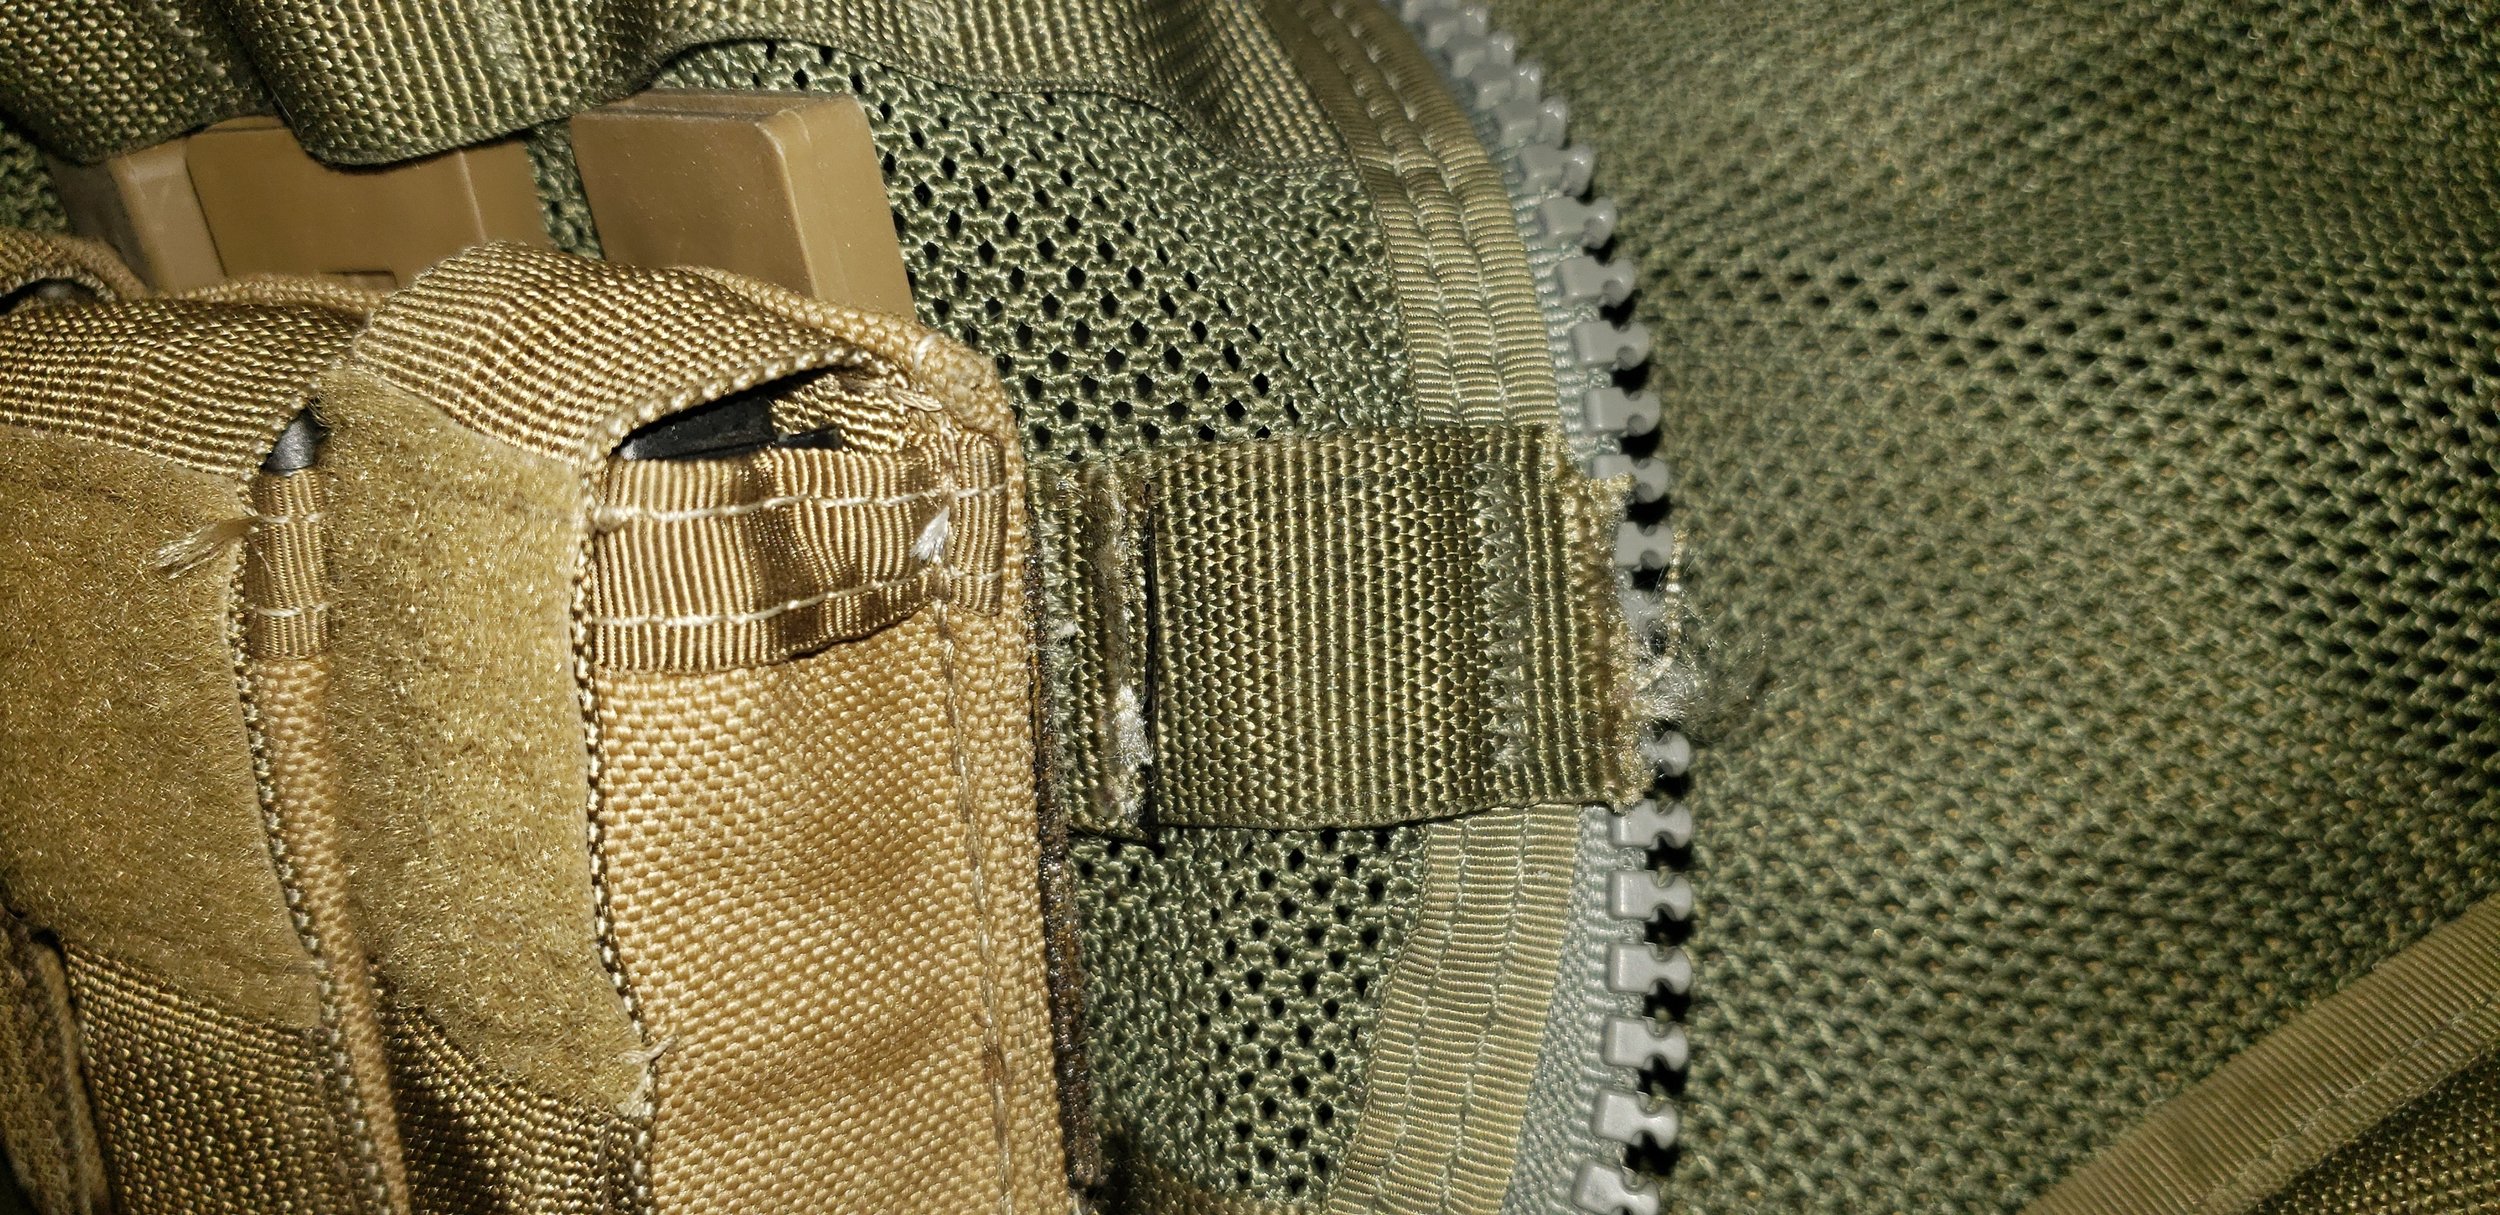
There is a mesh pocket on the bottom section of the vest that can hold small items. There is a single Velcro strap keeping the internal panel from flopping around. Perhaps a compass, multitool, or other slim item(s) can be held in these pockets. I personally would recommend using dummy cord to keep these items from getting lost during movement.
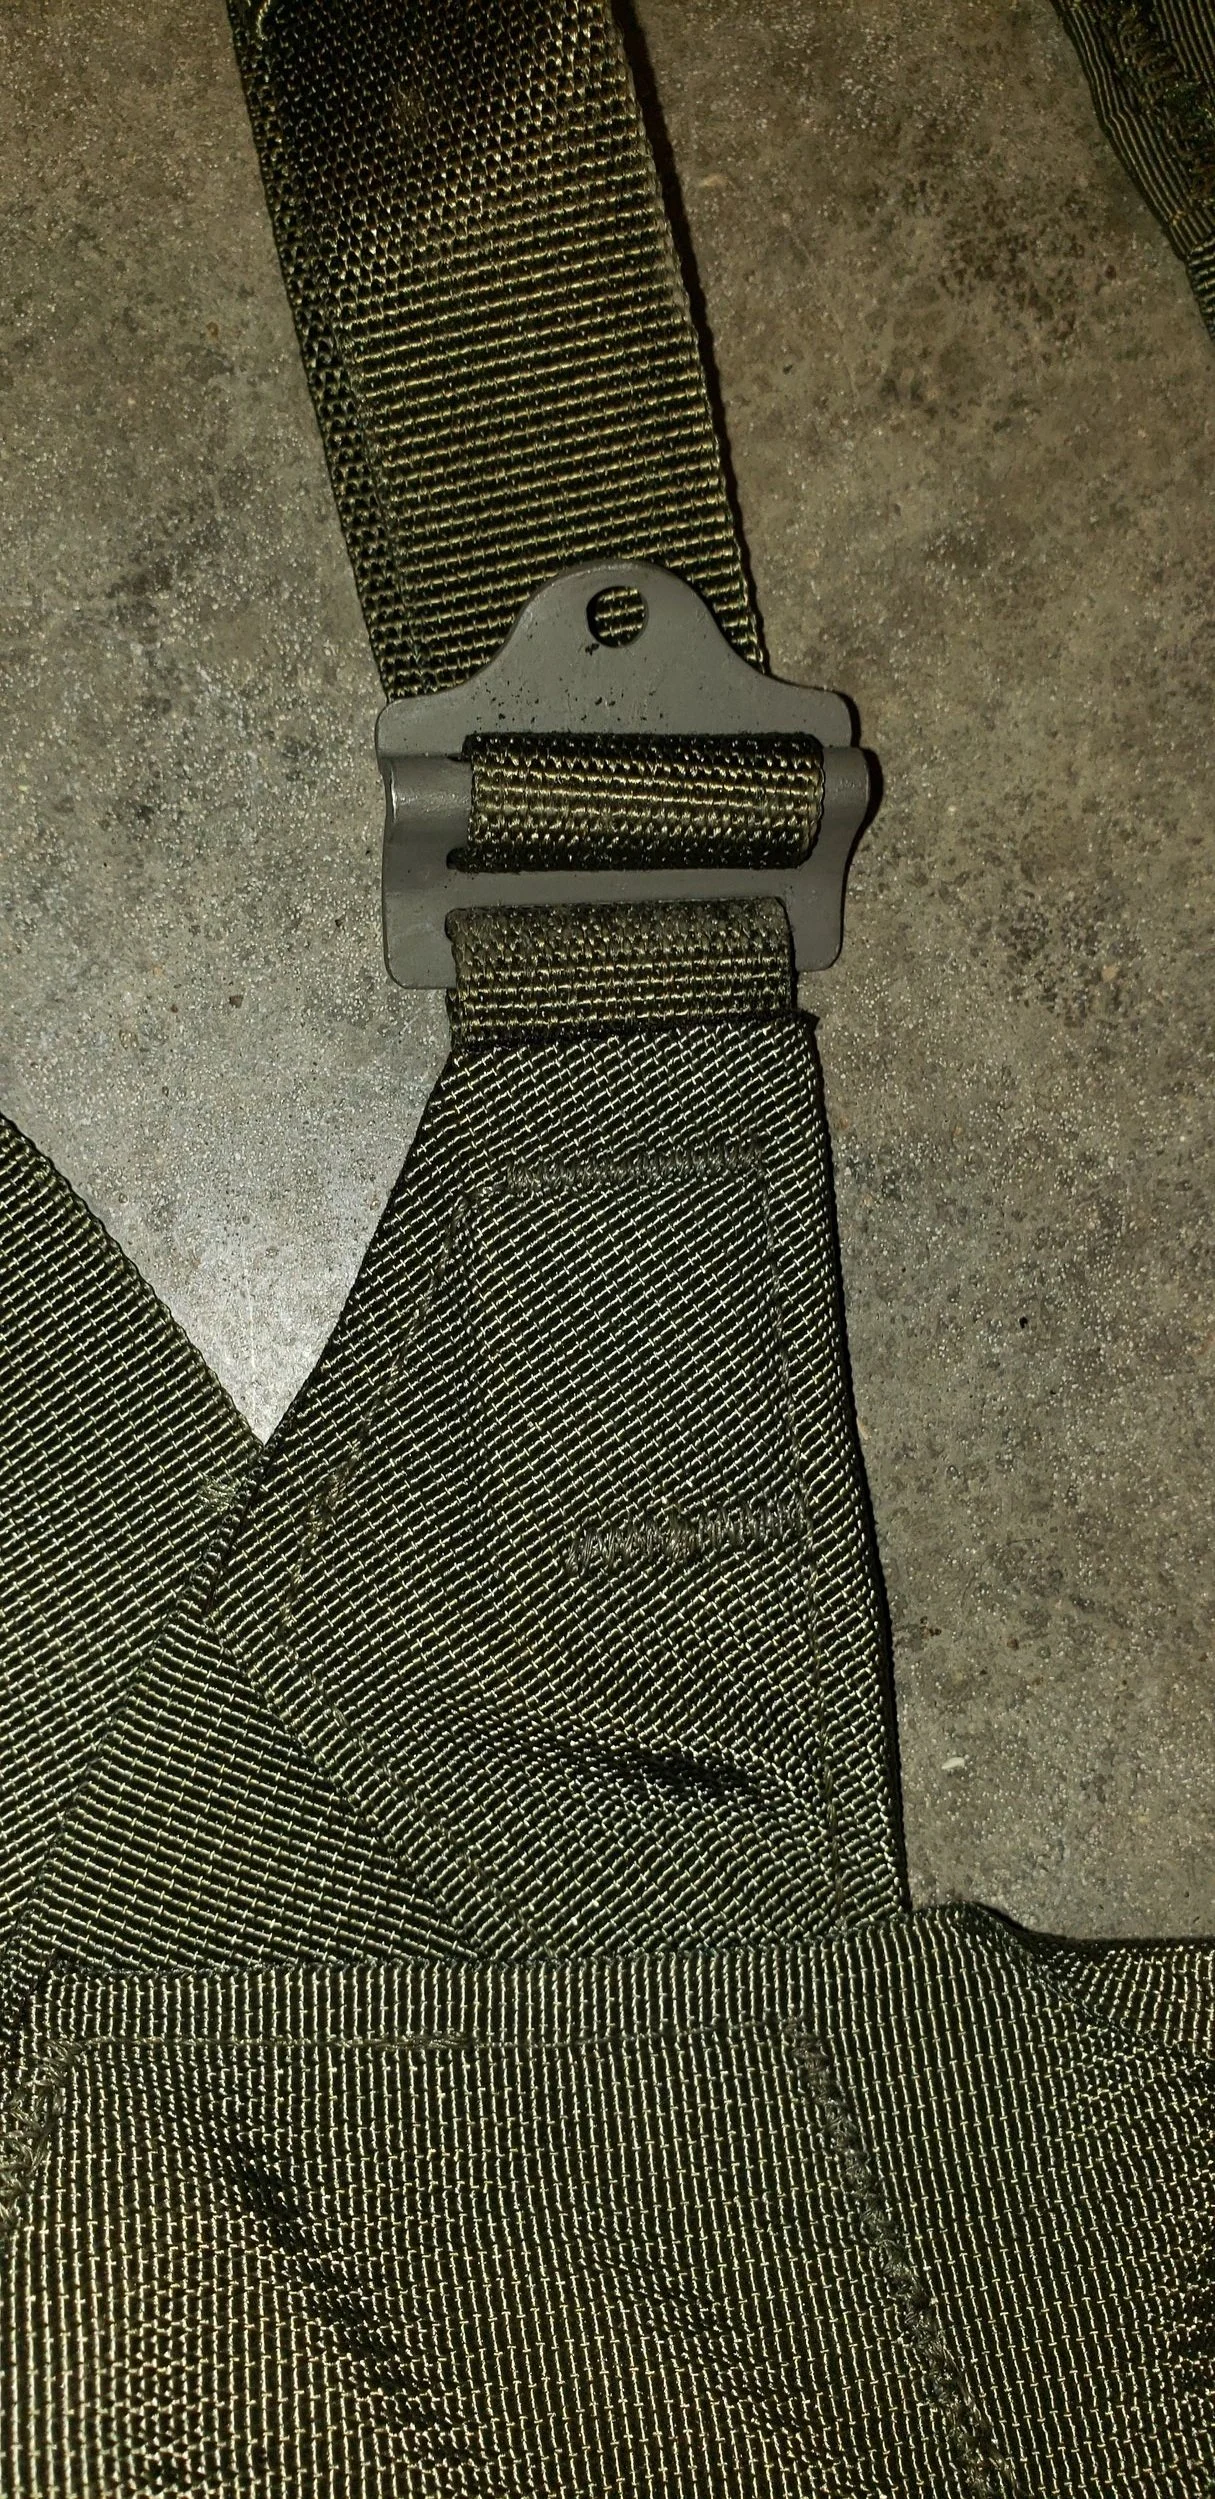
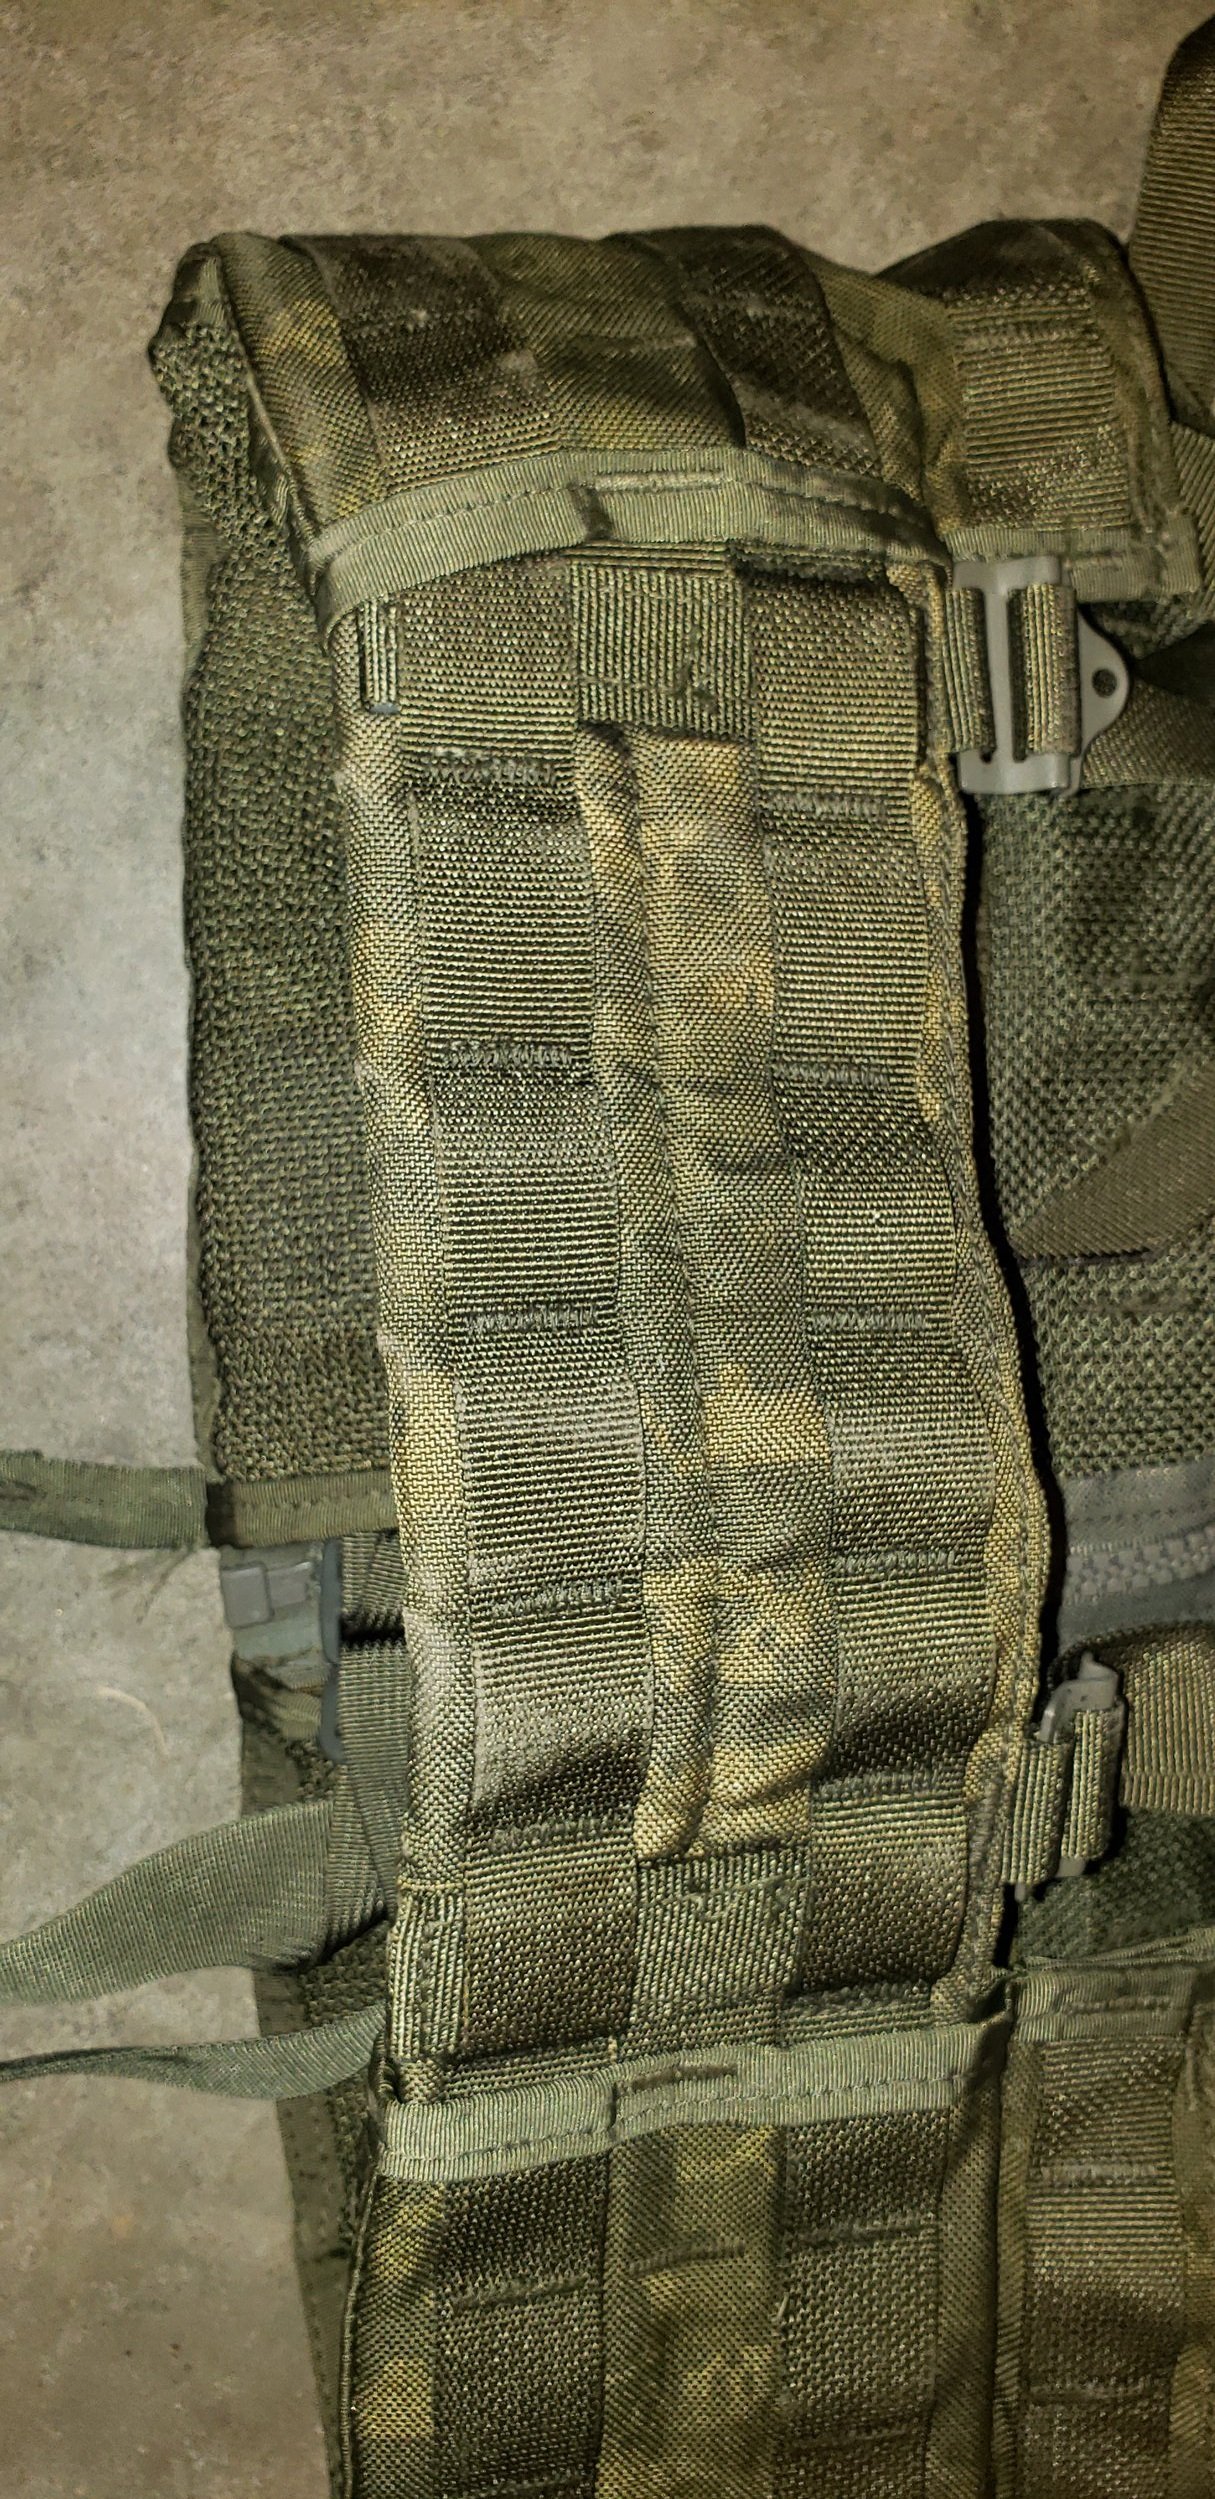
All straps are secured with double stitching and the vest is made almost entirely of nylon. The size adjustment straps function similar to a pulley, using corrosion-resistant metal tri-glides to maintain the configuration once set. The FLC has a generous excess of straps, allowing a wide range of users. It provides a small strip of elastic in anticipation of having to secure excess straps. I tend to find myself cutting off excess strap to minimize the size of the strap bundles I have to secure.
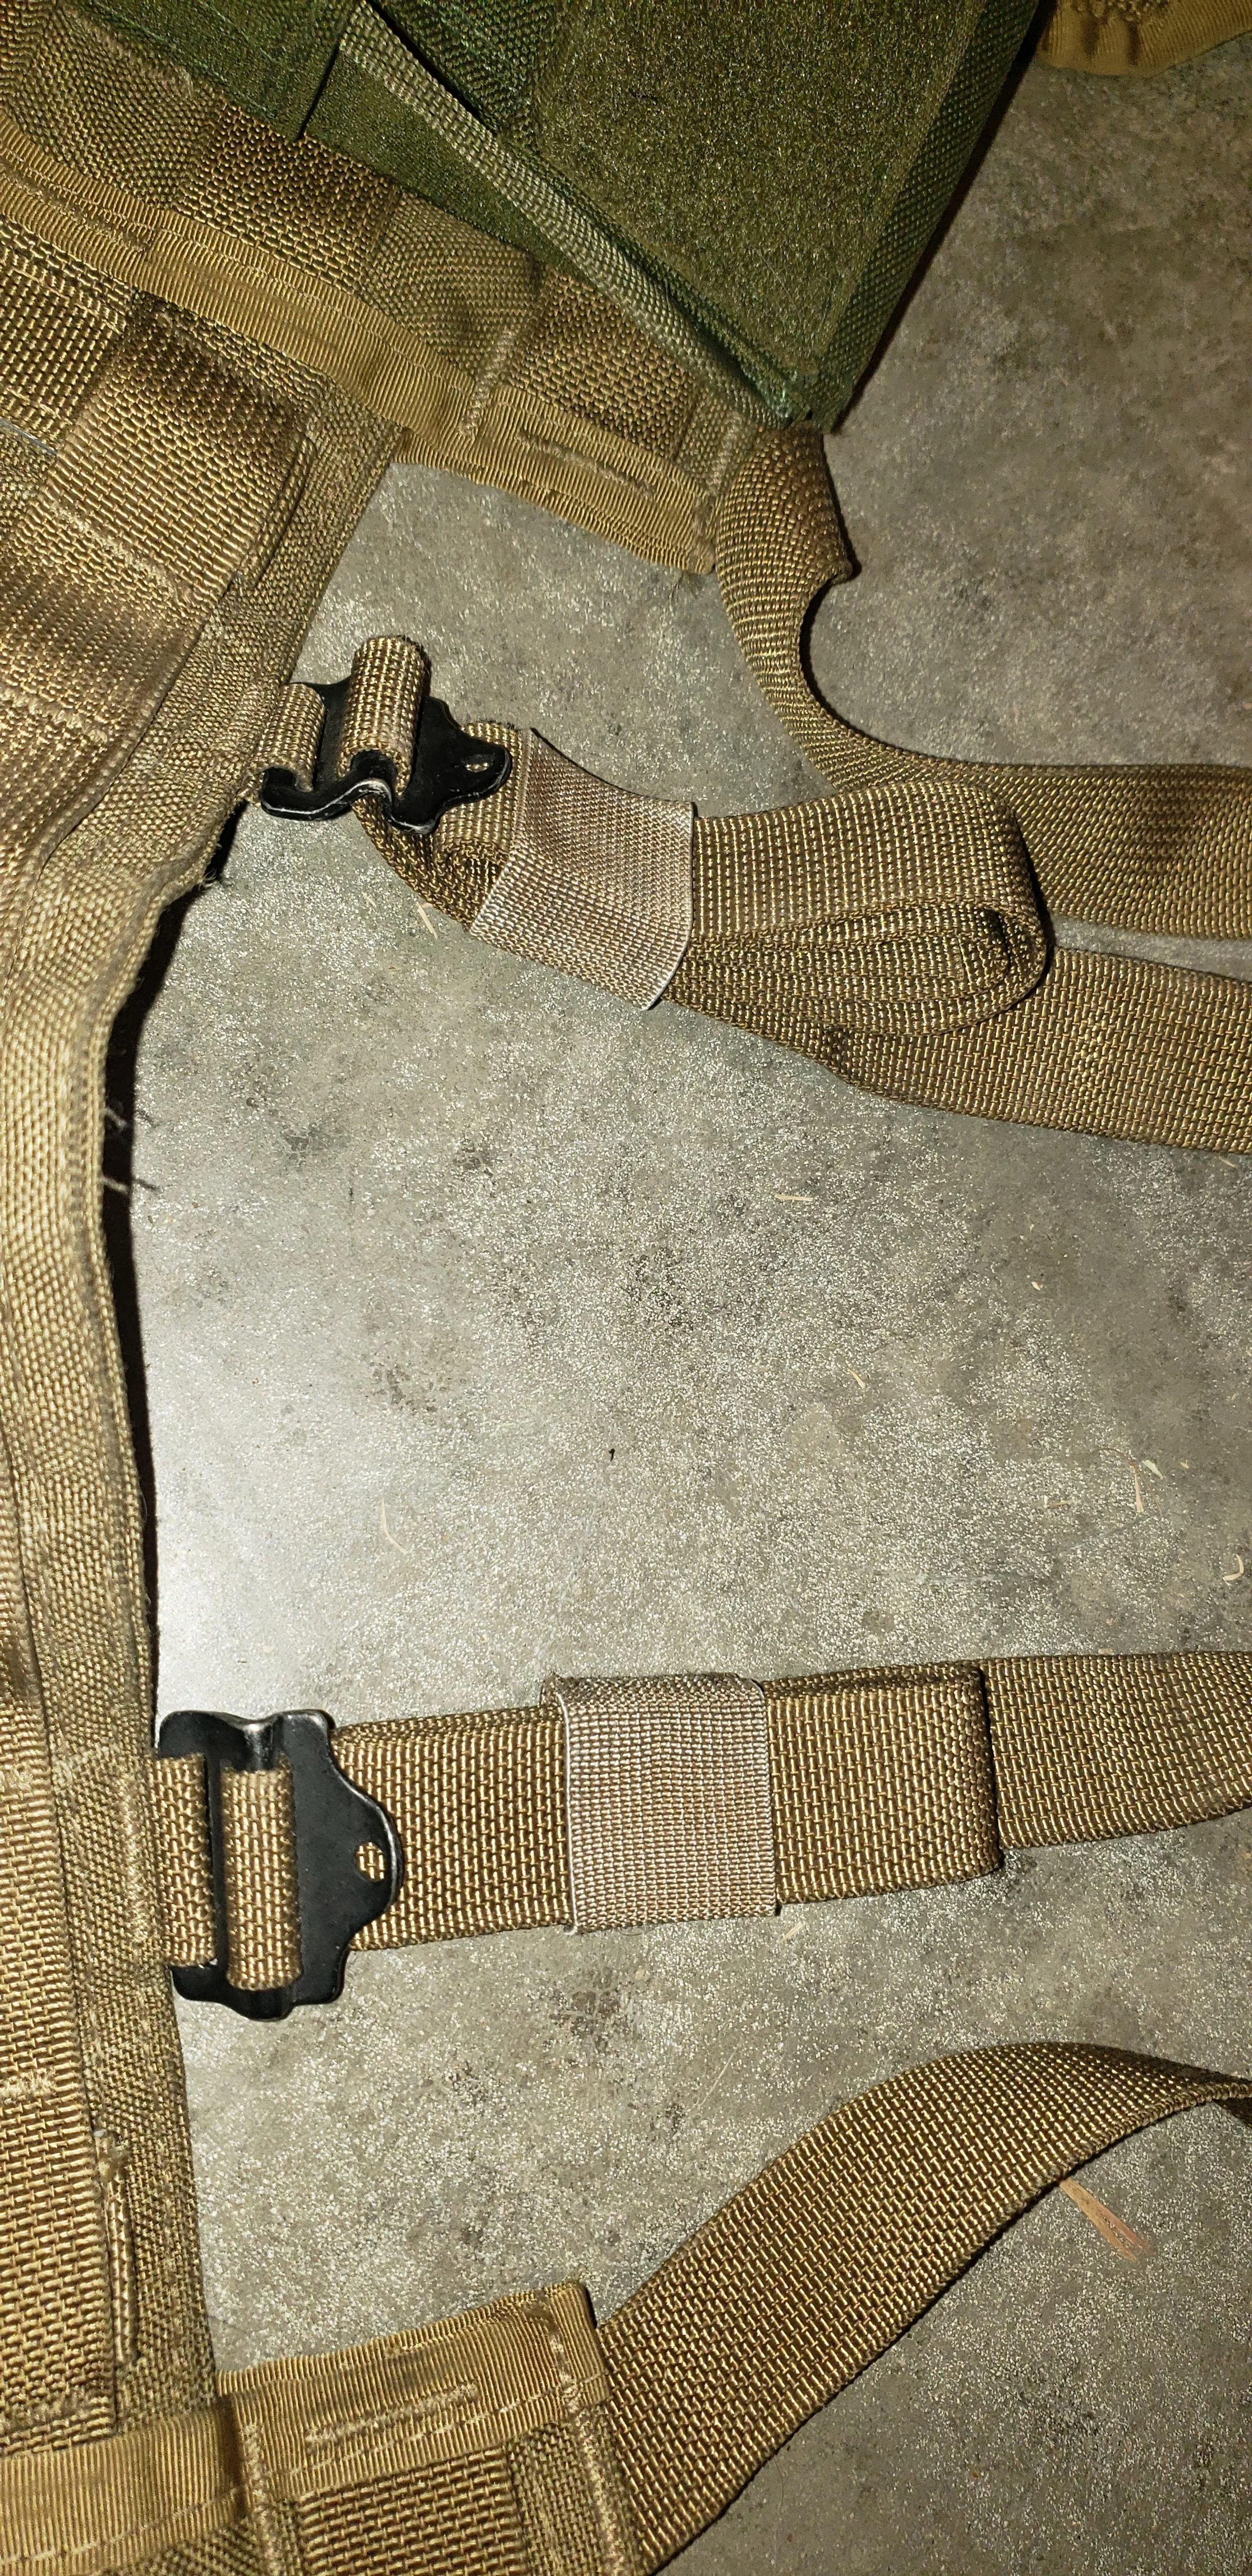
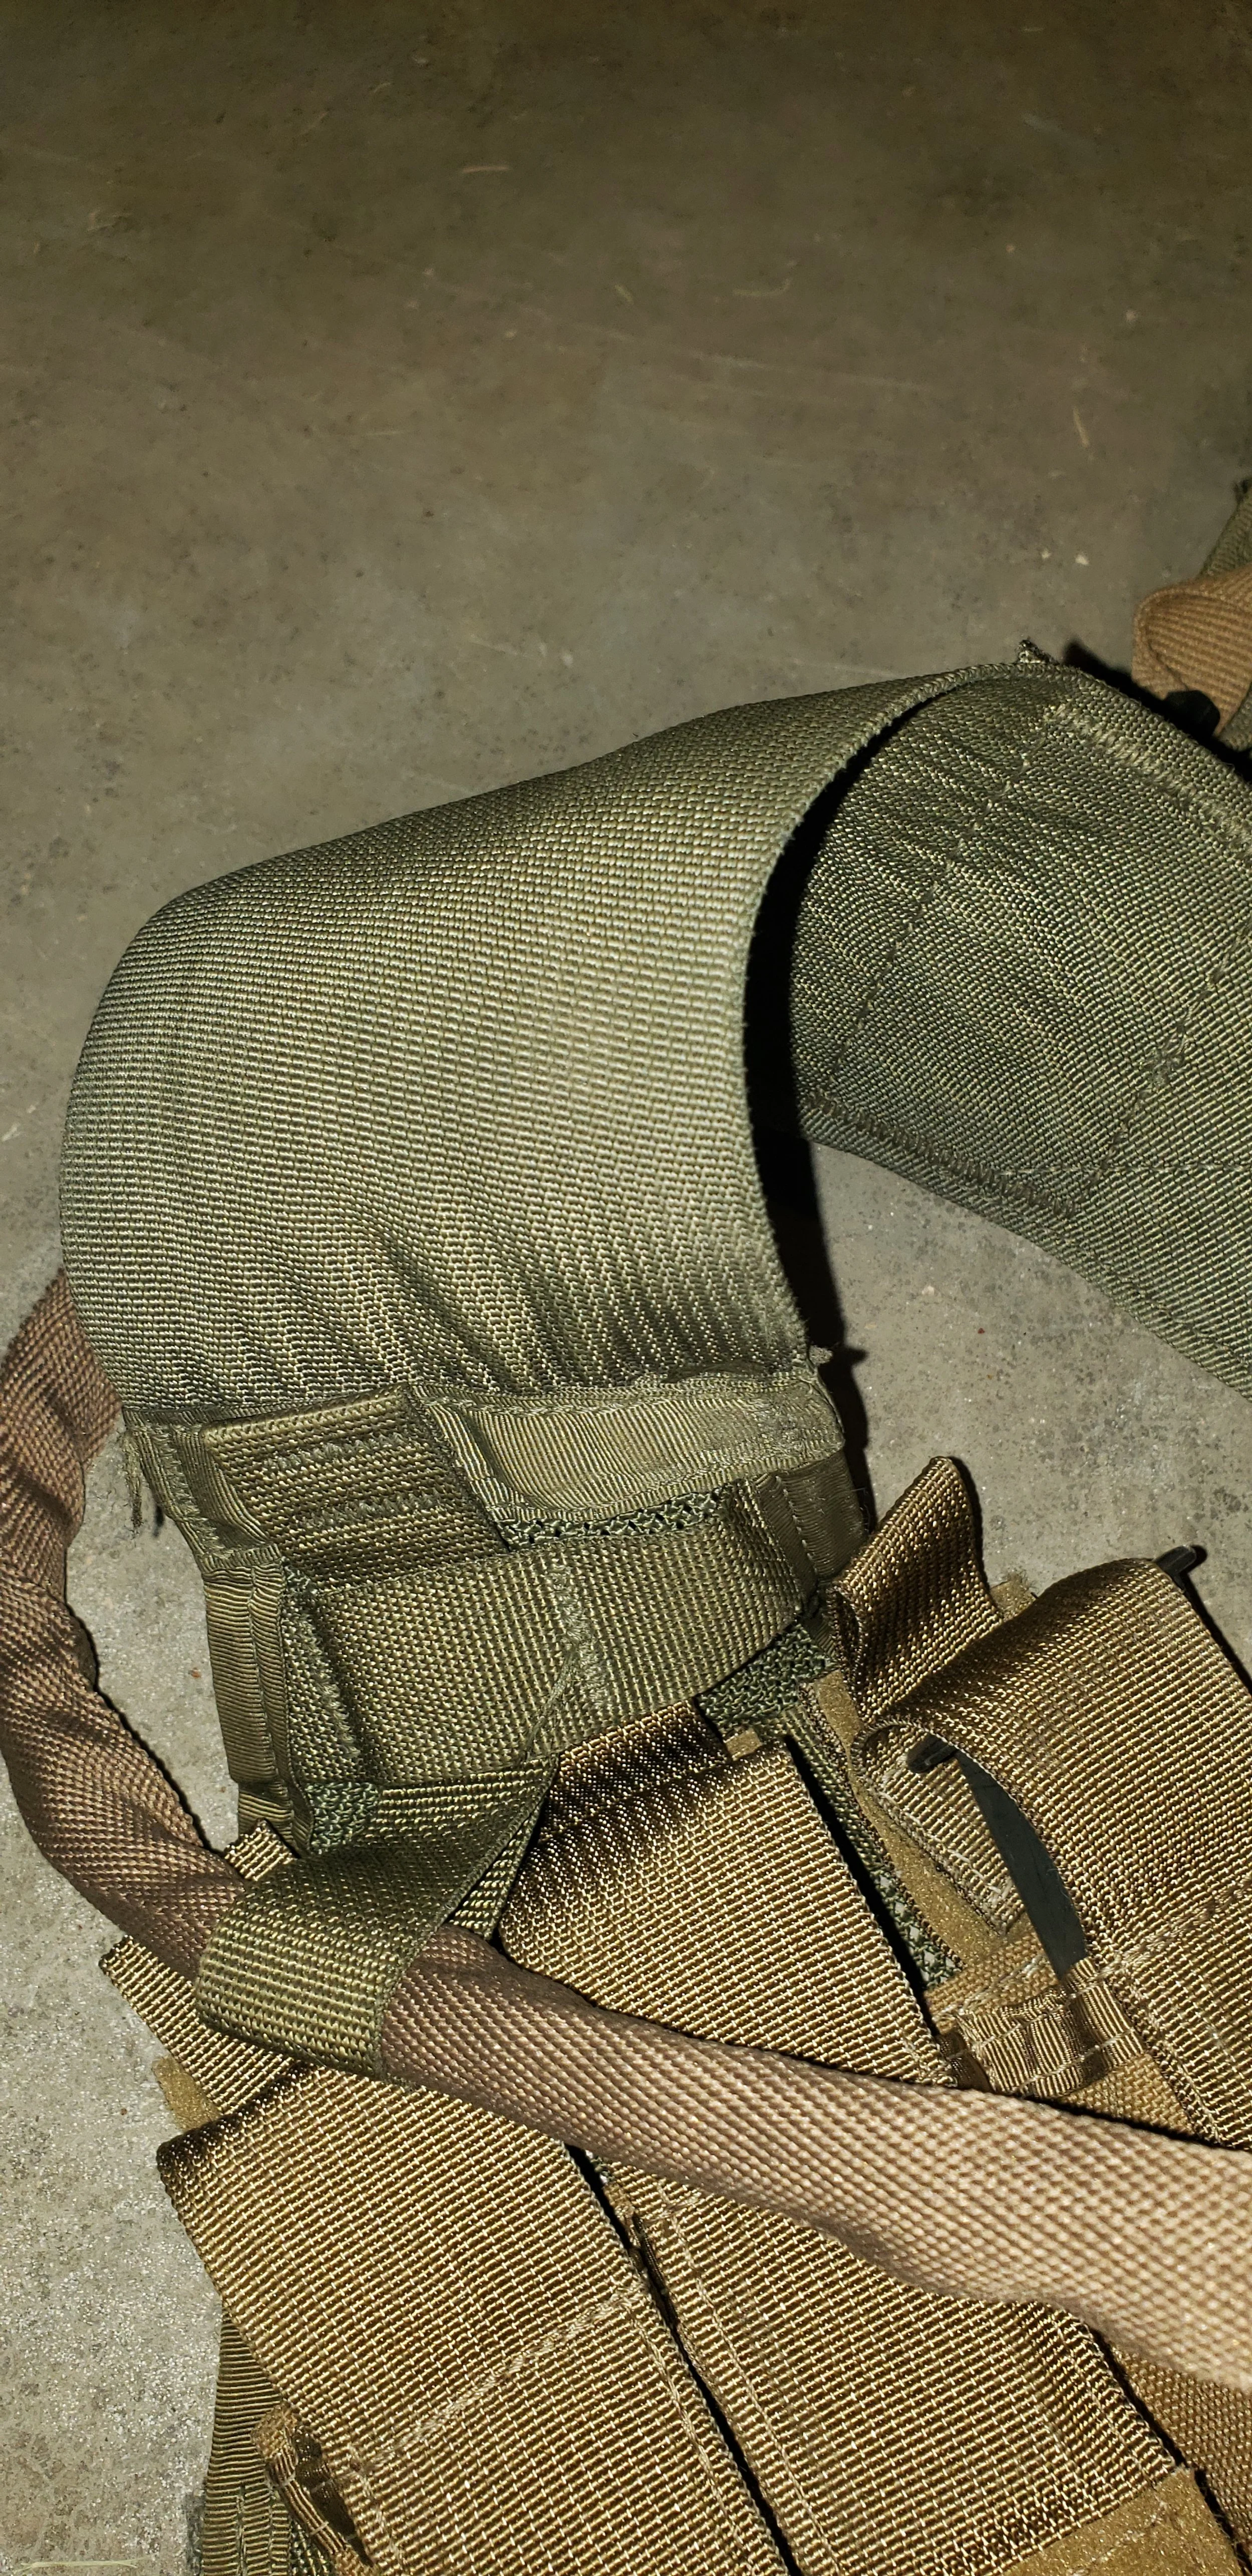
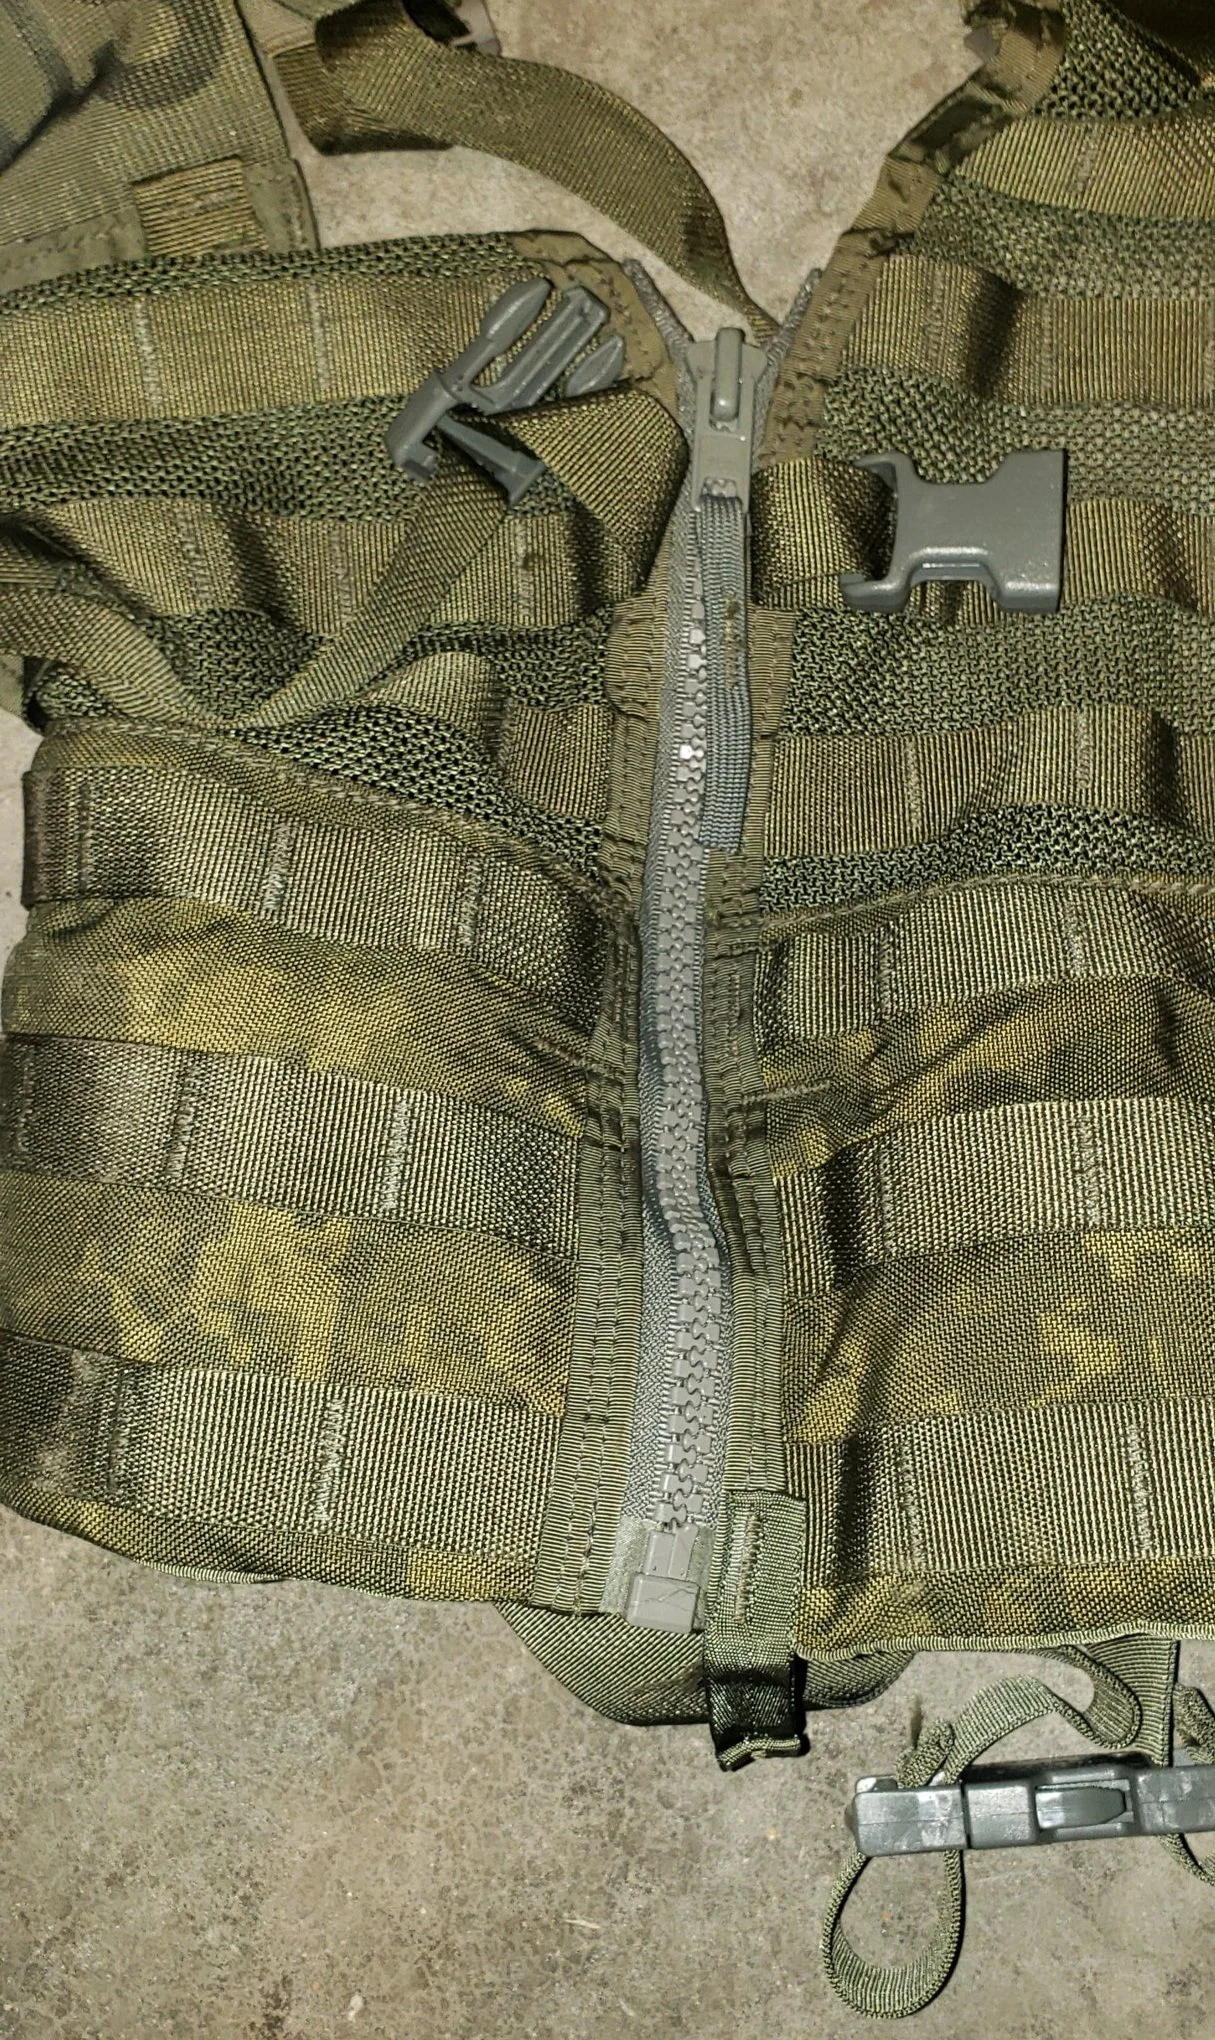
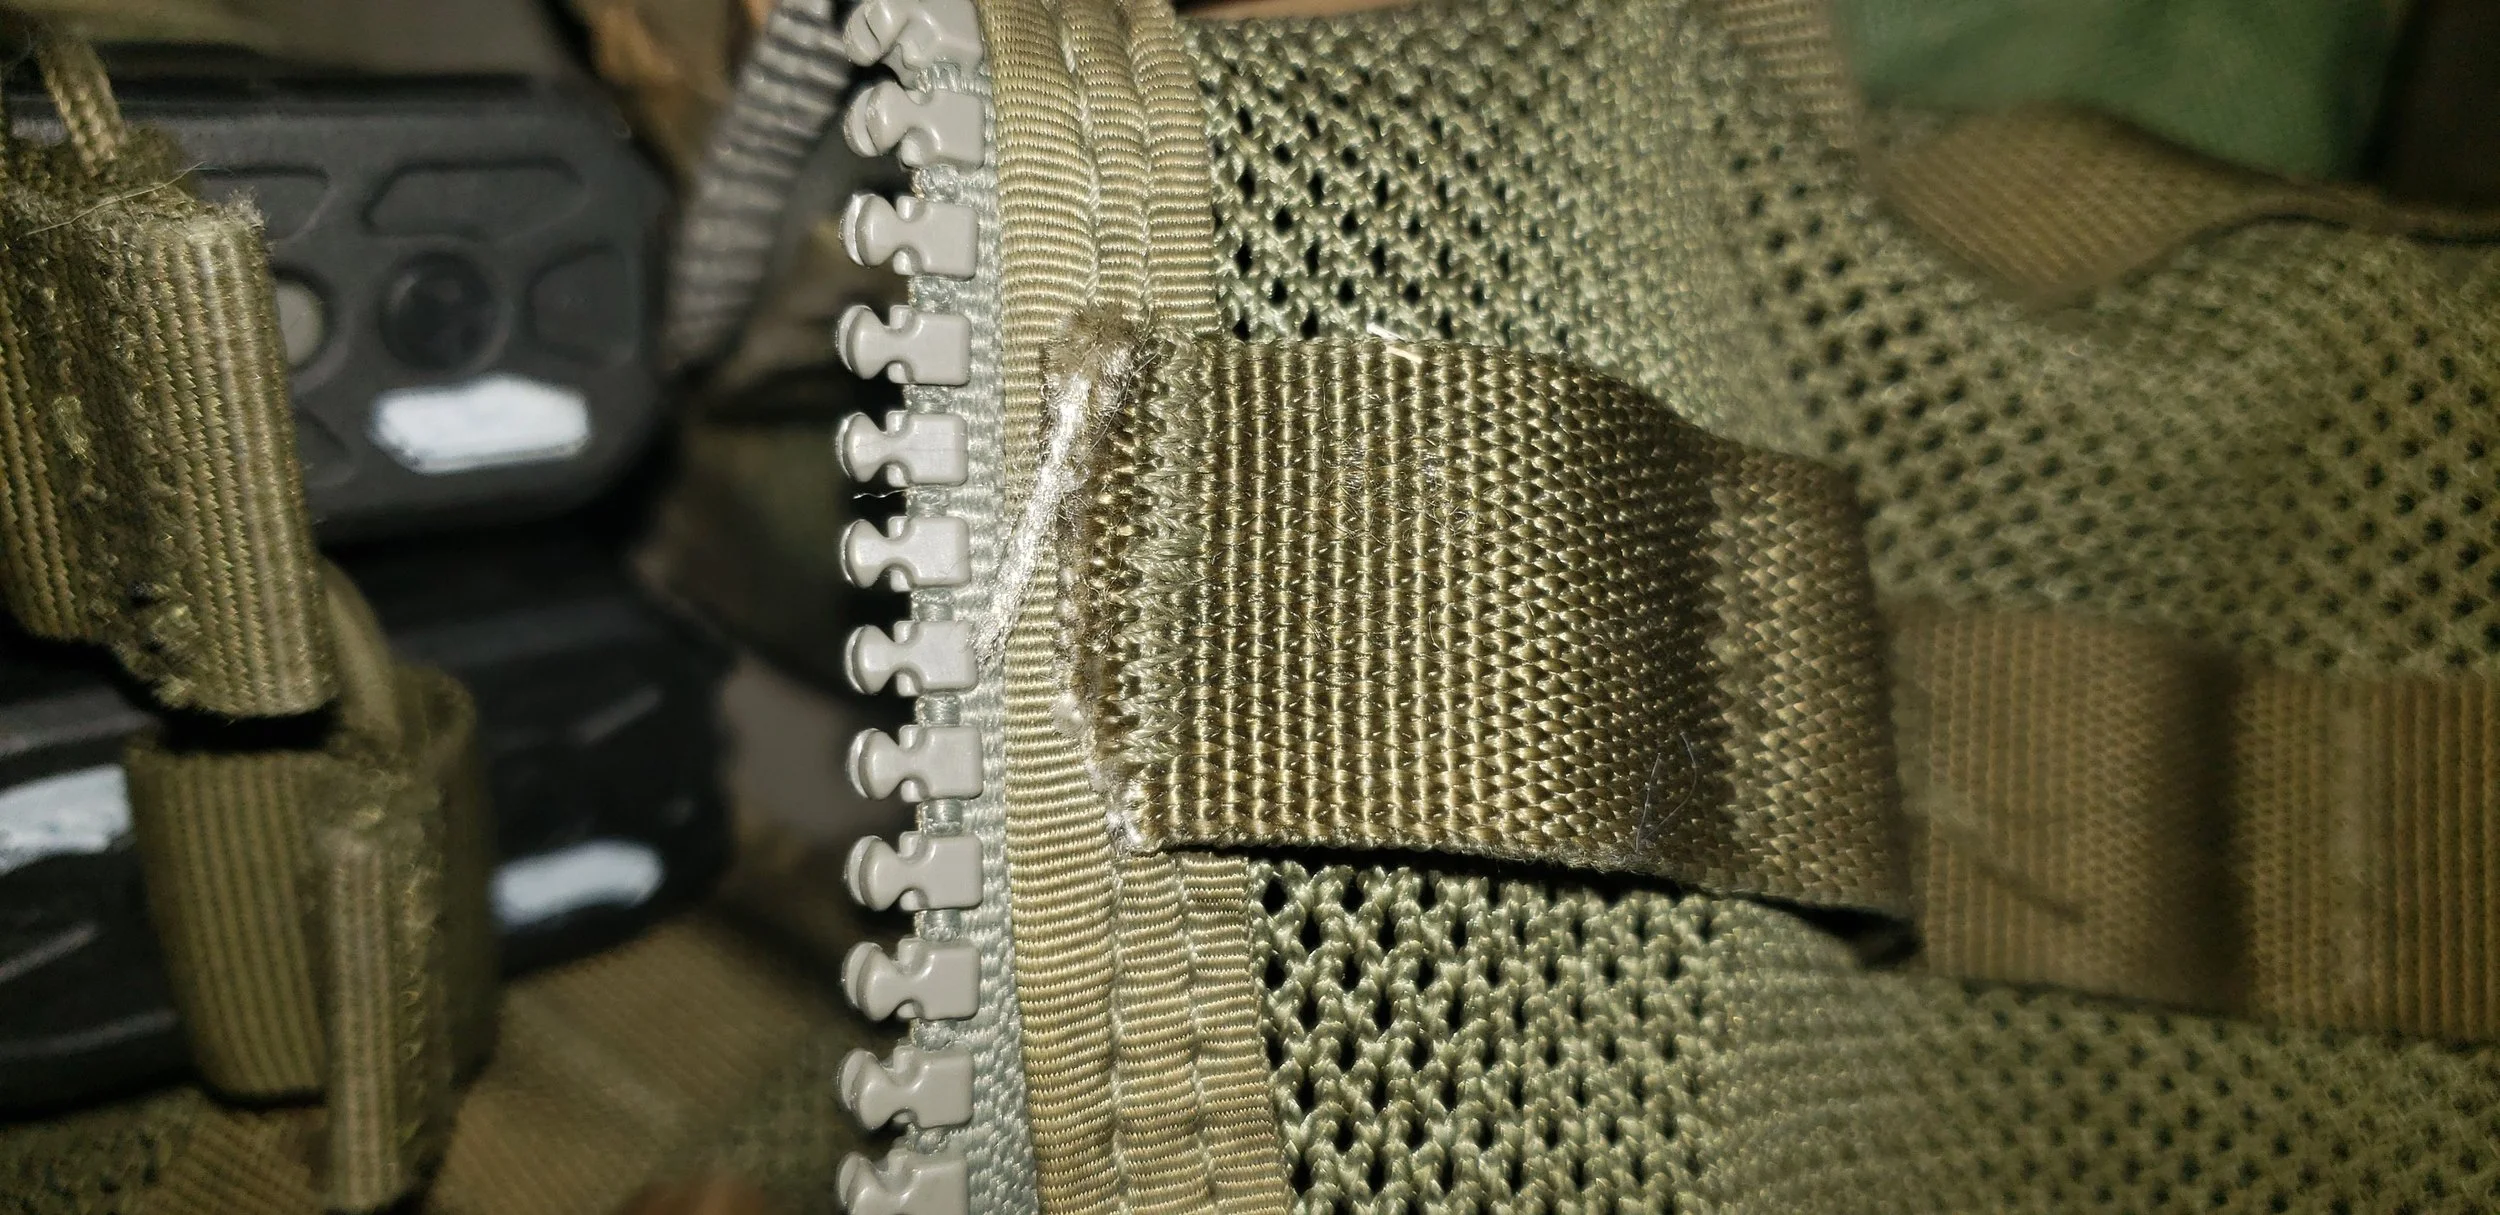
The belt of the FLC is held in place by nylon tabs built into the rear sleeve of the MOLLE panels. The front of the MOLLE belt has a snap buckle on long adjustable straps attached to the MOLLE chest panel using a polymer tri-glide the excess strap must run through before exiting the front of the chest panel. Higher on the front is a small buckle and a zipper that runs up halfway the FLC.


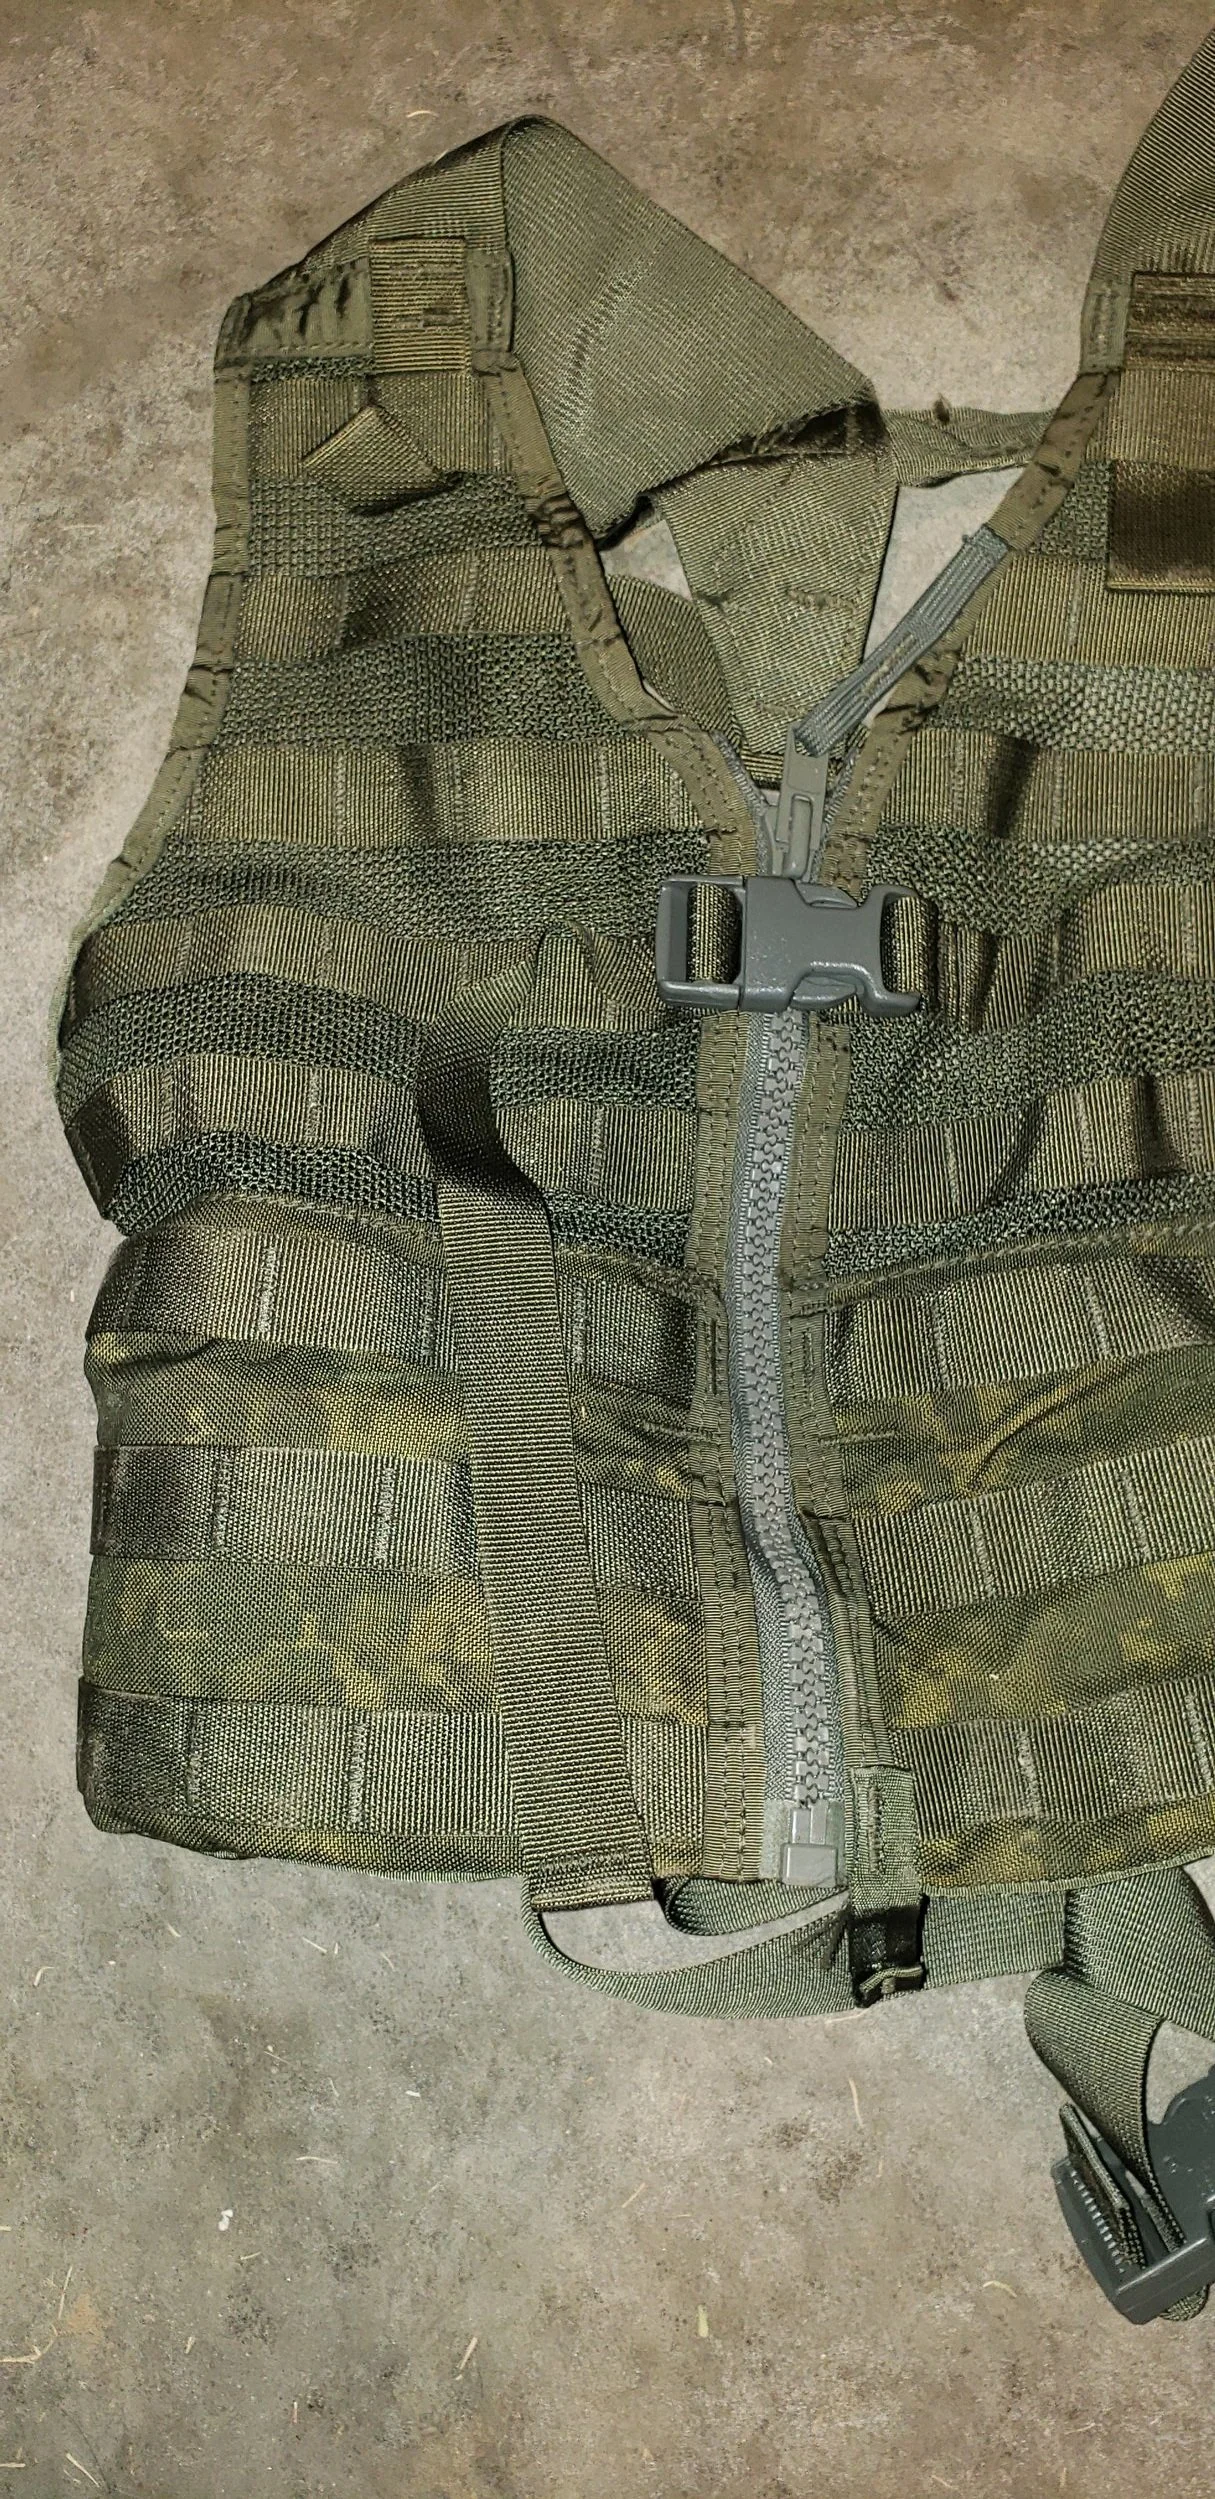
I personally do not like using the front buckles because the extra straps hang off and are a snag risk during movement and/or manipulations. I have removed the top buckle on my Rifle FLC because it just kept getting in the way. My setups are specifically built around using armor or not. I prefer to have the zipper closed to help keep the MOLLE panels close together so I can access pouches on either side with either hand. Just because I have opted out of using the FLC straps and buckles, it does not necessarily mean that they are without function. There are a few instances where these features could serve you well Here is a list of a few situations that would justify having straps:
1. Inserting 5-8 KM into an AO with just the FLC secured by the zipper during movement. Once in a patrol base, you put on armor and remount your FLC.
2. Sharing the FLC amongst a team using the same weapons and gear. (Post or neighborhood patrols)
3. Aggressive weather patterns cause deep freezes overnight in patrol base and high heat during the day.
4. random inclement weather necessitating ability to put on Gore-Tex top or poncho in rain and/or wind.
5. Using items stored in internal pockets frequently, necessitating quick open and closure.
MISSION DRIVES THE GEAR
When you are deciding what to carry, the first thing you need to understand is that the mission is what should drive the gear. It would be ridiculous to go into an undercover job and be covered in mag pouches and weapons like you are prepared for the jungles of Vietnam, and it would be equally ridiculous to carry a pistol and no spare magazine for a recon mission to find a division in the jungles of Vietnam. Make an analysis of the mission and decide what kind of gear will be necessary and reasonable for a fighting load. The what-if game is not something you need to take into consideration when making a fighting load.
In a nutshell, it is METT-TC (Mission, Enemy, Time, Terrain/Weather, Troops Available, Civil Considerations) dependent. If you are operating in a wooded environment where you will be lucky to have 50 or 75 meters, perhaps setting up your vest to handle shotgun ammunition as a primary would be a good option due to its power and ability to scatter and affect a wide area where precise visibility may be challenged, increasing a chance of making hits. Conversely, if you are in an urban setting where the range you may be engaged at is going to be anywhere from 25 meters to 300 meters with lots of brick-and-mortar houses, perhaps having a .308 rifle would be a good idea to give an added punch through barriers.
POUCH PLACEMENT
Once you have figured out what the mission demands, you are ready to start setting up your modular vest. For reloads in a rifle, pistol, or shotgun, the best placement is to be on the support hand side. Remember that the shortest distance to the weapon will typically yield the fastest reload times. If you have a dump pouch, my best advice, as someone who has used one in combat, is to put it on your support side, just under your spare magazine pouches, but in an area (like your 3 ‘0’ clock) that will not disrupt your ability to go prone.
When you are selecting pouches, consider the importance of having retention, whether that be an elastic band, or a Velcro flap to keep the magazines retained when in a very active environment. Again, you will need to take your mission into account and decide if your mission will require intense magazine retention. Accessory pouches need to be placed in areas that make sense for the item that is being stored. For items that you may need to compliment your active mission, such as handheld lights or radios, you may want to have a space ready for these items. For items that may require you to use your dominant hand, such as an IFAK, knife, grenades, or writing implements, you can store them on your dominant side within reach, based on the importance of the item. If it is something like a monocular, you can store it in an area that is slightly harder to reach compared to something like a knife or an IFAK.
TEST FUNCTIONALITY
The great thing about having a modular vest is that you can adjust your pouches based on trial and error. You can try out a setup and adjust it in a matter of minutes on the range. I recommend you start out with your testing in dry fire practice. Try out your ability to reload, reach for your knife, get to your IFAK with either hand, etc. You may need to make small adjustments, and that is absolutely fine. Once your dry fire pans out and you are comfortable with the placement of your gear and pouches, you will want to try them out with live fire.
Remember that half of the point of testing your gear is to wear it in and loosen it up. Pouches made of nylon are typically woven tight initially, but can be worked in to stretch slightly. This makes extracting magazines easier over time while also helping you build a procedural memory for that specific gear. This is a win-win, in my opinion.
CQB LOADOUT
For my CQB loadout, I decided to outfit the FLC to accommodate the use of a pistol on my right hip. This accounts for the absence of a pouch on my right side. I only have a hydration bladder on my back for water, and I have no food on me. This means this FLC is not outfitted to act as a patrolling FLC unless the time on patrol is extremely reduced. The bladder on the back would make patrolling with a pack uncomfortable anyways, in my experience.
RIFLEMAN LOADOUT
I did not have a FLC set up for a dedicated rifleman, but I will do my best to describe how I would modify the above loadout to better accommodate a rifleman in their role. I would remove the pistol mag pouches and add a smoke grenade (smoke grenade) and flashbang pouch (monocular). I would fill in the right chest panel with a pouch identical to the one on the left. These pouches would house a canteen and utility items camo cream, chem light, multitool, etc.). I would not have the hydration bladder either. I would also replace the magazine holders with one individual pouch Velcro flap pouch (2) alongside a SAW pouch to carry more ammunition (5-6). I would also run a butt pack to carry field sustainment gear (spare pair of socks, food, survival kit, weapons cleaning kit, electrical tape, bug repellant, etc.). The rifleman loadout would also presuppose that the role would include an assault pack (line 3).
SCOUT/POINT LOADOUT
A scout in my area is going to be best outfitted with a semi-auto shotgun and a pistol. For my loadout, I have it setup to run heavy on shotgun shells (55 shells total) due to the role of the point man/scout to lay down suppression with cover shooting techniques using buckshot. Keep in mind that the scout should be set up lighter than the other patrol members due to his role to move with agility and finesse while attempting to find the safest and best route for the patrol. The utility pouch on the right holds a canteen, camo cream, some medical gear. The little utility pouch above it holds a multitool, compass, and pace beads.
PERFORMANCE
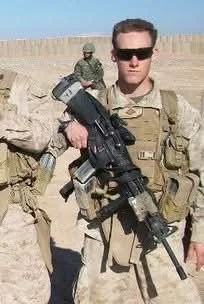
In combat in Afghanistan, I appreciated how the FLC, or LBV balanced my combat load with ease. I never felt that the weight was pulling me one way or another. I appreciated being able to take my combat load off when standing on post or when just going to sleep in gear. That was a luxury many did not have when securing their gear directly to their armor.
As I have continued to use the FLC, I find that it works very well at distributing the weight even when loaded down while performing crawls or running. The vest does not tend to shift or bounce at all if it is properly fitted and loaded well with distributed weight across the FLC. I am a personal fan of this piece of gear if you must mount your combat load to your torso, such as when driving, CQB, etc. This piece of gear is versatile and it does exactly what you need it to do for you.
LIMITATIONS OF THE FLC
The FLC is designed to carry the bulk of your fighting load on your torso, much like a chest rig. It distributes weight much better and offers more ways to carry a combat load. The problem is that space is very limited on the tapered sections as it gets closer to the shoulders. Of course if you need more stuff on a patrol/mission, you can always take it in a patrol pack and forget about crowding the FLC with more pouches. During my training with Max Velocity Tactical, I found the FLC to be limited in ammo carriage capability compared to something like the British belt kit. To carry an equal amount of ammo on the FLC would raise the weight to a burdensome level and rob the FLC of room to carry and balance other essentials such as water and medical equipment. The FLC is better suited as a quick mounting option for the fighting load alone, designed to facilitate carrying an assault pack on the back to complete the soldiers loadout balance and gear necessities, to include an ammo bandoleers, spare clothing, rations, extra medical, sustainment, etc.
CLOSING THOUGHTS
I have used the FLC in training and in combat, and I find it to be quite efficient for dynamic fighting. You will not always need to have ammo on you when you wear your armor, but you will more than likely find yourself needing to wear armor quite often. Regardless, the FLC was designed for the soldier, and it works really well for what it was designed to do. These load carriers typically can be found new for only $20 if you get the UCP versions. I recommend doing a dye job, as you can tell I did myself. Or you can go on eBay and grab a USMC surplus version, like I did. Either way, the FLC is not an outdated concept, and it is available now for great prices, often coming with pouches sold as a set. I got a killer deal that had 11 items (assault pack, butt pack, FLC, 3 rifle mag pouches, flashbang pouch, 2 grenade pouches, two canteen pouches) all for just $50 NEW! It was in UCP but it only cost my $15 in dye to change the color of all the pouches and gear.